2022-11-25
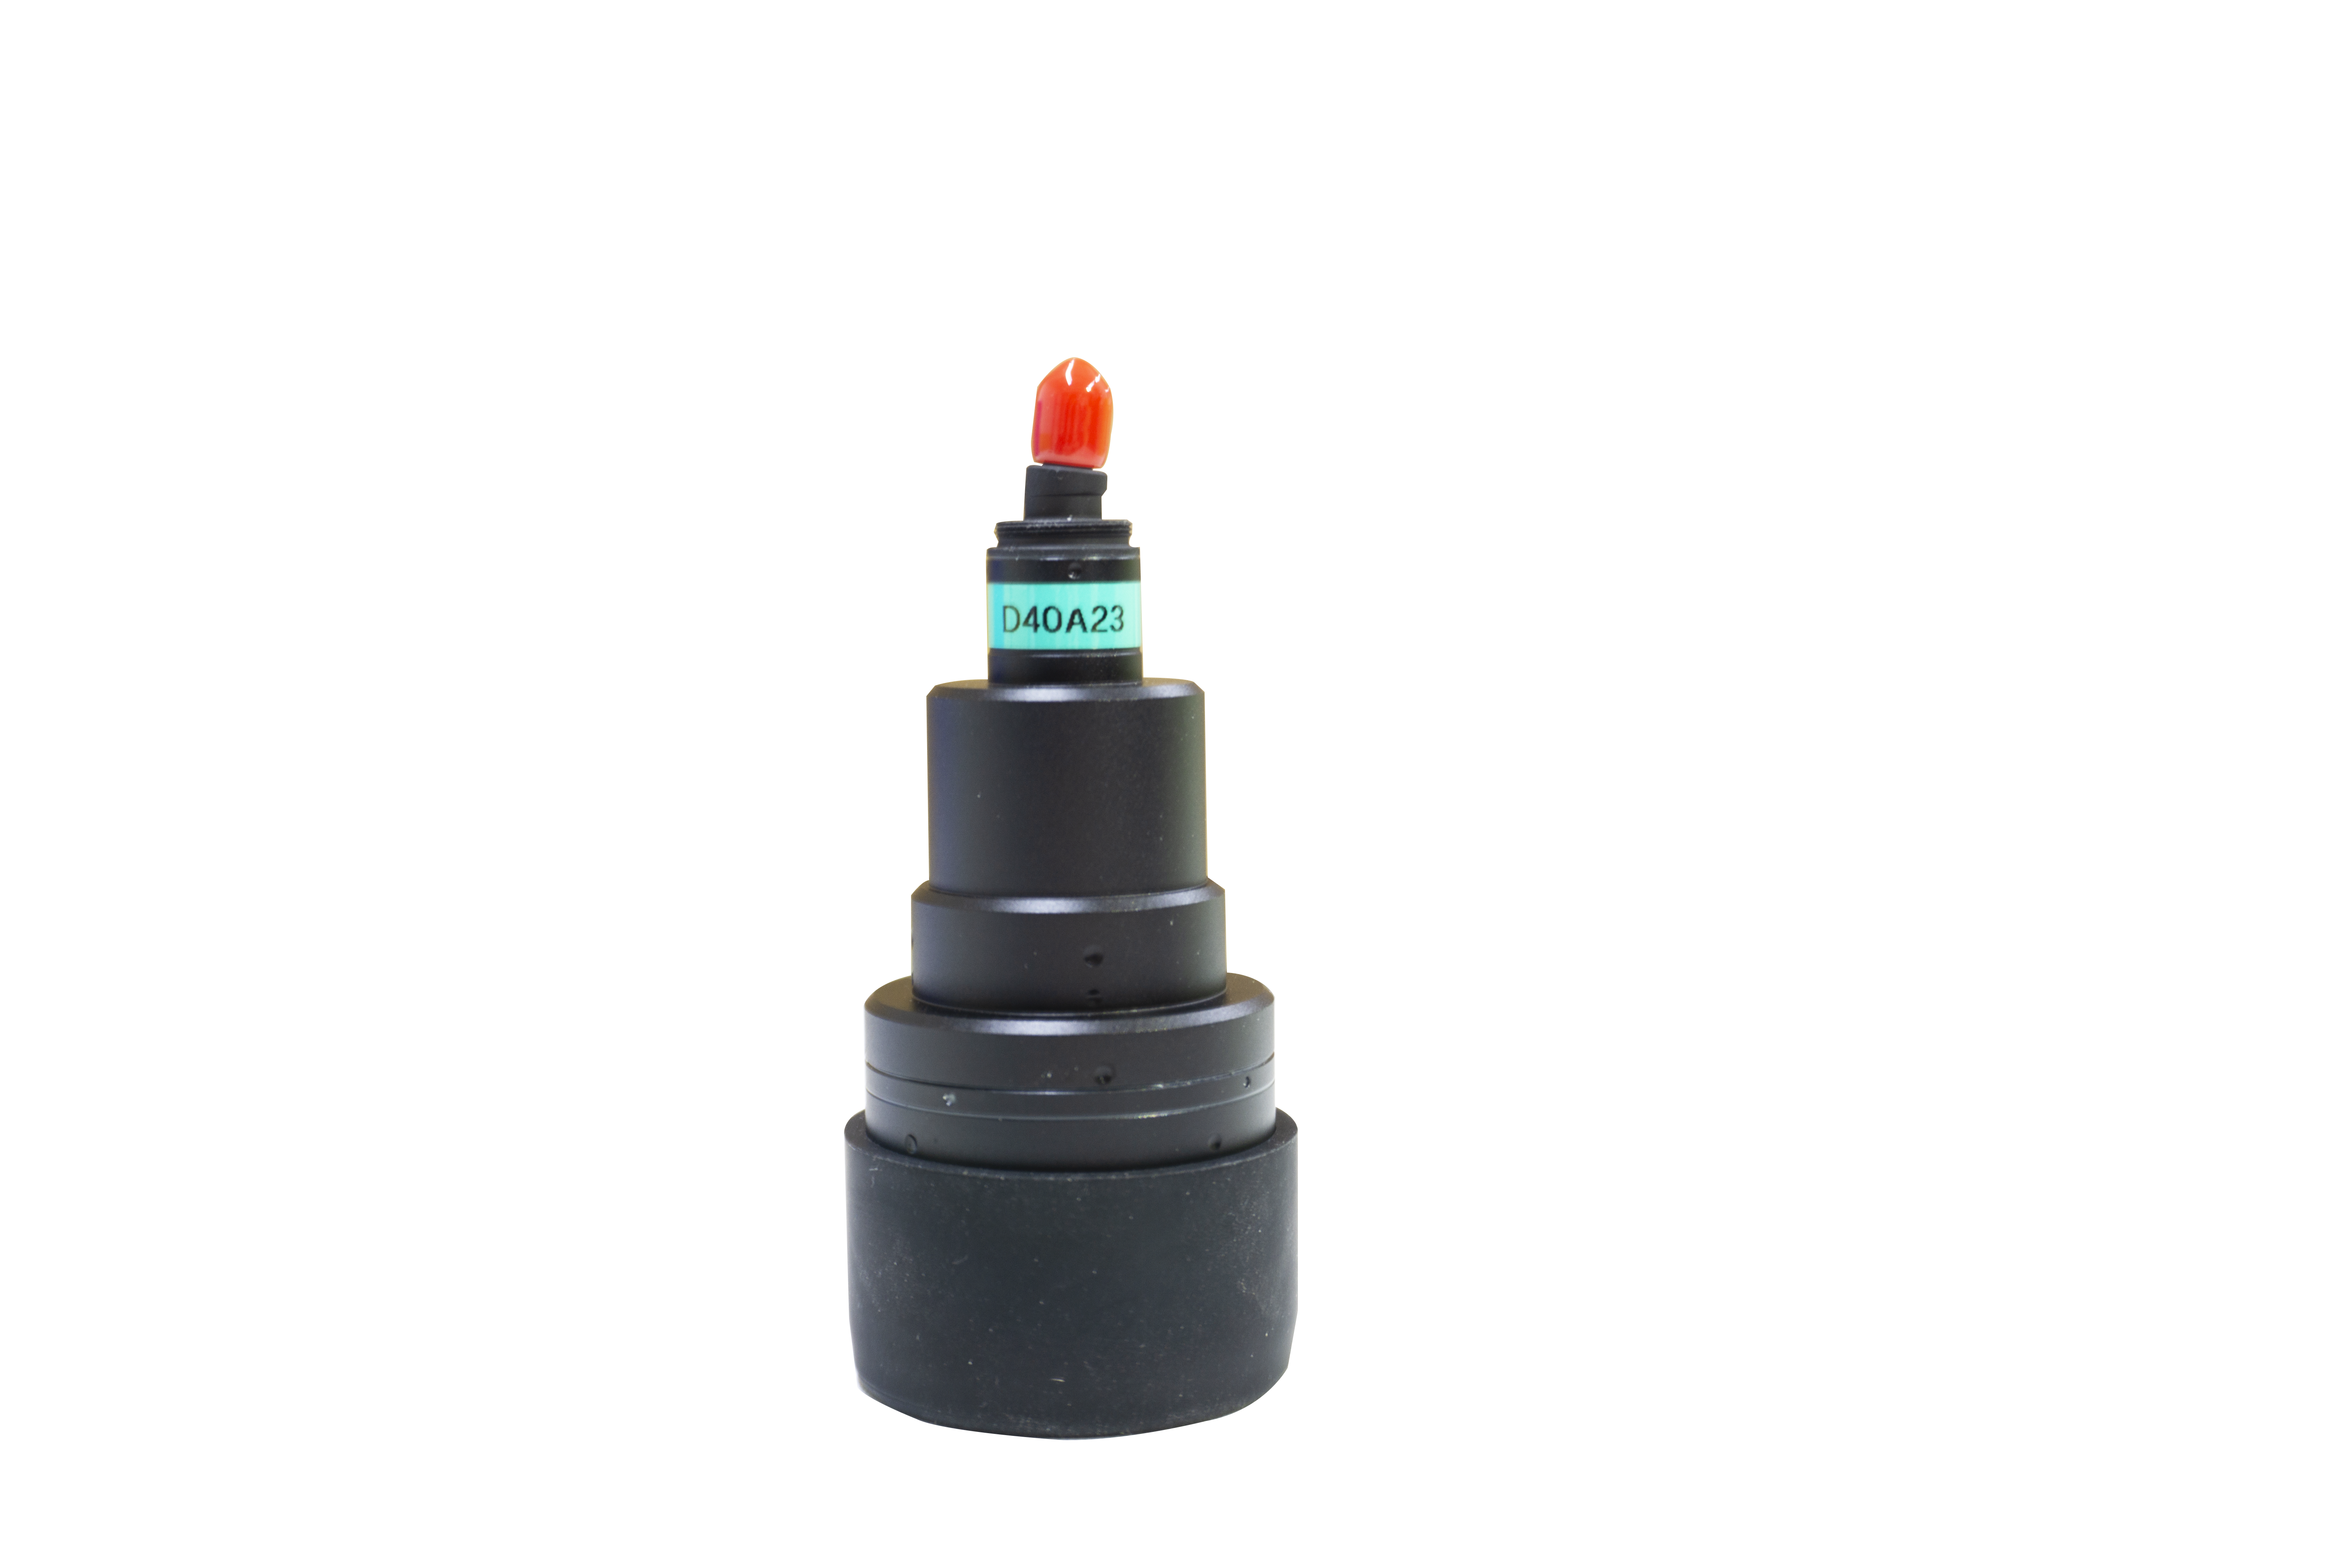
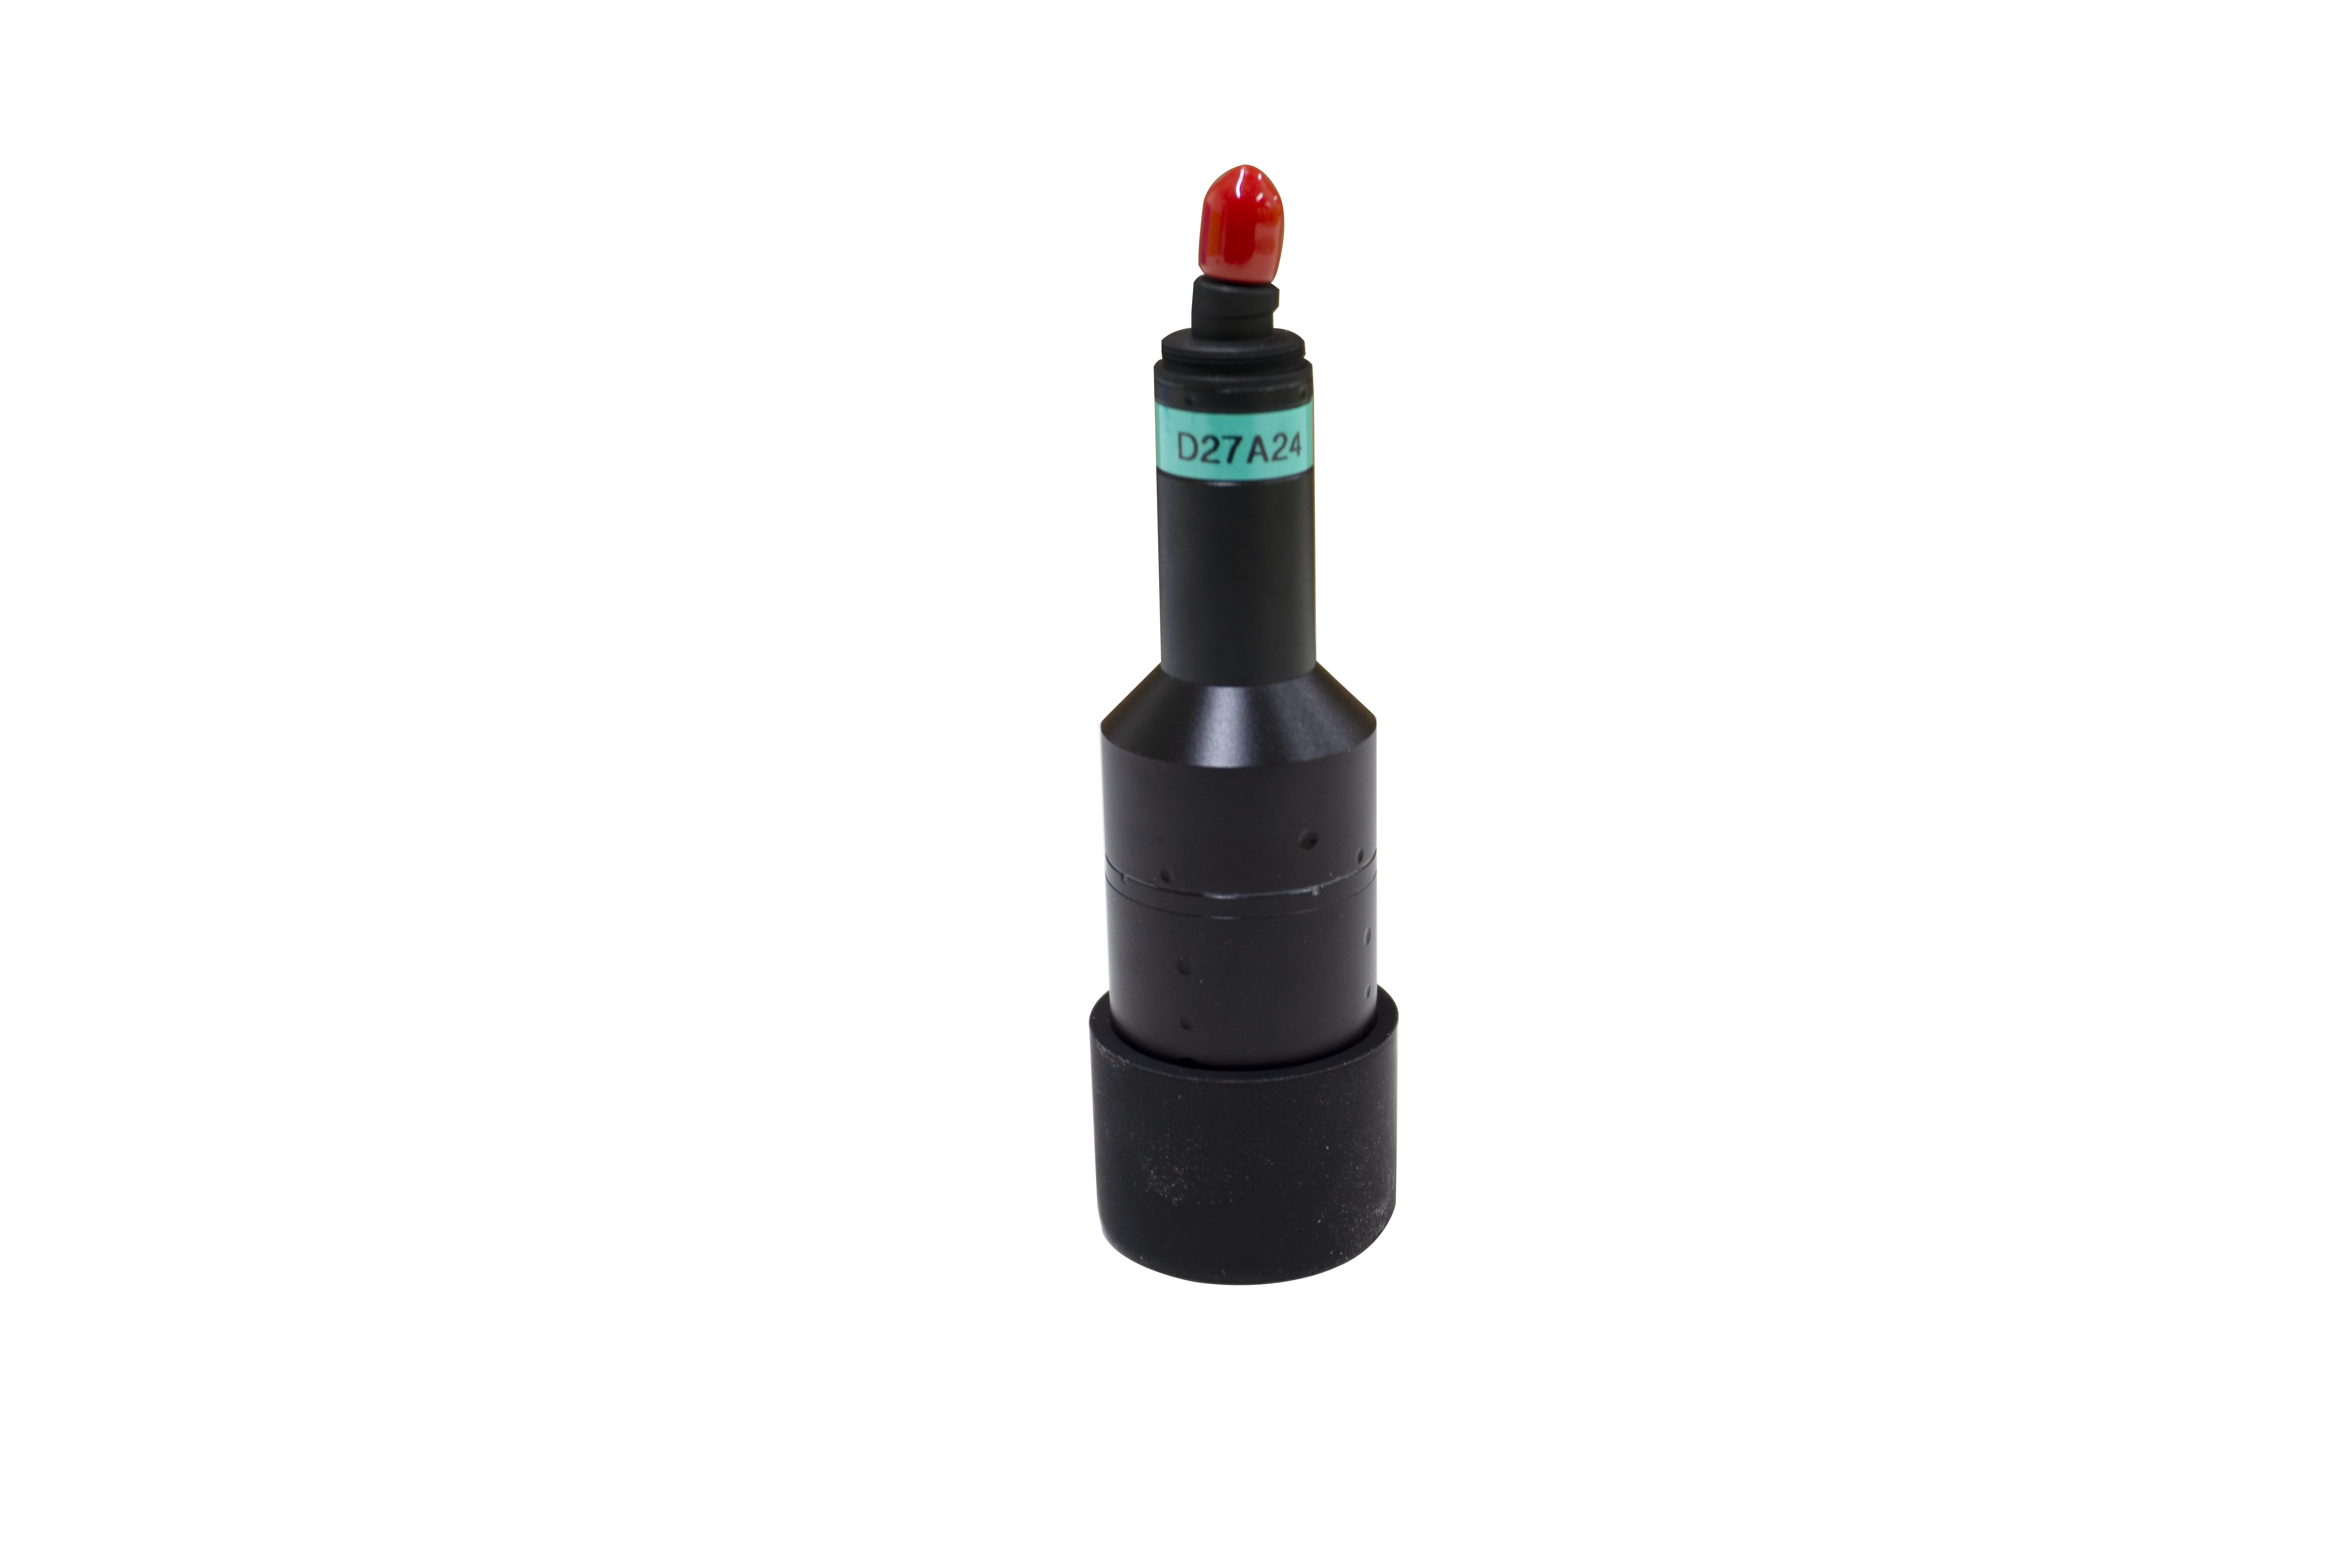
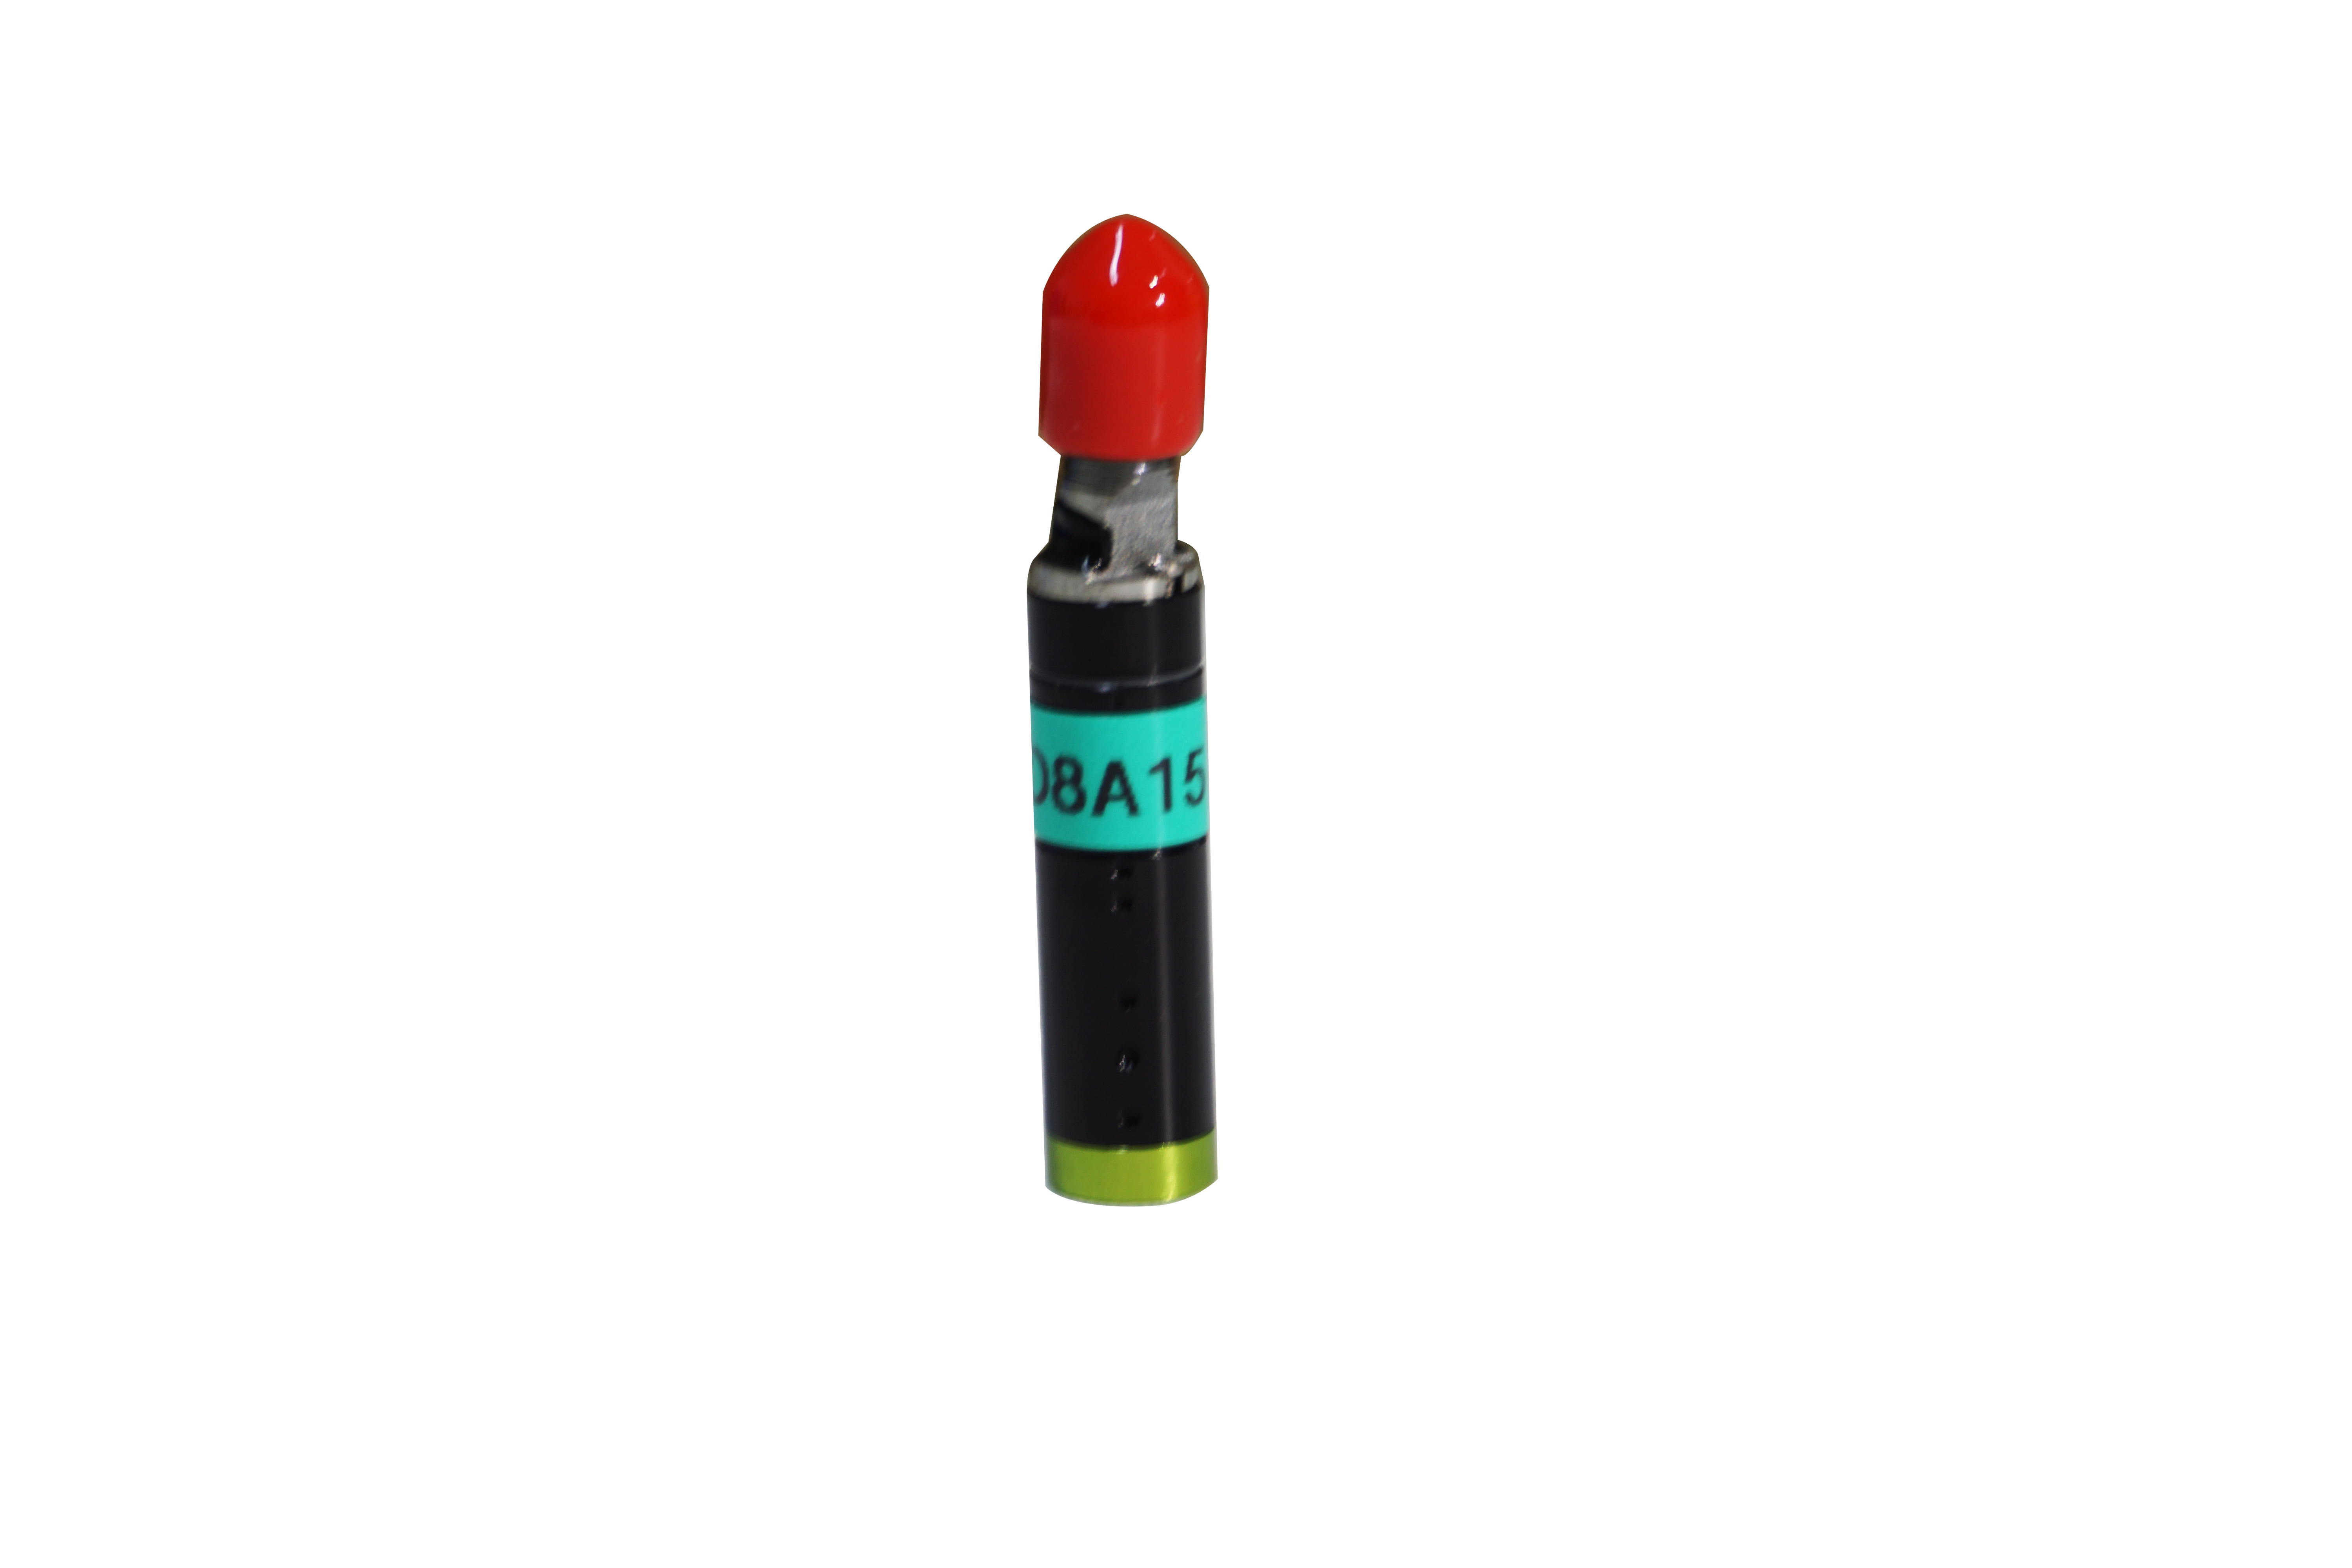
With the continuous development of science and technology, in the field of semiconductor and high-precision manufacturing, micron and above processing processes are used, and matched with high-precision measurement technology for quality control. The measurement principle of spectral confocal is that a beam of white light through the lens will focus different wavelengths to the optical axis, dispersing to form a rainbow distribution belt, irradiating on the sample, part of the reflected light reflected back, irradiating on the intersection of the optical axis and the object surface of the light through the splitbeam component, irradiating through the aperture to the spectral analyzer, according to the wavelength calculation can be obtained to the measured object distance. Compared to laser displacement, the precision of the displacement sensor can reach microns and above, and it has one of the highest measurement accuracy technologies in the field of optical measurement.
In addition to measurement accuracy, spectral confocal is non-contact, without any damage to the measured product. It is also possible to analyze the surface roughness, step height, flatness, warpage, radius of curvature and defects of micron machined surfaces. Let's follow Li Yi Xiaobian together to have a look!
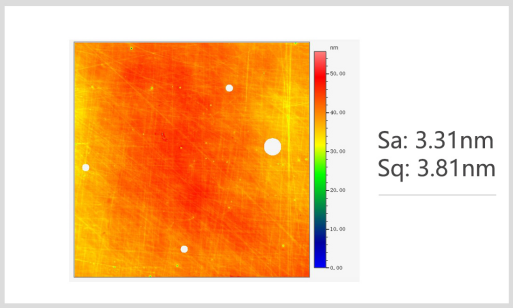
1. Surface roughness
Surface roughness is one of the key indicators to measure surface quality, which usually includes Sa/Sv/Sp/Sz/Sq and other parameters. The surface roughness of the sample can be machined to Sa 10 nm by mirror grinding process.
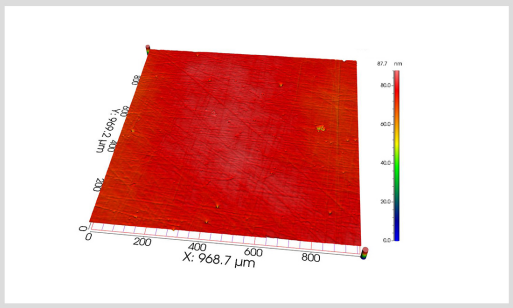
2. Surface morphology and step height
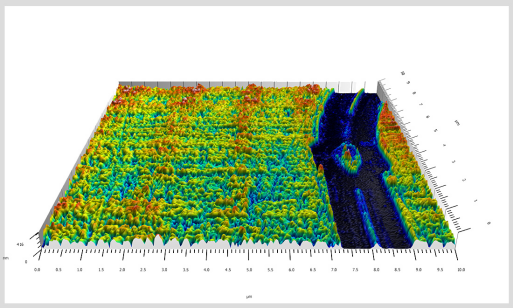
The high-precision surface topography data can not only be used to observe the surface characteristics of the sample, analyze the cross section and step height, but also support the analysis of micromechanical behavior.
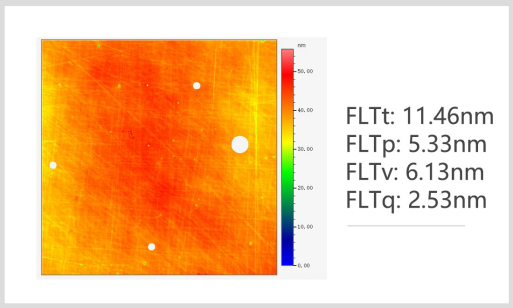
3. Flatness
Flatness is one of the important parameters to evaluate the difference between the surface of a sample and the ideal plane, and usually includes FLTt, FLTp,FLTv, and FLTq.
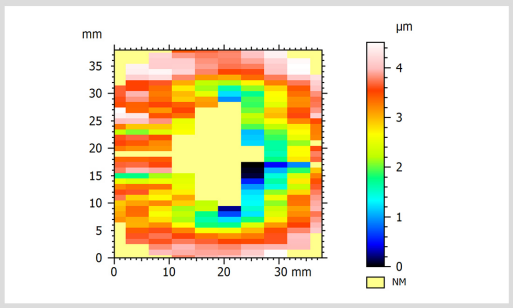
4. Warpage degree
Warpage reflects the rebound characteristics of the sample surface, which is very similar to the concept of flatness, but the calculation method is slightly different. The calculation of warpage is usually based on the height of the central region of the sample, and samples are taken from 4, 6, or 9 regions evenly distributed along the edge of the sample, and the maximum height difference obtained is the warpage value.
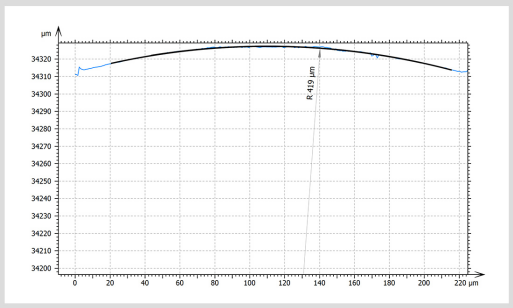
5. Radius of curvature
The curvature radius is an important parameter in the design and manufacture of optical lenses. The surface morphology of the lens can be obtained and the curvature radius can be calculated by using the white light interferometry system.
6. Surface defects
It is difficult for 2D methods to identify defects on some high-precision surfaces. In this case, 3D topography can be considered to collect and identify defects. Since the white light interferometry system has a resolution of 0.1nm in the Z direction, any small defect can form a 3D image.
As an alternative to laser displacement sensor, spectral confocal has the advantages of higher precision and wider material adaptation than laser. More about spectral confocal content welcome to pay attention to Liyi Technology.
