2022-11-17
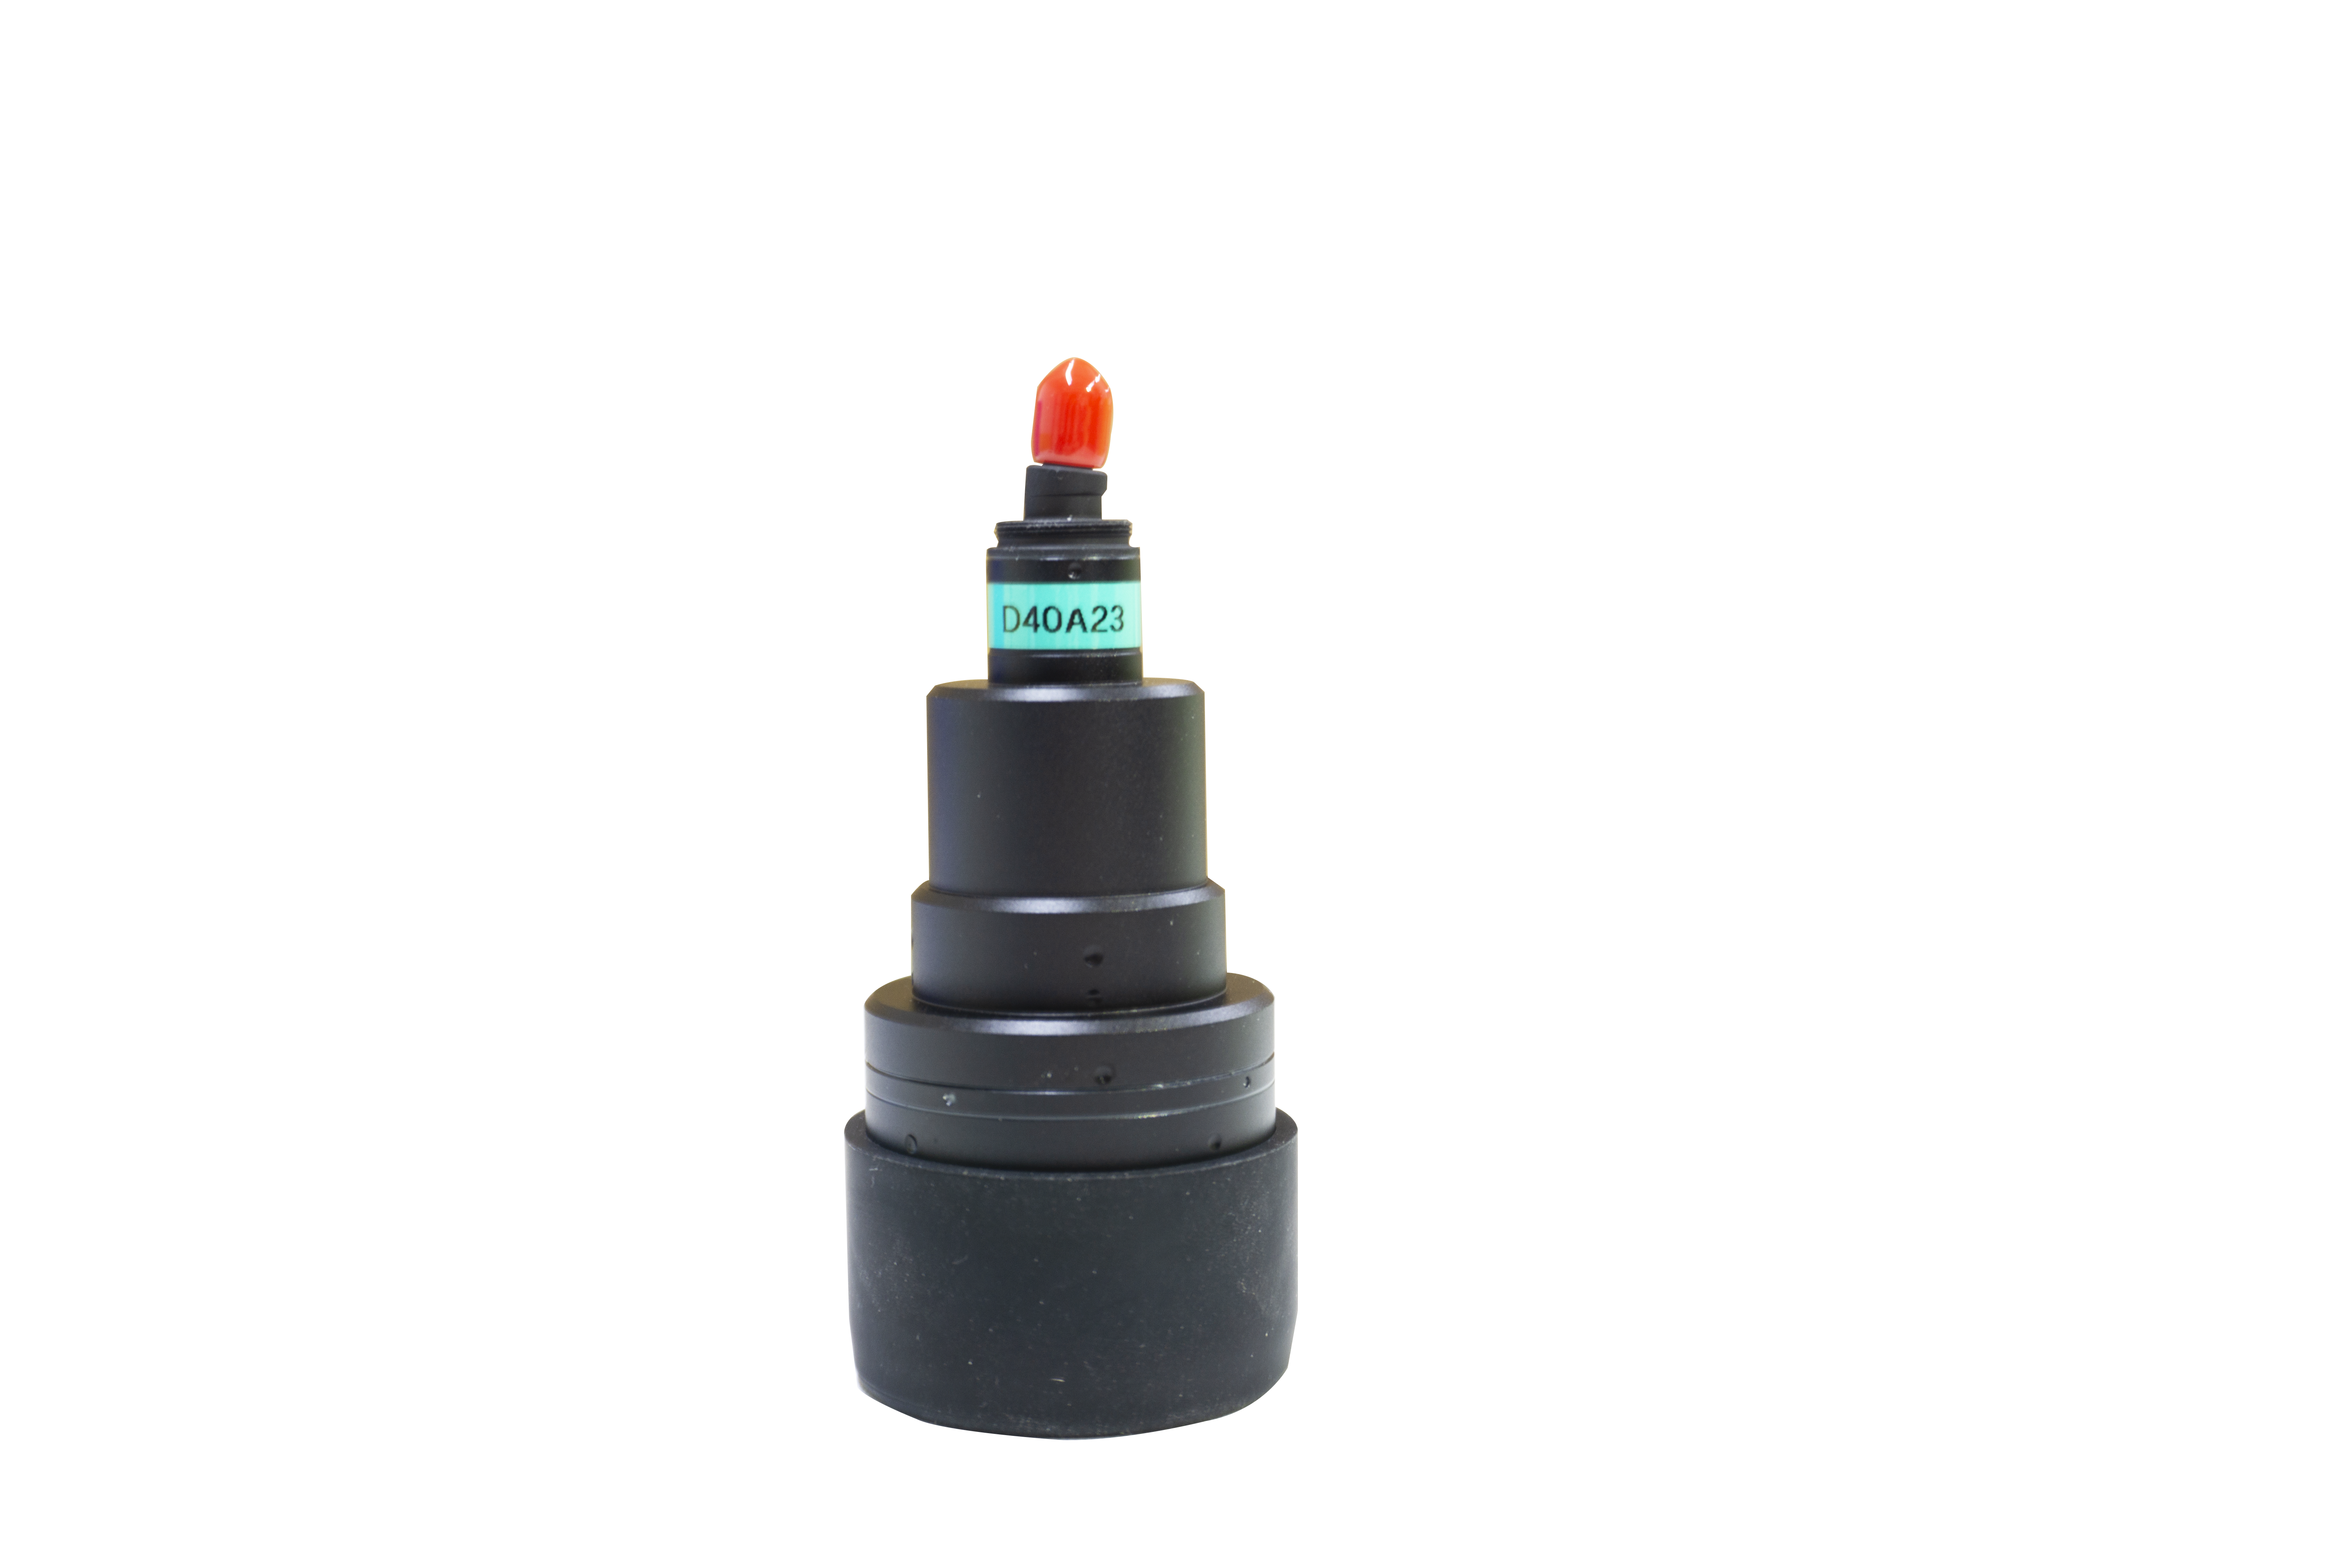
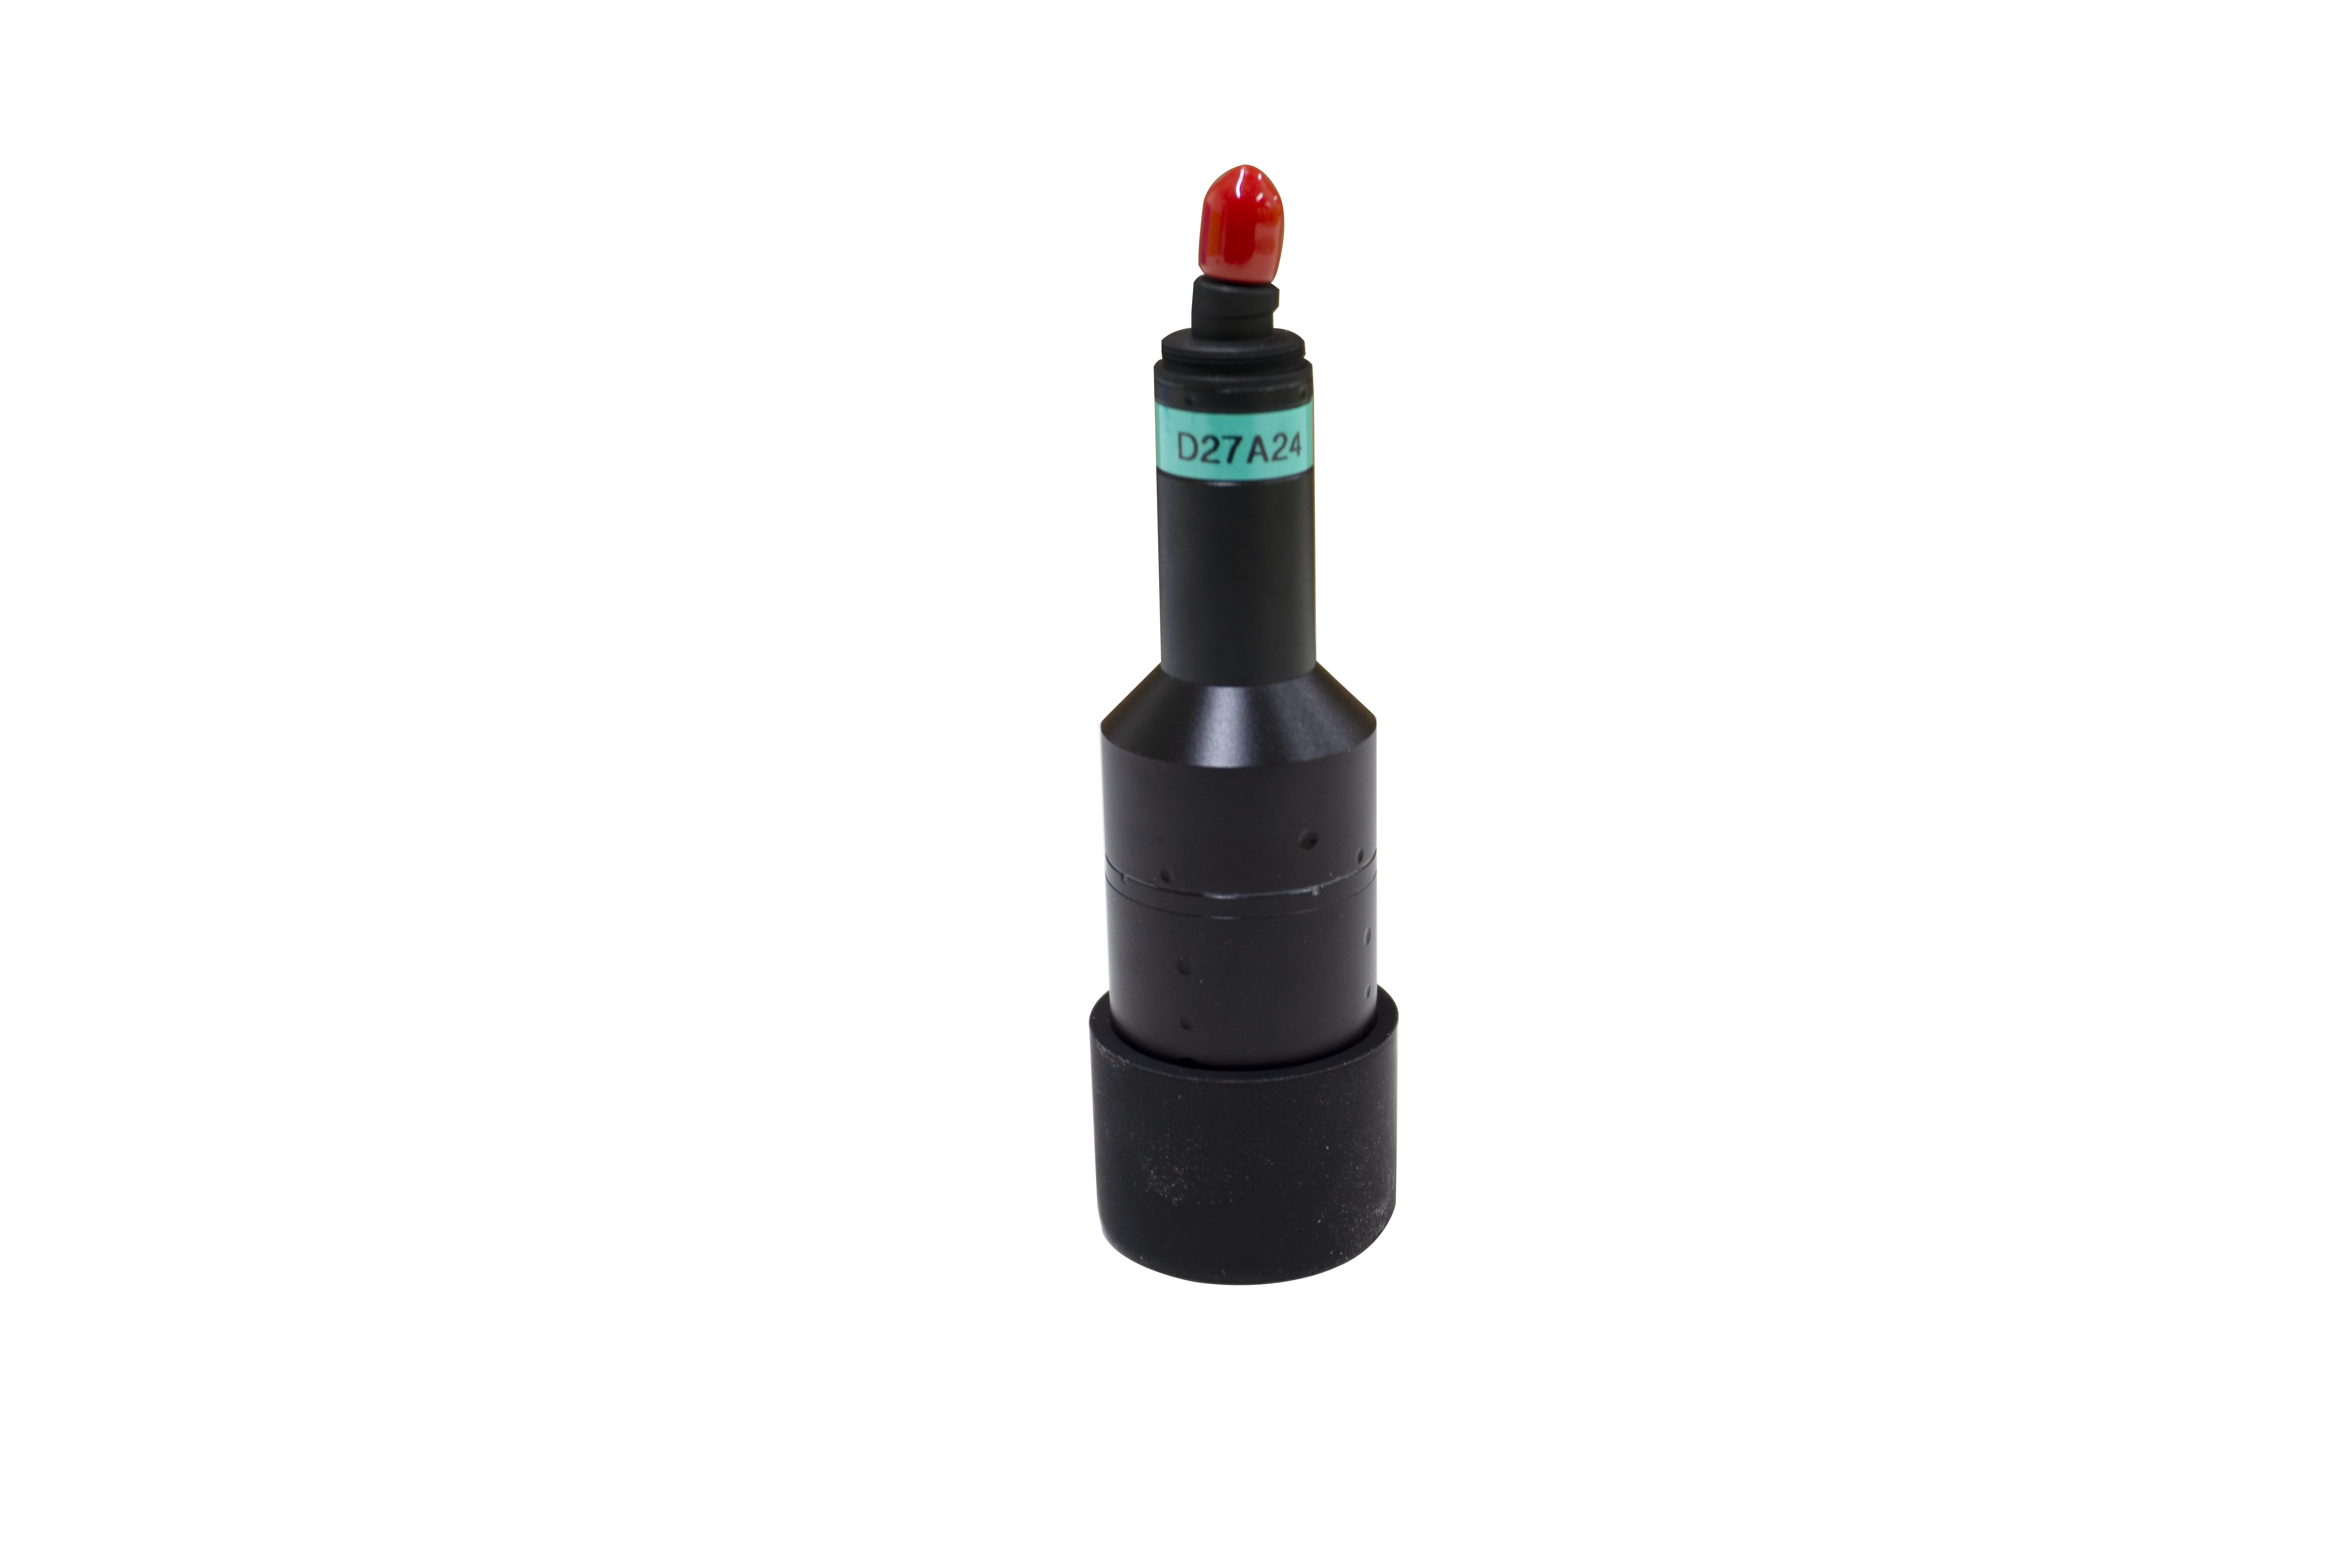
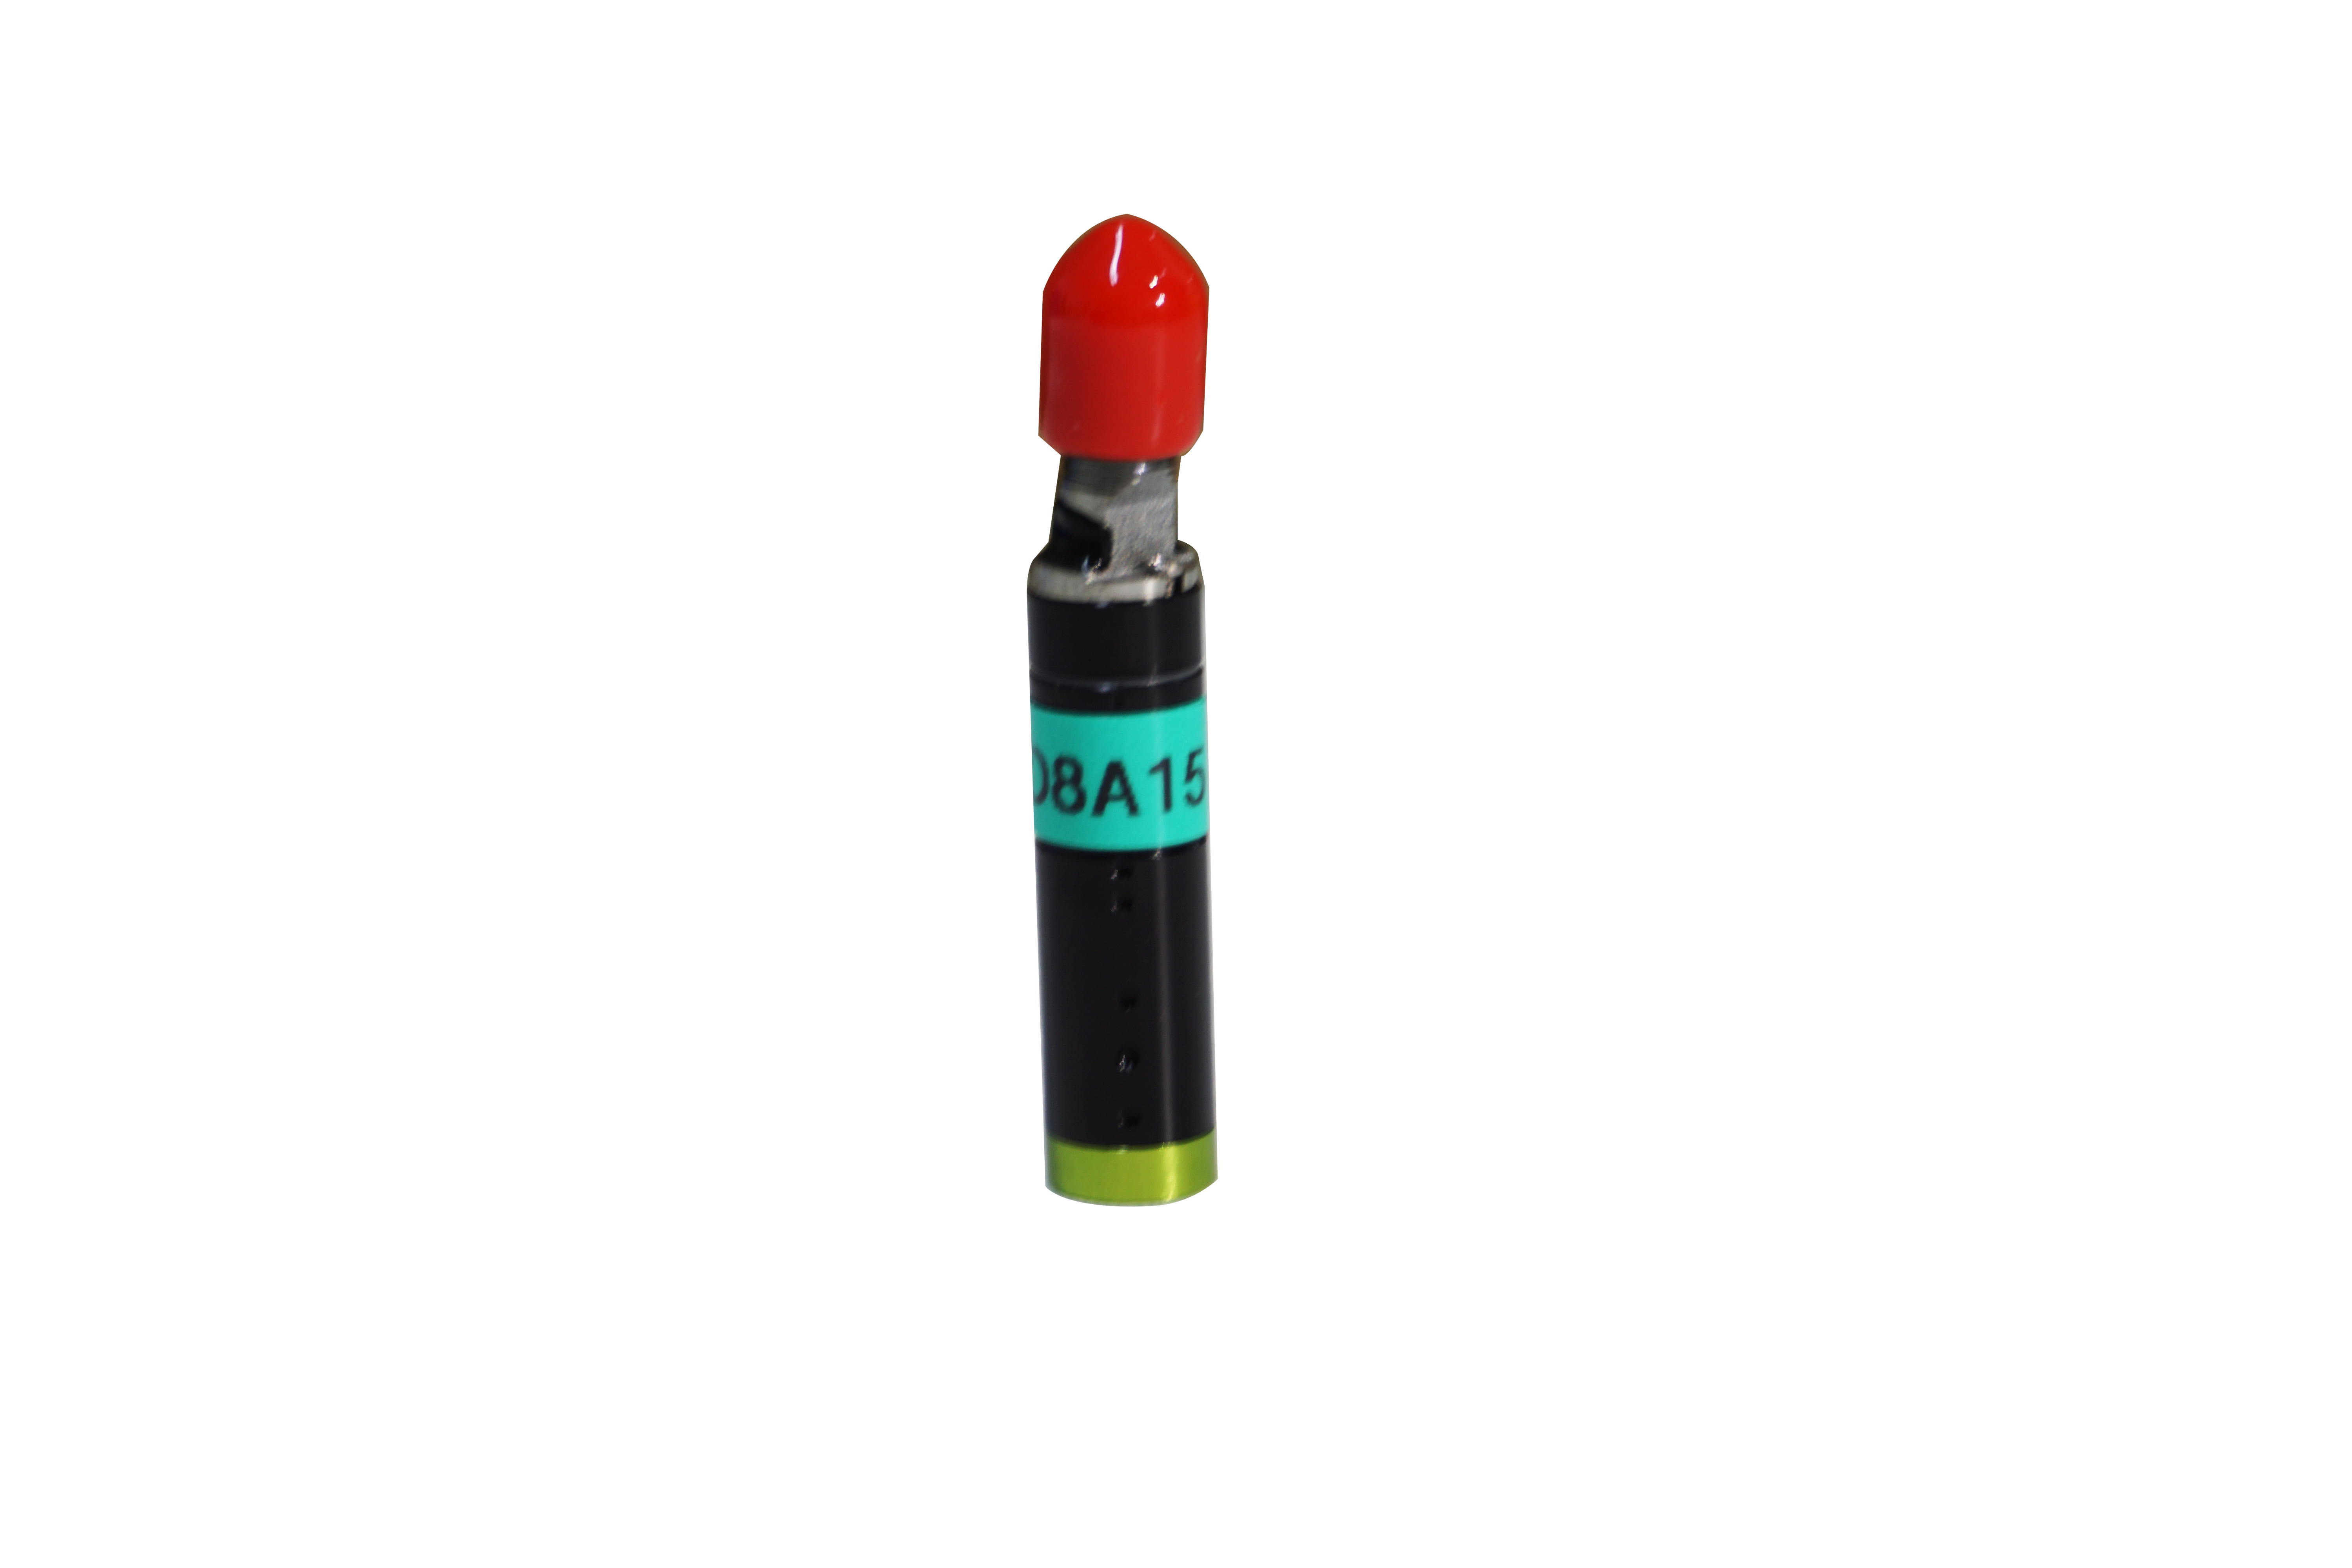
Nowadays, spectral confocal measurement technology is widely used in industrial measurement because of its unique advantages of high measurement accuracy, fast measurement speed and non-contact measurement. Spectral confocal technology is developed on the basis of confocal microscopy, which does not need axial scanning, and directly corresponds to the axial distance information from the wavelength, thus greatly improving the measurement speed. The sensor based on spectral confocal technology is a new type of high-precision, non-contact sensor that has appeared in recent years. Confocal measurement has become a popular sensor for industrial measurement due to its unique advantages of high precision, allowing the measured surface to have a larger tilt Angle, fast measurement speed, high real-time performance, low requirements for the measured surface condition, and high resolution, and has been widely used in biomedicine, materials science, semiconductor manufacturing, surface engineering research, precision measurement and other fields.
Typical applications of spectral confocal sensors
1, surface roughness measurement application
Surface roughness refers to the micro-level condition of smaller spacing and smaller peaks and valleys formed on the workpiece processing surface due to different processing methods, the accuracy of machine tools and tools, vibration and wear and other factors, which is an important measure of surface quality, and is related to the wear, sealing, lubrication, fatigue, research and other mechanical properties of parts. Surface roughness measurement can be divided into contact measurement and non-contact measurement. The stylus contact measurement is easy to scratch the measuring surface, the tip is easy to wear, the measurement efficiency is low, and the complex surface can not be measured, while the non-contact measurement can achieve non-contact, efficient, online real-time measurement, and become the development direction of the future roughness measurement. At present, the commonly used non-contact methods mainly include interference method, scattering method, speckle method, focusing method and so on. Focusing method is relatively simple and practical. A simple measuring device is built by using the confocal displacement sensor to measure the roughness of the valve cover of the film gas meter without contact, so as to judge whether the seal of the valve cover is qualified. Based on the spectral confocal sensor, the surface roughness of the roughness sample was measured without contact by the two-dimensional nano-measuring and positioning device built by the spectral confocal sensor, and the uncertainty evaluation of the measurement results was carried out, and the U95 was 13.9%.
2, contour, geometric size measurement applications
With the continuous development of machining level, a variety of small complex workpieces need to be precision dimensional measurement and profile measurement, such as: Small workpiece inner wall groove size, small circle chamfering and other measurements, for some precision optical components can be non-contact profile measurement, to avoid scratching the optical surface during contact measurement, to solve the traditional sensor is difficult to solve the measurement problem. Some precision optical components also need non-contact profile measurement to avoid scratching the optical surface during contact measurement. These measurement problems that are difficult to solve with traditional sensors can be solved by building a measurement system with spectral confocal sensors. Through the two-dimensional nano-measuring and positioning device built by the tower, the focus sensor of the spectrum is selected as the probe to measure the two-dimensional size of the ultra-precision parts. In order to solve the problem of detecting the profile of the turbine disk, the online detection system of the turbine disk profile is designed by using the spectral confocal displacement sensor. At the same time, in the process of overall measurement of geometric quantities, it is necessary to take many different ways to optimize its structural system. This makes the measurement of geometric dimensions more accurate.
3, film material thickness measurement application
Because the wavelength of the monochromatic light reflected back by different reflectors is different, the spectral confocal sensor has a unique advantage for the precise measurement of the thickness of the material. Optical glass, biofilm, parallel plate, etc., the two reflectors will reflect different wavelengths of monochromatic light, and then only one sensor, you can calculate the thickness, the measurement accuracy of up to micron, and no damage to the measured surface. The measuring error range of the system is about 0.005mm by using the spectral confocal displacement sensor to measure the thickness of transparent materials. The thickness of parallel plate and the center thickness of optical lens are measured by spectral confocal sensor, and the influence of material dispersion on thickness measurement accuracy is analyzed theoretically. In order to explore the relationship between the thickness of the film prepared by the fluid drop mode and the drop mode, Reynolds number, and the tilt Angle of the bottom plate, a spectral confocal sensor is used to monitor the thickness of the prepared film in real time, and the thickness and distribution of the metal film with a thickness of 10-100 μm are accurately measured by the white light confocal sensor group mounted on the top. The measurement uncertainty analysis is carried out, and the measurement uncertainty of the system is about 0.12μm.
