2022-09-22
Surface defects not only affect the beauty and comfort of the product, but also generally have an adverse impact on its performance, so the company attaches great importance to the detection of surface defects of the product in order to effectively control product quality. Especially for many industries such as consumer electronics, automotive, paper, road and factory automation, surface inspection is a crucial quality control link. In strictly automated production, where even the smallest surface defect can affect the beauty and performance of the finished product, a highly accurate and reliable surface inspection process ensures that the product is qualified and ready for delivery from the factory.
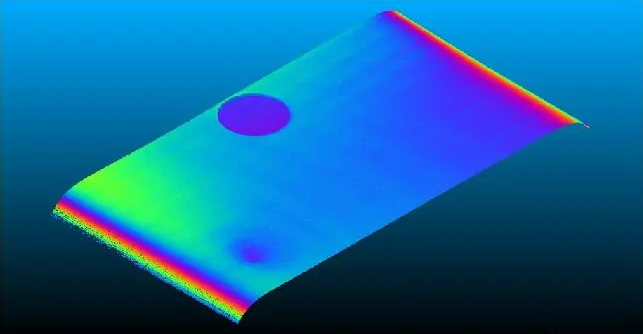
What are the disadvantages of traditional detection
1. Limitations of manual detection
CMM enables accurate surface inspection, but it is too slow and expensive for high-speed online processes.
2, material surface changes
There are significant differences in material surface properties across industries - from low-contrast black rubber surfaces to highly reflective or transparent materials such as glass or plastic.
3. Defect type and location
The different shapes and positions of surface defects present a serious challenge for 100% quality control.
4. Defects within geometric tolerances
Due to the height and depth of some surface defects, defects less than geometric tolerances cannot be detected.
With the development of science and technology, traditional detection has been far from meeting the needs of current science and technology, so what method can be solved?
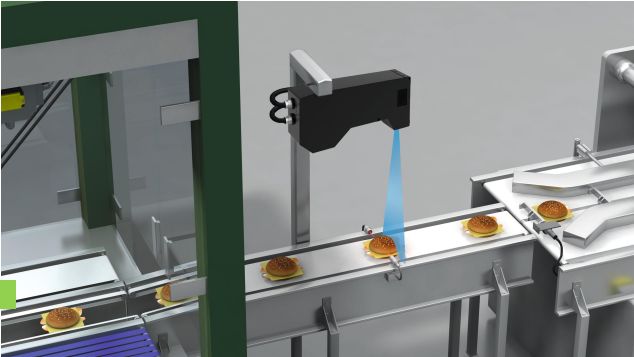
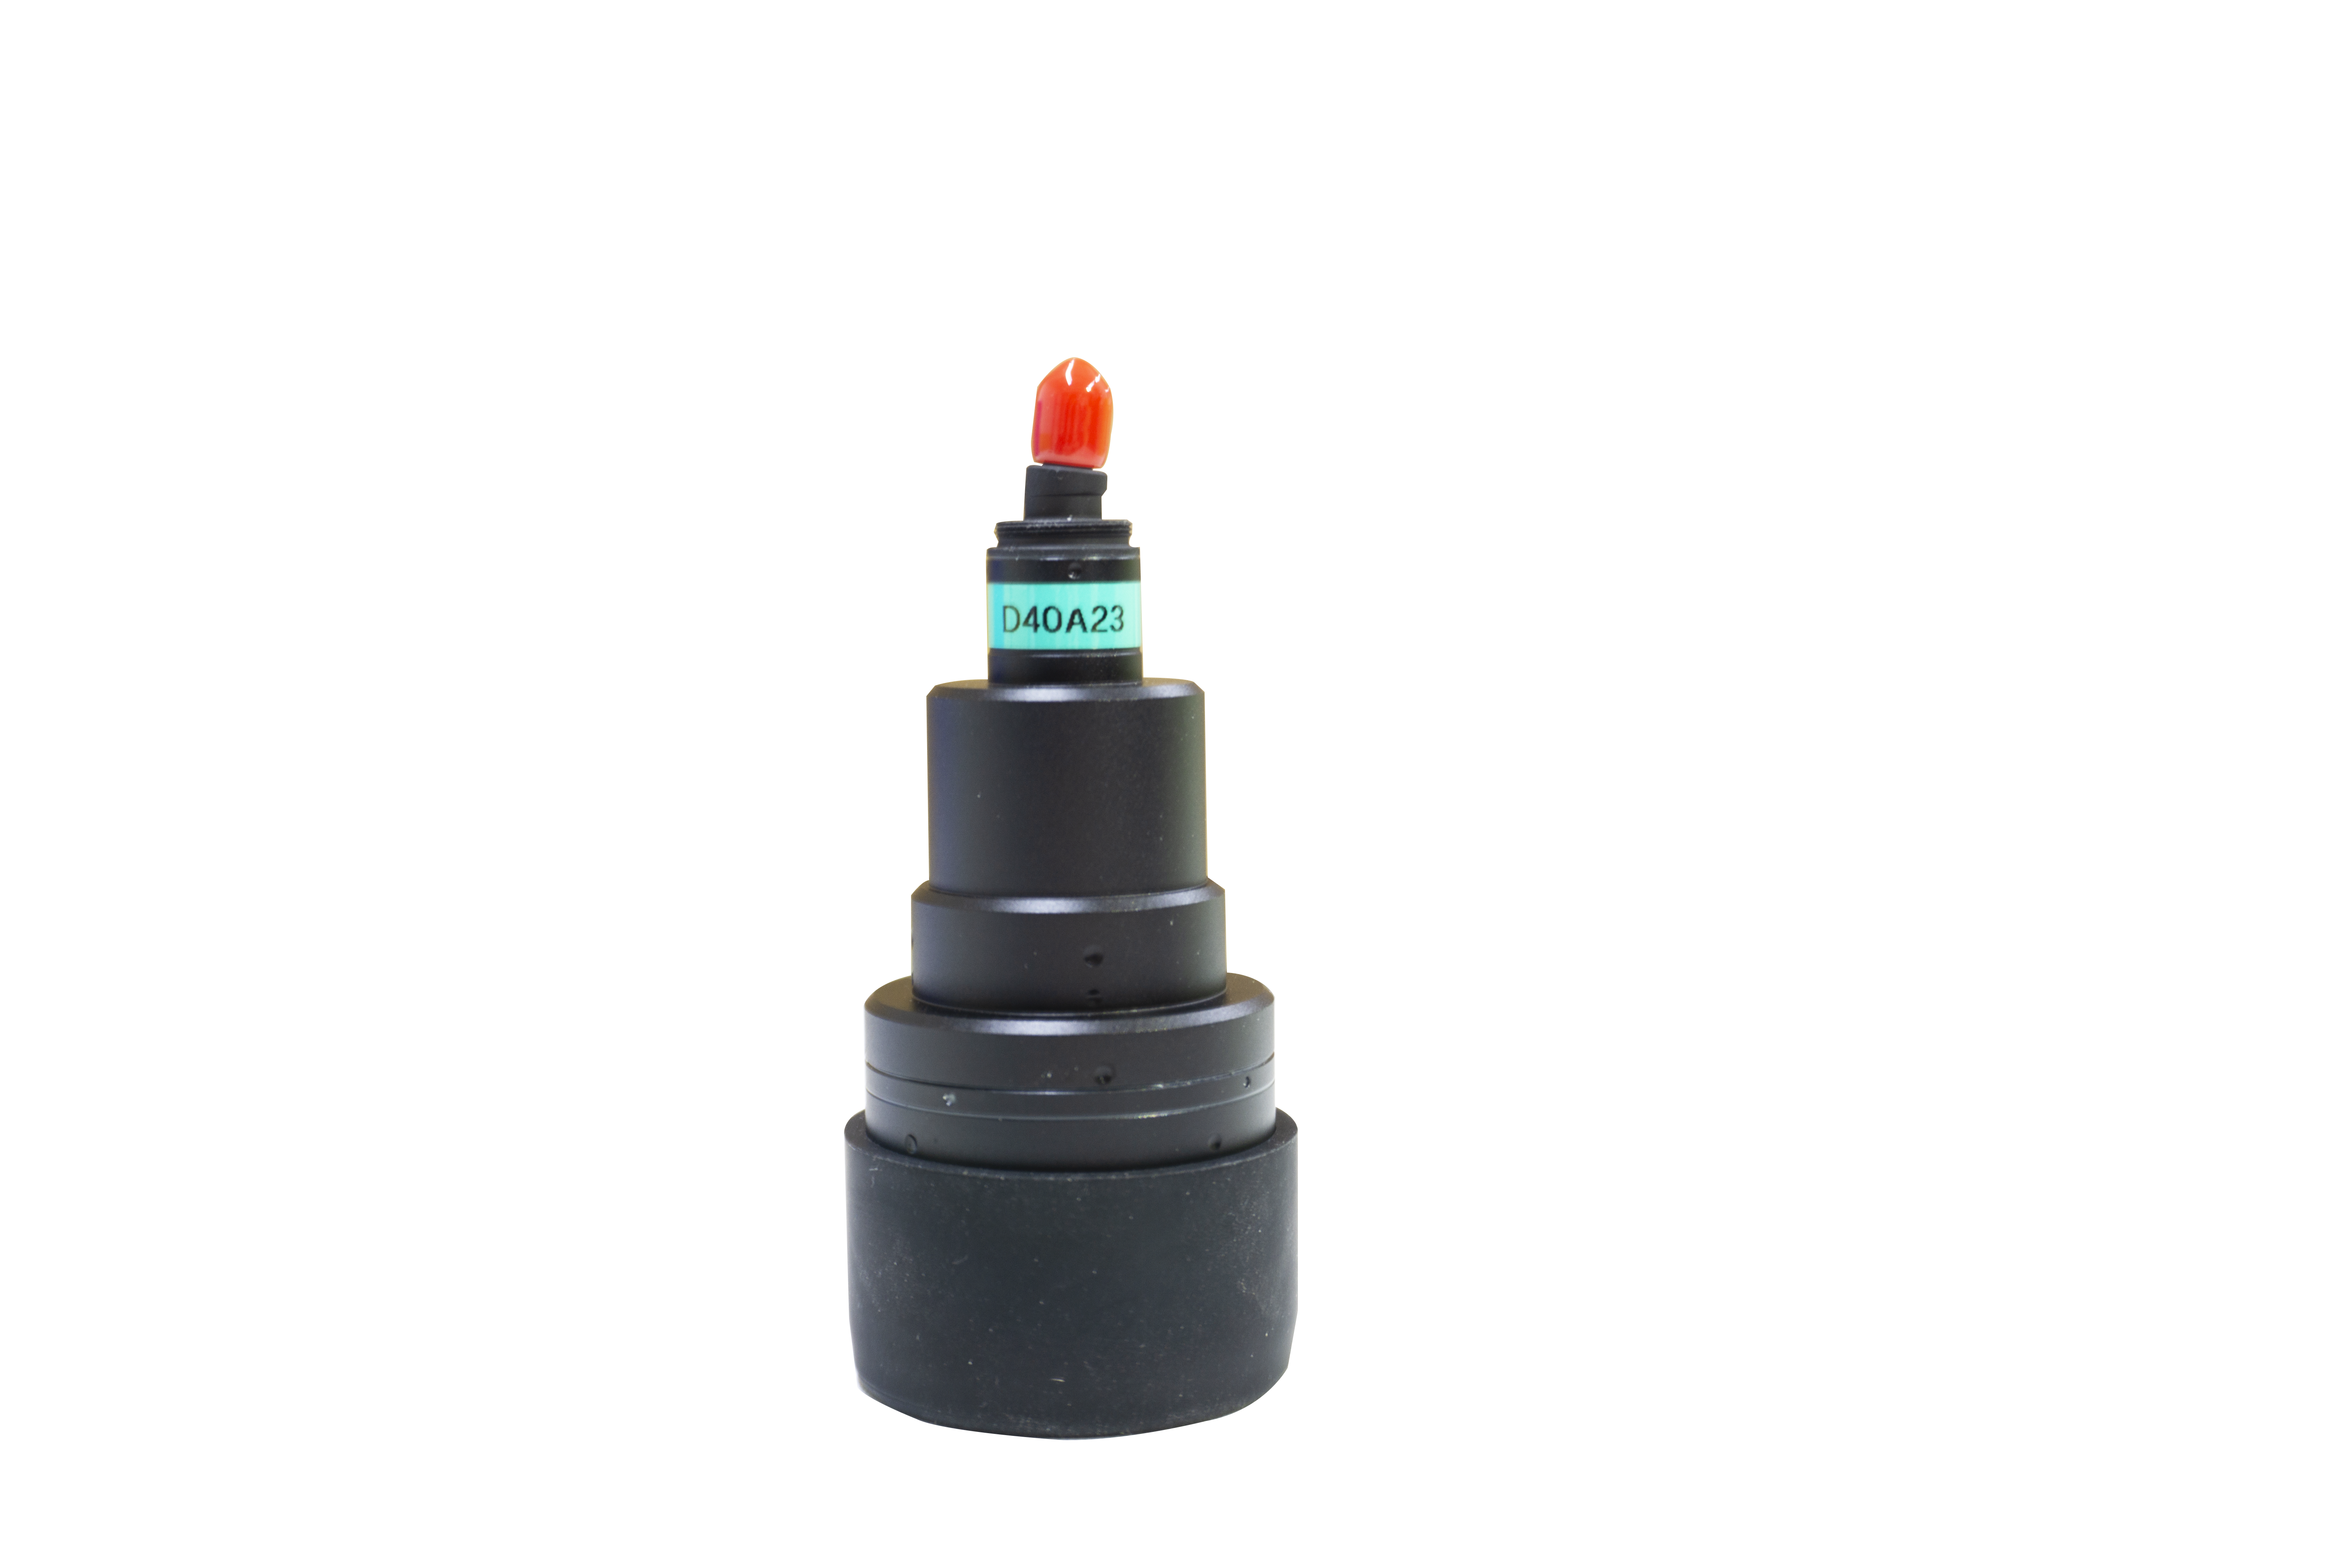
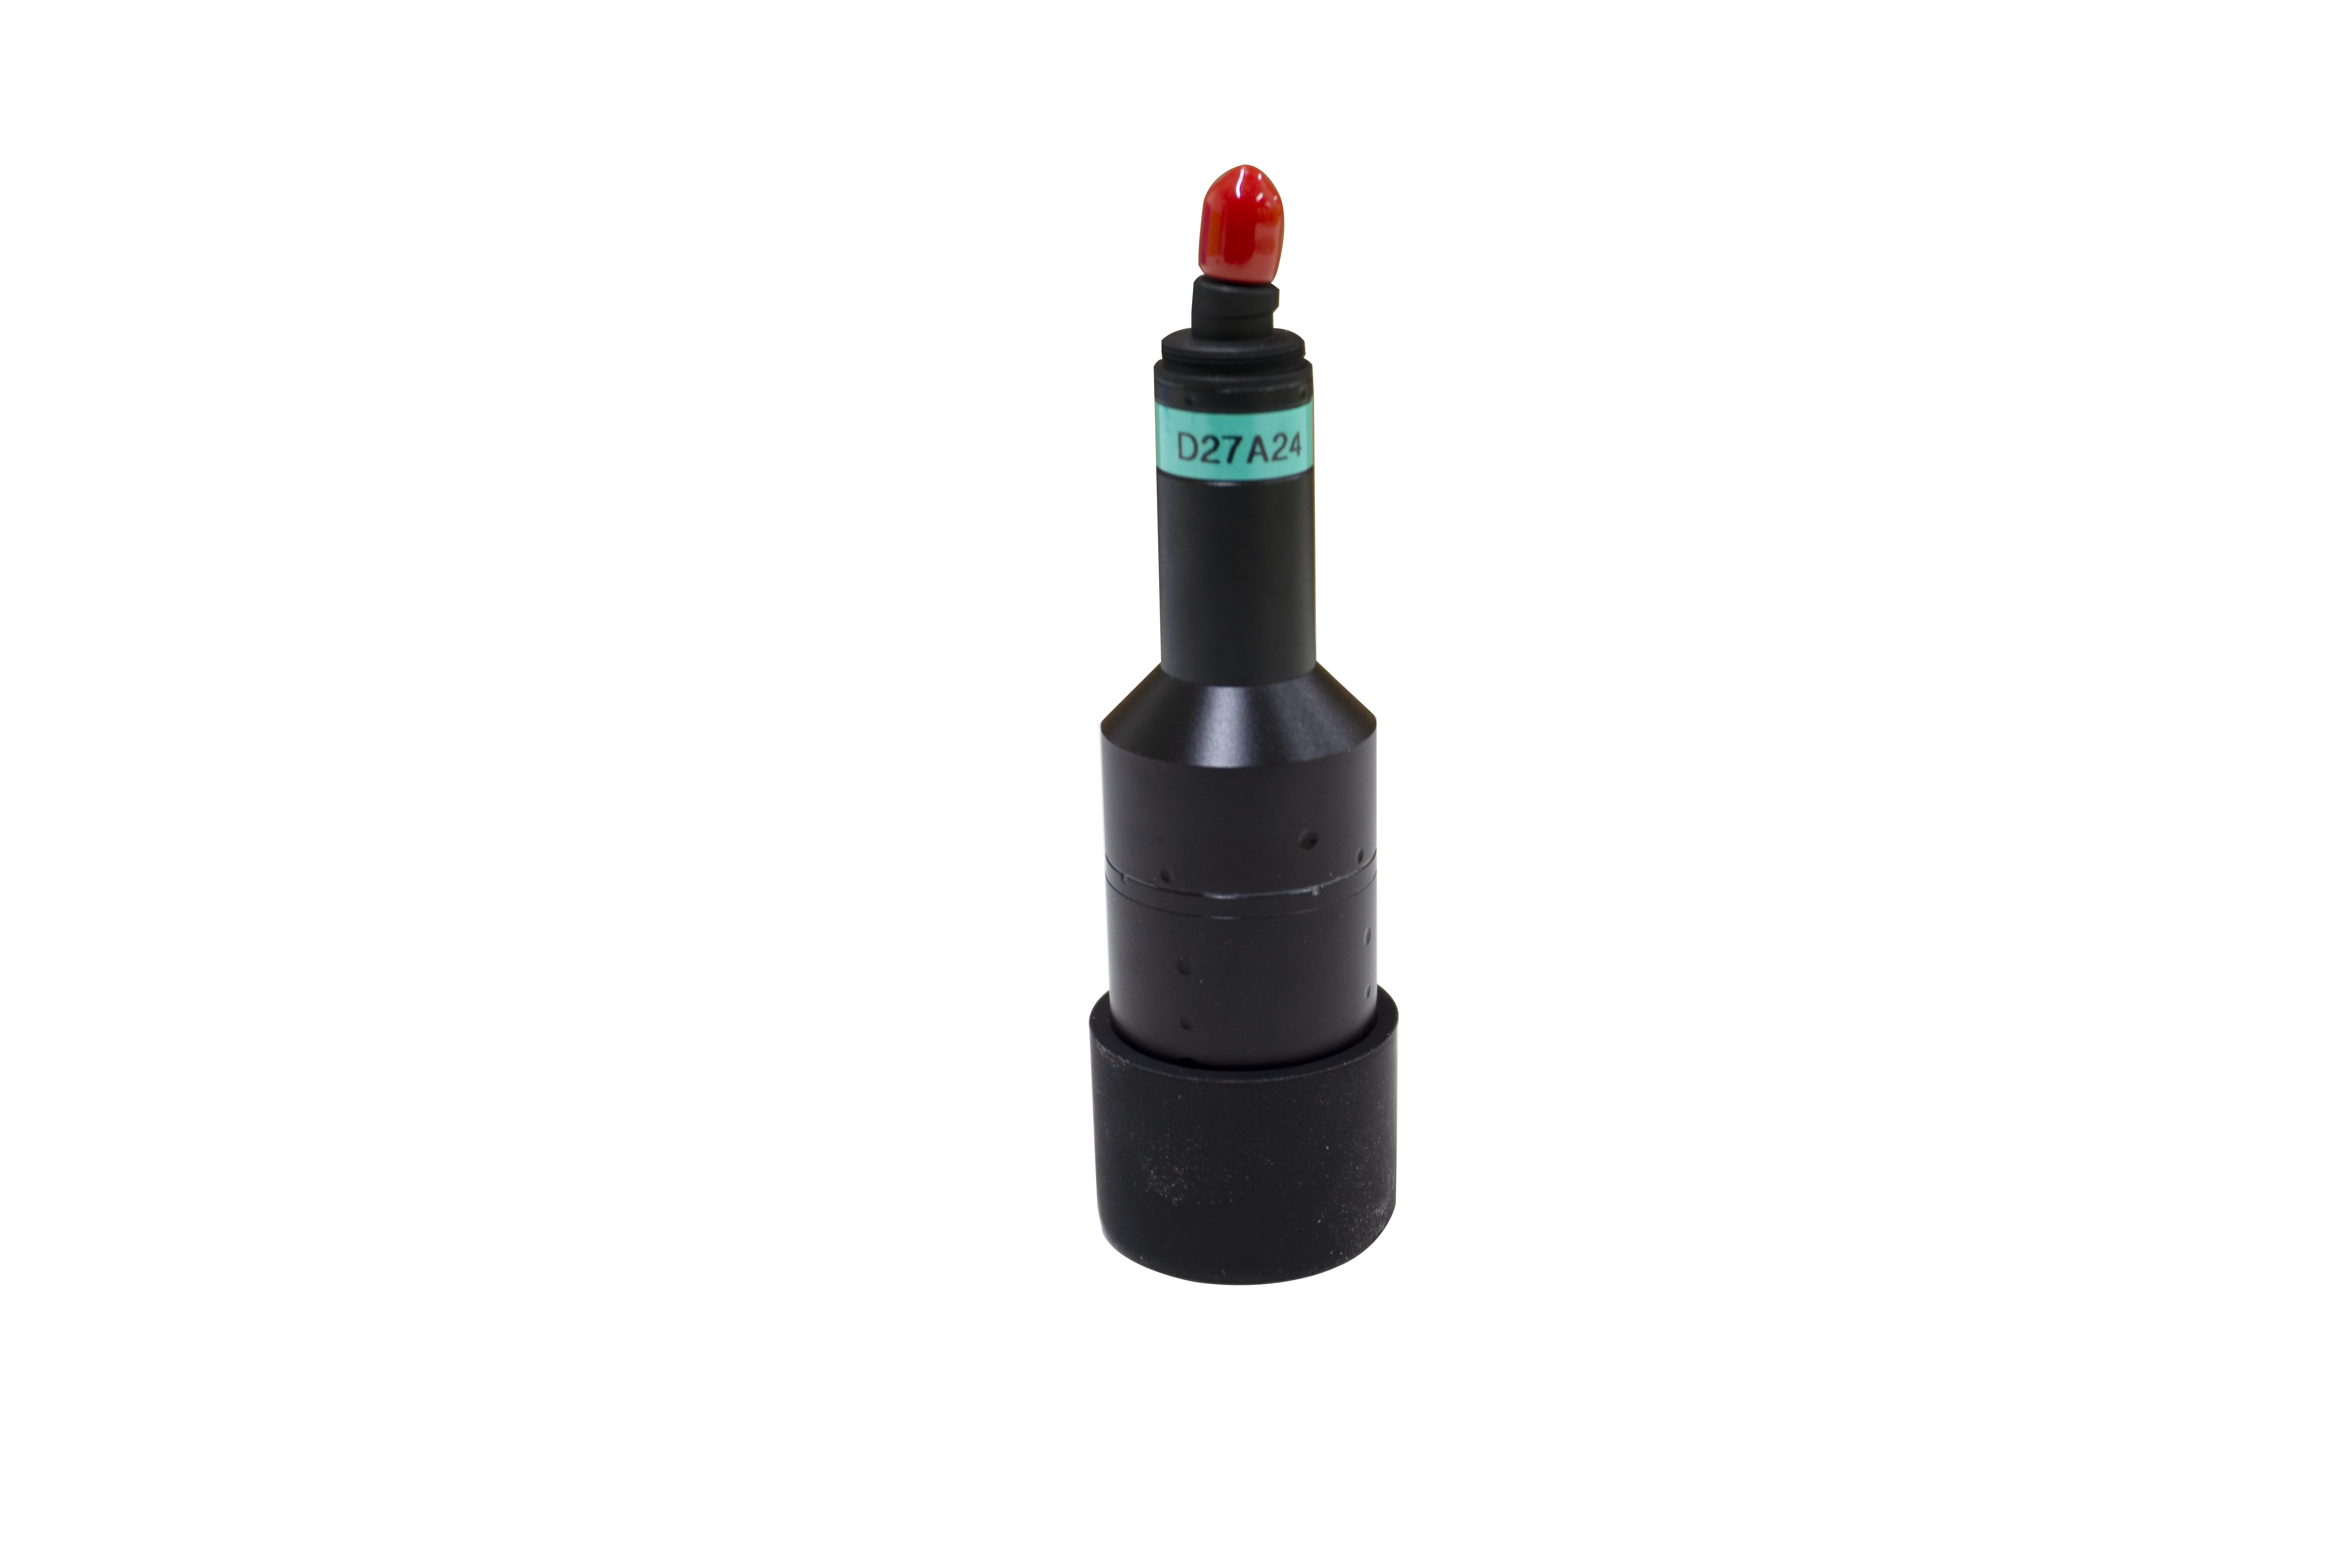
Liyi 3D industrial vision sensors are based on the principle of laser triangle reflection and are suitable for a variety of industrial applications. Based on the self-developed CMOS imaging chip, the scanning speed is fast, which can provide excellent image effects and reliable measurement results. By calculating the position of the reflected light in the chip, the height interval difference and shape information of the measured object can be obtained. According to the size and accuracy requirements of the measured object, it can be flexibly selected for LS series, which is simple to set up and easy to integrate.
What are the advantages of 3D industrial vision sensors over traditional inspection?
1, automatic non-contact detection
Non-contact 3D industrial vision sensors do not damage surface materials, produce highly accurate and highly repeatable measurement data, and can match the speed of online production.
2. Handle various types of surface materials
3D industrial vision sensors offer a variety of exposure methods and data processing algorithms for dealing with reflective surfaces (such as small electronic parts) and low-contrast surfaces (such as tire tread and sidewalls).
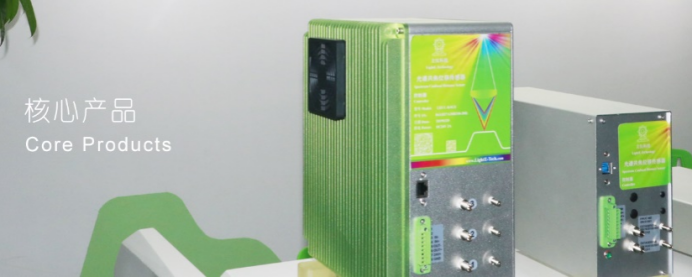
3. Defect identification and analysis
The 3D industrial vision sensor has built-in anchoring and part matching capabilities to ensure that the same position of every part transmitted on the conveyor belt is detected, regardless of how the part position changes.
After listening to the introduction of Liyi Technology on defect detection, I believe you have a general understanding of 3D industrial vision sensor detection defects, more consultation on defect detection, welcome to pay attention to Liyi Technology.
