2022-07-04
At present, the white light interferometer is one of the most accurate measuring instruments in the field of 3D. The white light interferometer is a hyperfine surface profile measuring instrument developed by the principle of optical interference. The illumination beam is divided into two beams by the semi-reflective semi-permeable spectroscope and projected onto the sample surface and the reference mirror surface respectively.
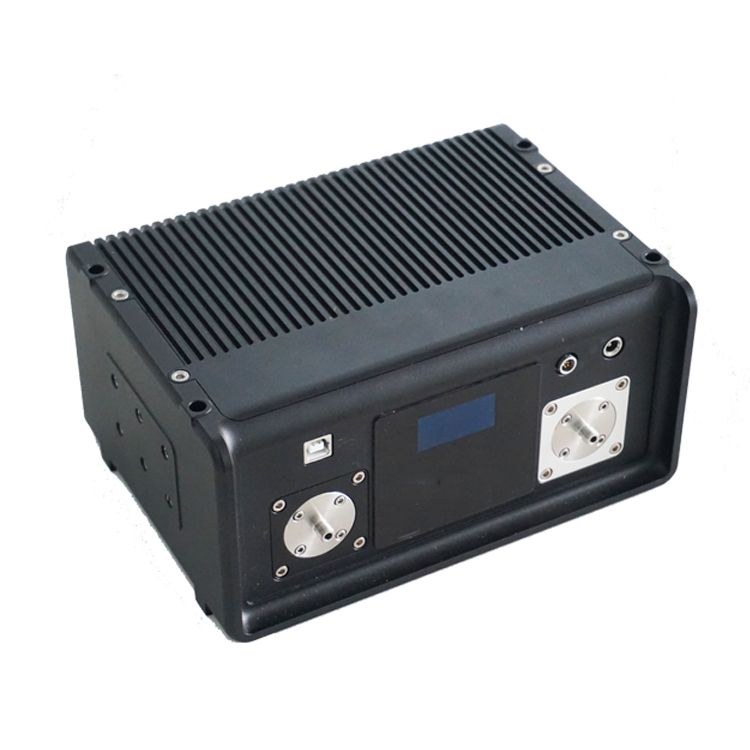
It has the advantages of high measurement accuracy, convenient operation, complete functions, and wide coverage of measurement parameters. The process of measuring a single fine device takes less than 2 minutes to ensure high model rate detection. The special light source mode of white light interferometer can be widely applied to the measurement of various fine device surfaces from smooth to rough.
In addition to the measurement accuracy advantages, the white light interferometry system also has non-contact non-destructive measurement, 10mm ultra-high Z-range, a single 4mm FOV scanning range, support for splicing a large range of scanning and other leading features. The white light interferometry system can analyze the surface roughness, step height, flatness, warpage, curvature radius and defects of nano-machined surfaces.
1. Surface roughness
Surface roughness is one of the key indicators to measure surface quality, which usually includes Sa/Sv/Sp/Sz/Sq and other parameters. The surface roughness of the sample can be machined to Sa10 nm by mirror grinding process.
2. Surface morphology and step height
The high-precision surface topography data can not only be used to observe the surface characteristics of the sample, analyze the cross section and step height, but also support the analysis of micromechanical behavior.
3. Flatness
Flatness is one of the important parameters to evaluate the difference between the surface of a sample and the ideal plane, and usually includes FLTt, FLTp,FLTv, and FLTq.
4. Warpage degree
Warpage reflects the rebound characteristics of the sample surface, which is very similar to the concept of flatness, but the calculation method is slightly different. The calculation of warpage is usually based on the height of the central region of the sample, and samples are taken from 4, 6, or 9 regions evenly distributed along the edge of the sample, and the maximum height difference obtained is the warpage value.
5. Radius of curvature
The curvature radius is an important parameter in the design and manufacture of optical lenses. The surface morphology of the lens can be obtained and the curvature radius can be calculated by using the white light interferometry system.
6. Surface defects
It is difficult for 2D methods to identify defects on some high-precision surfaces. In this case, 3D topography can be considered to collect and identify defects. Since the white light interferometer measurement system has a resolution of 0.1nm in the Z direction, any small defect can form a 3D image.
