2022-06-09
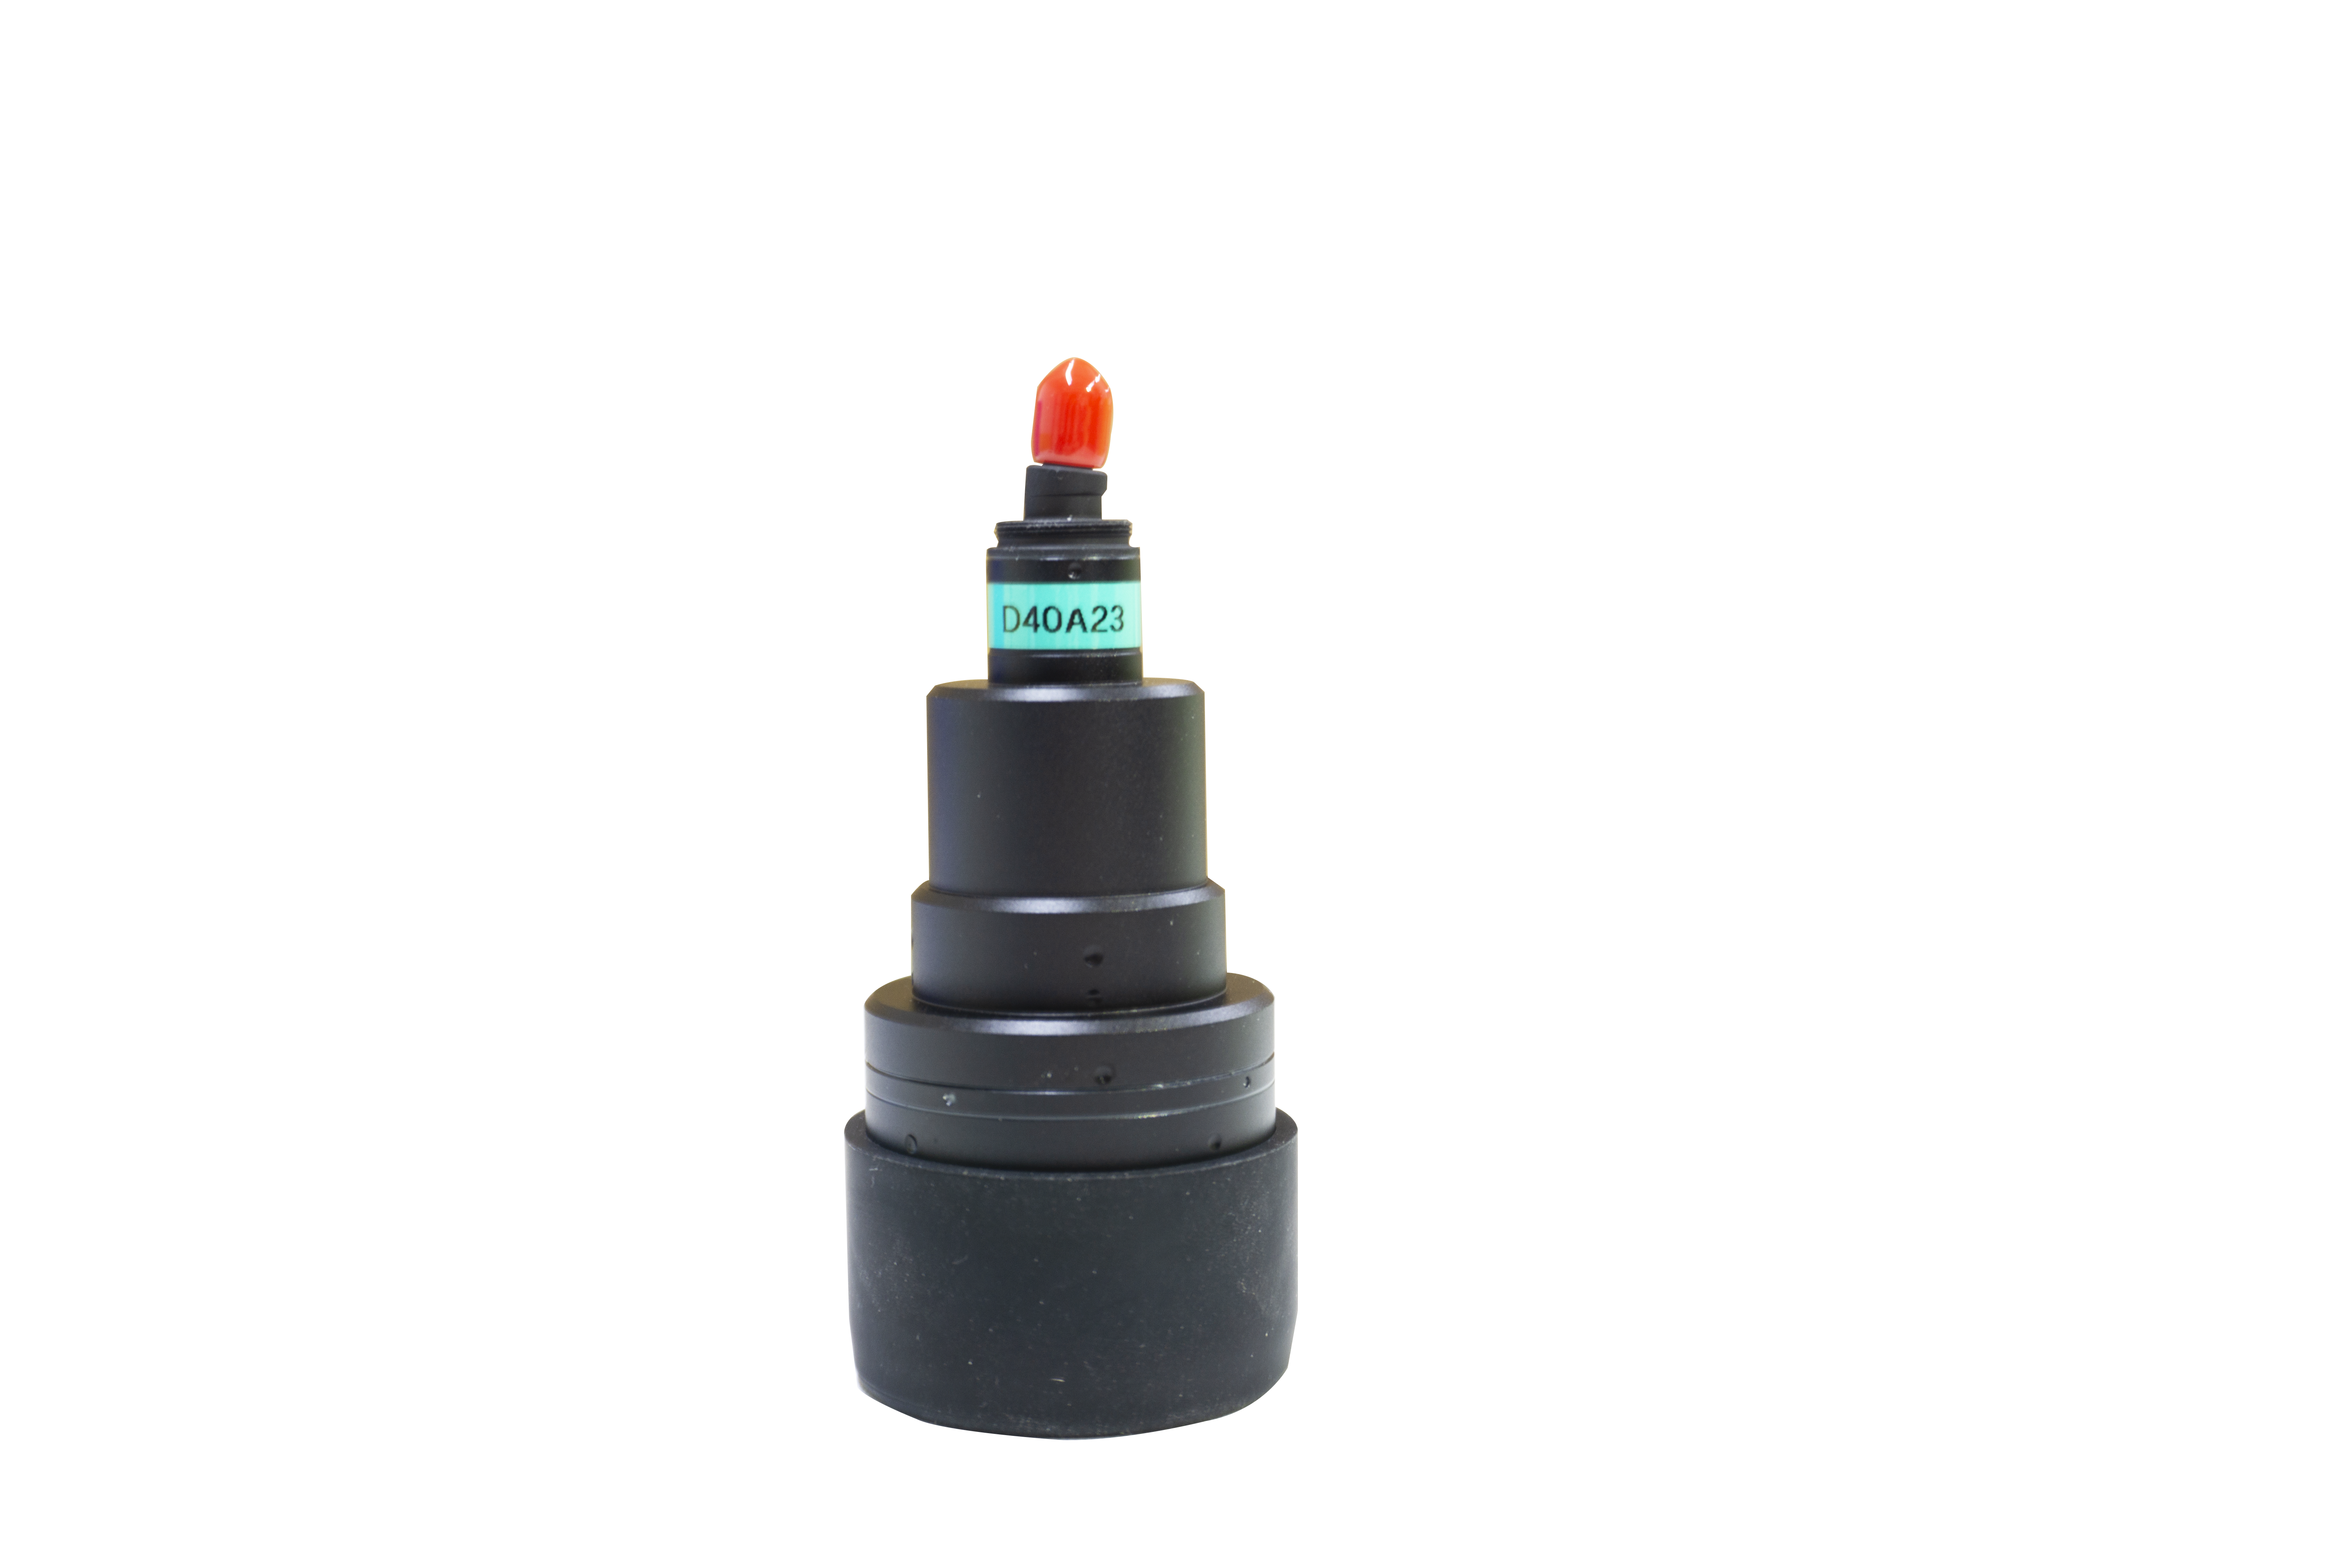
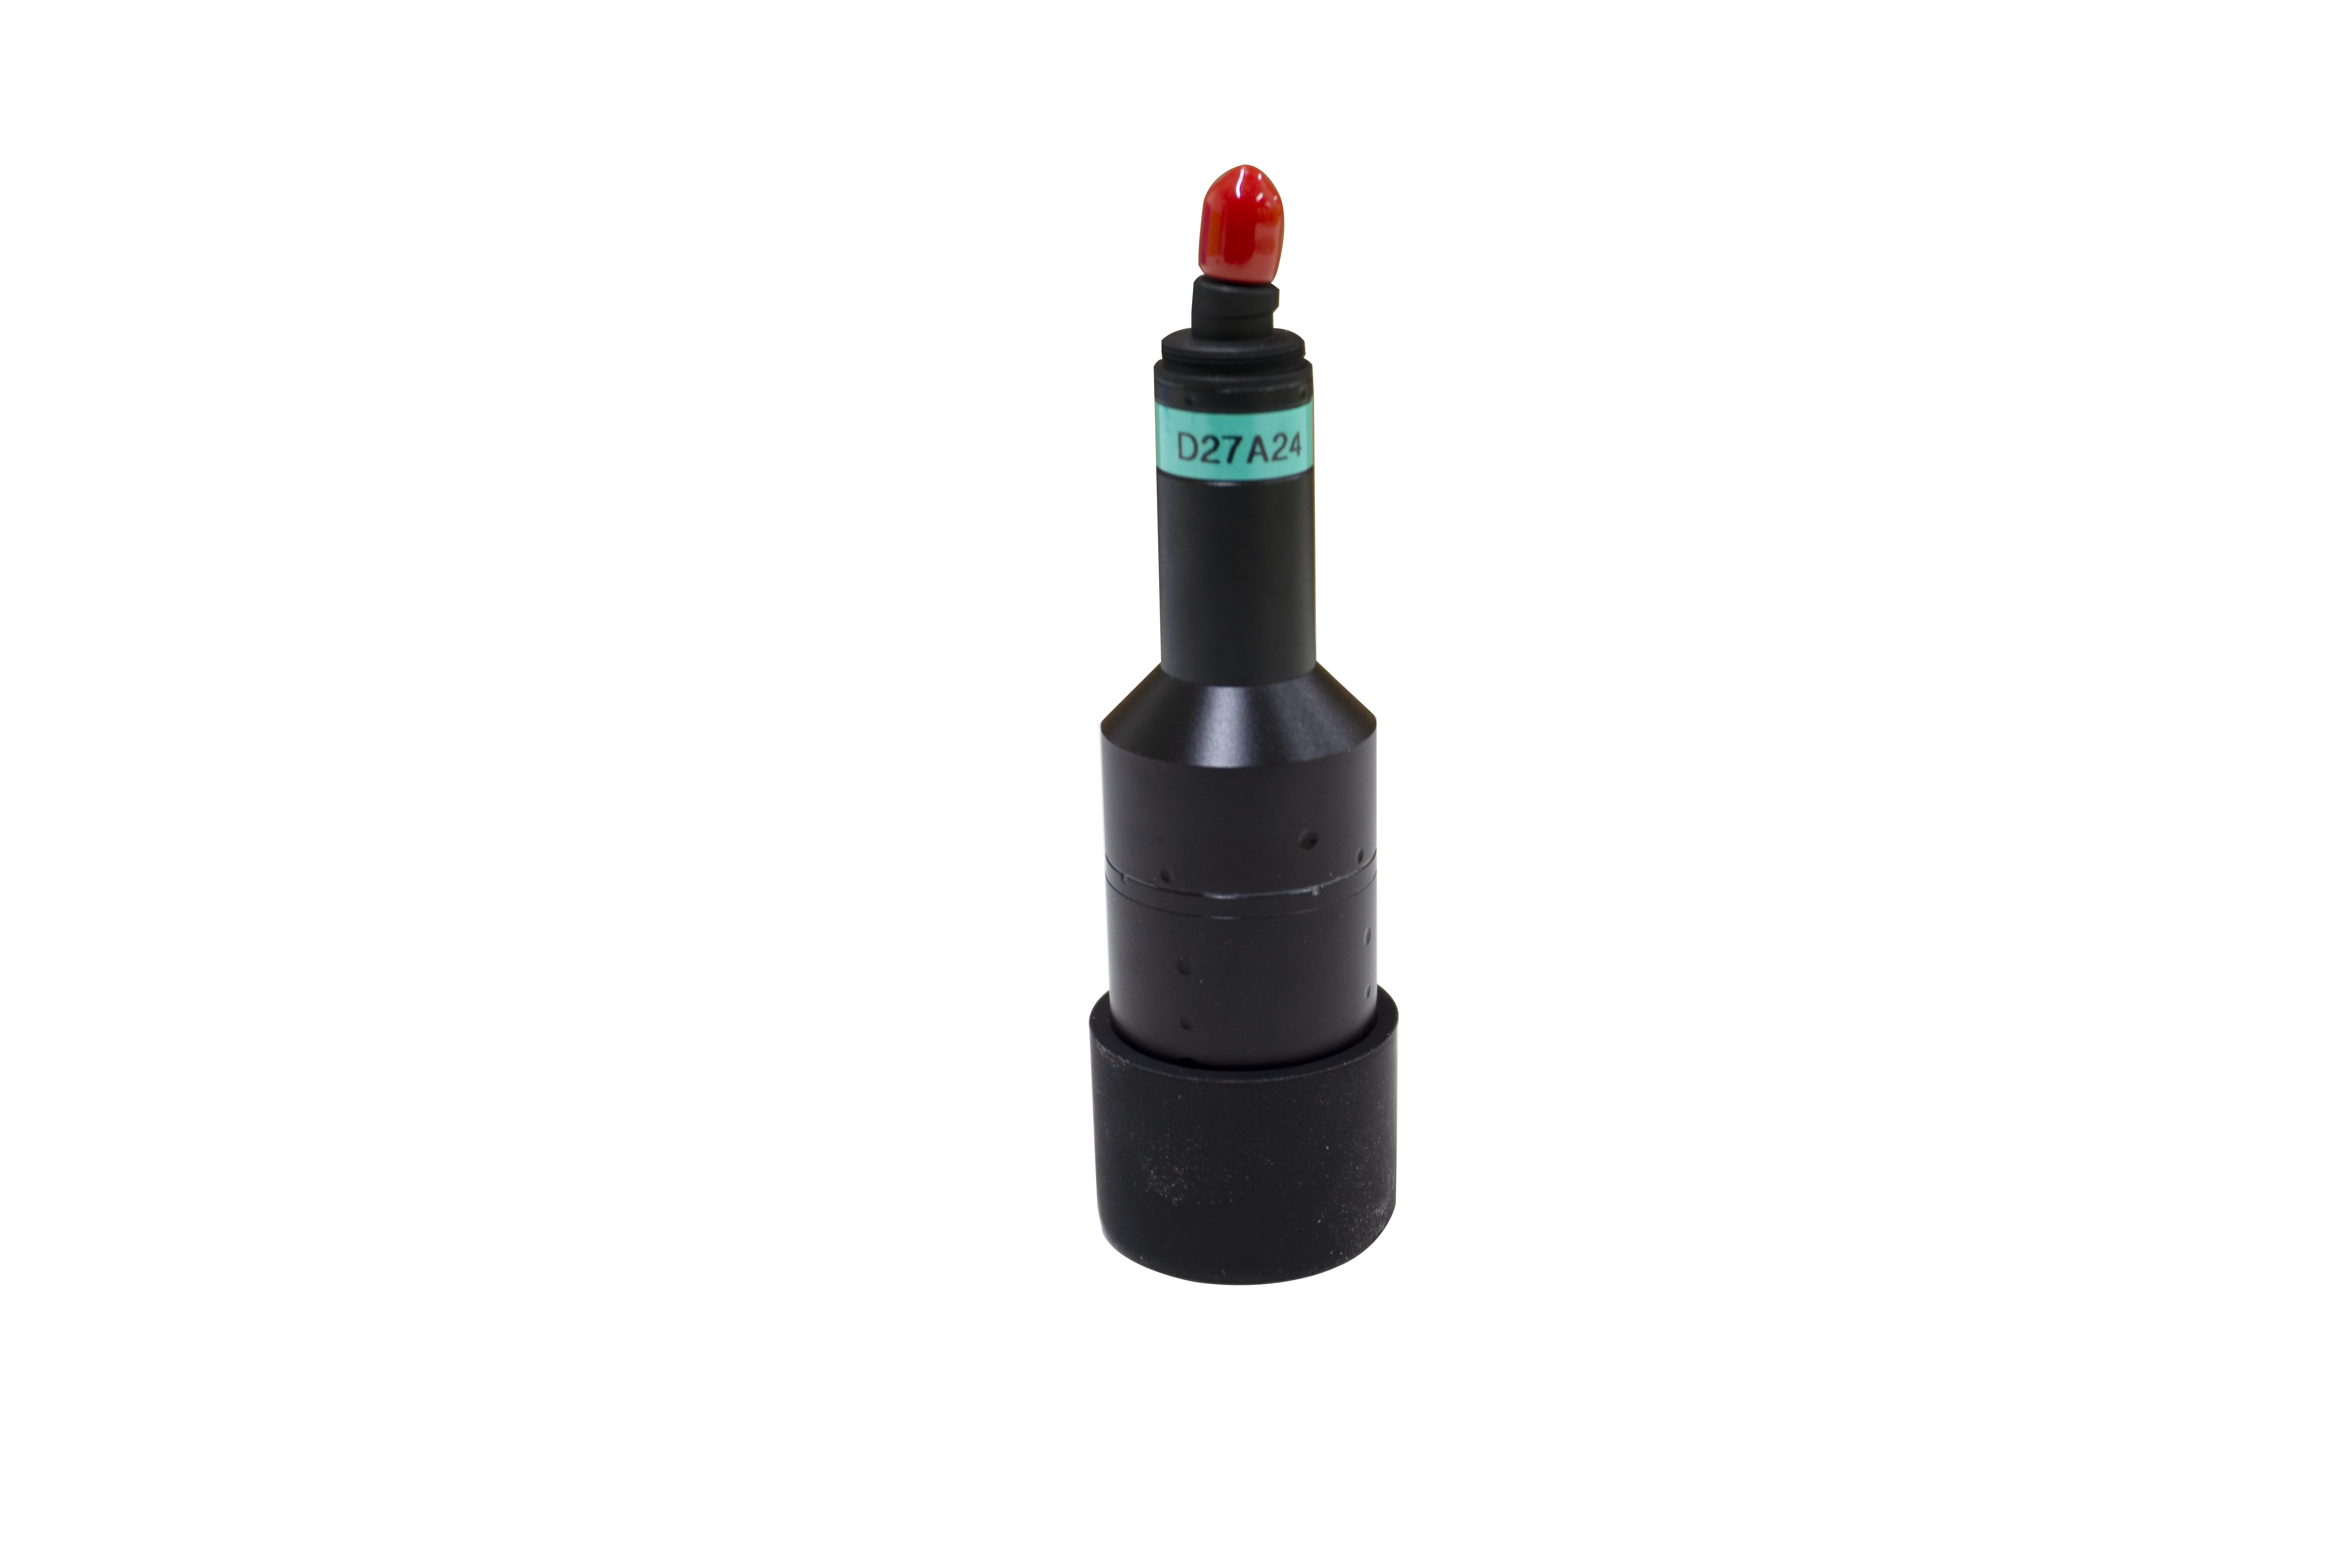
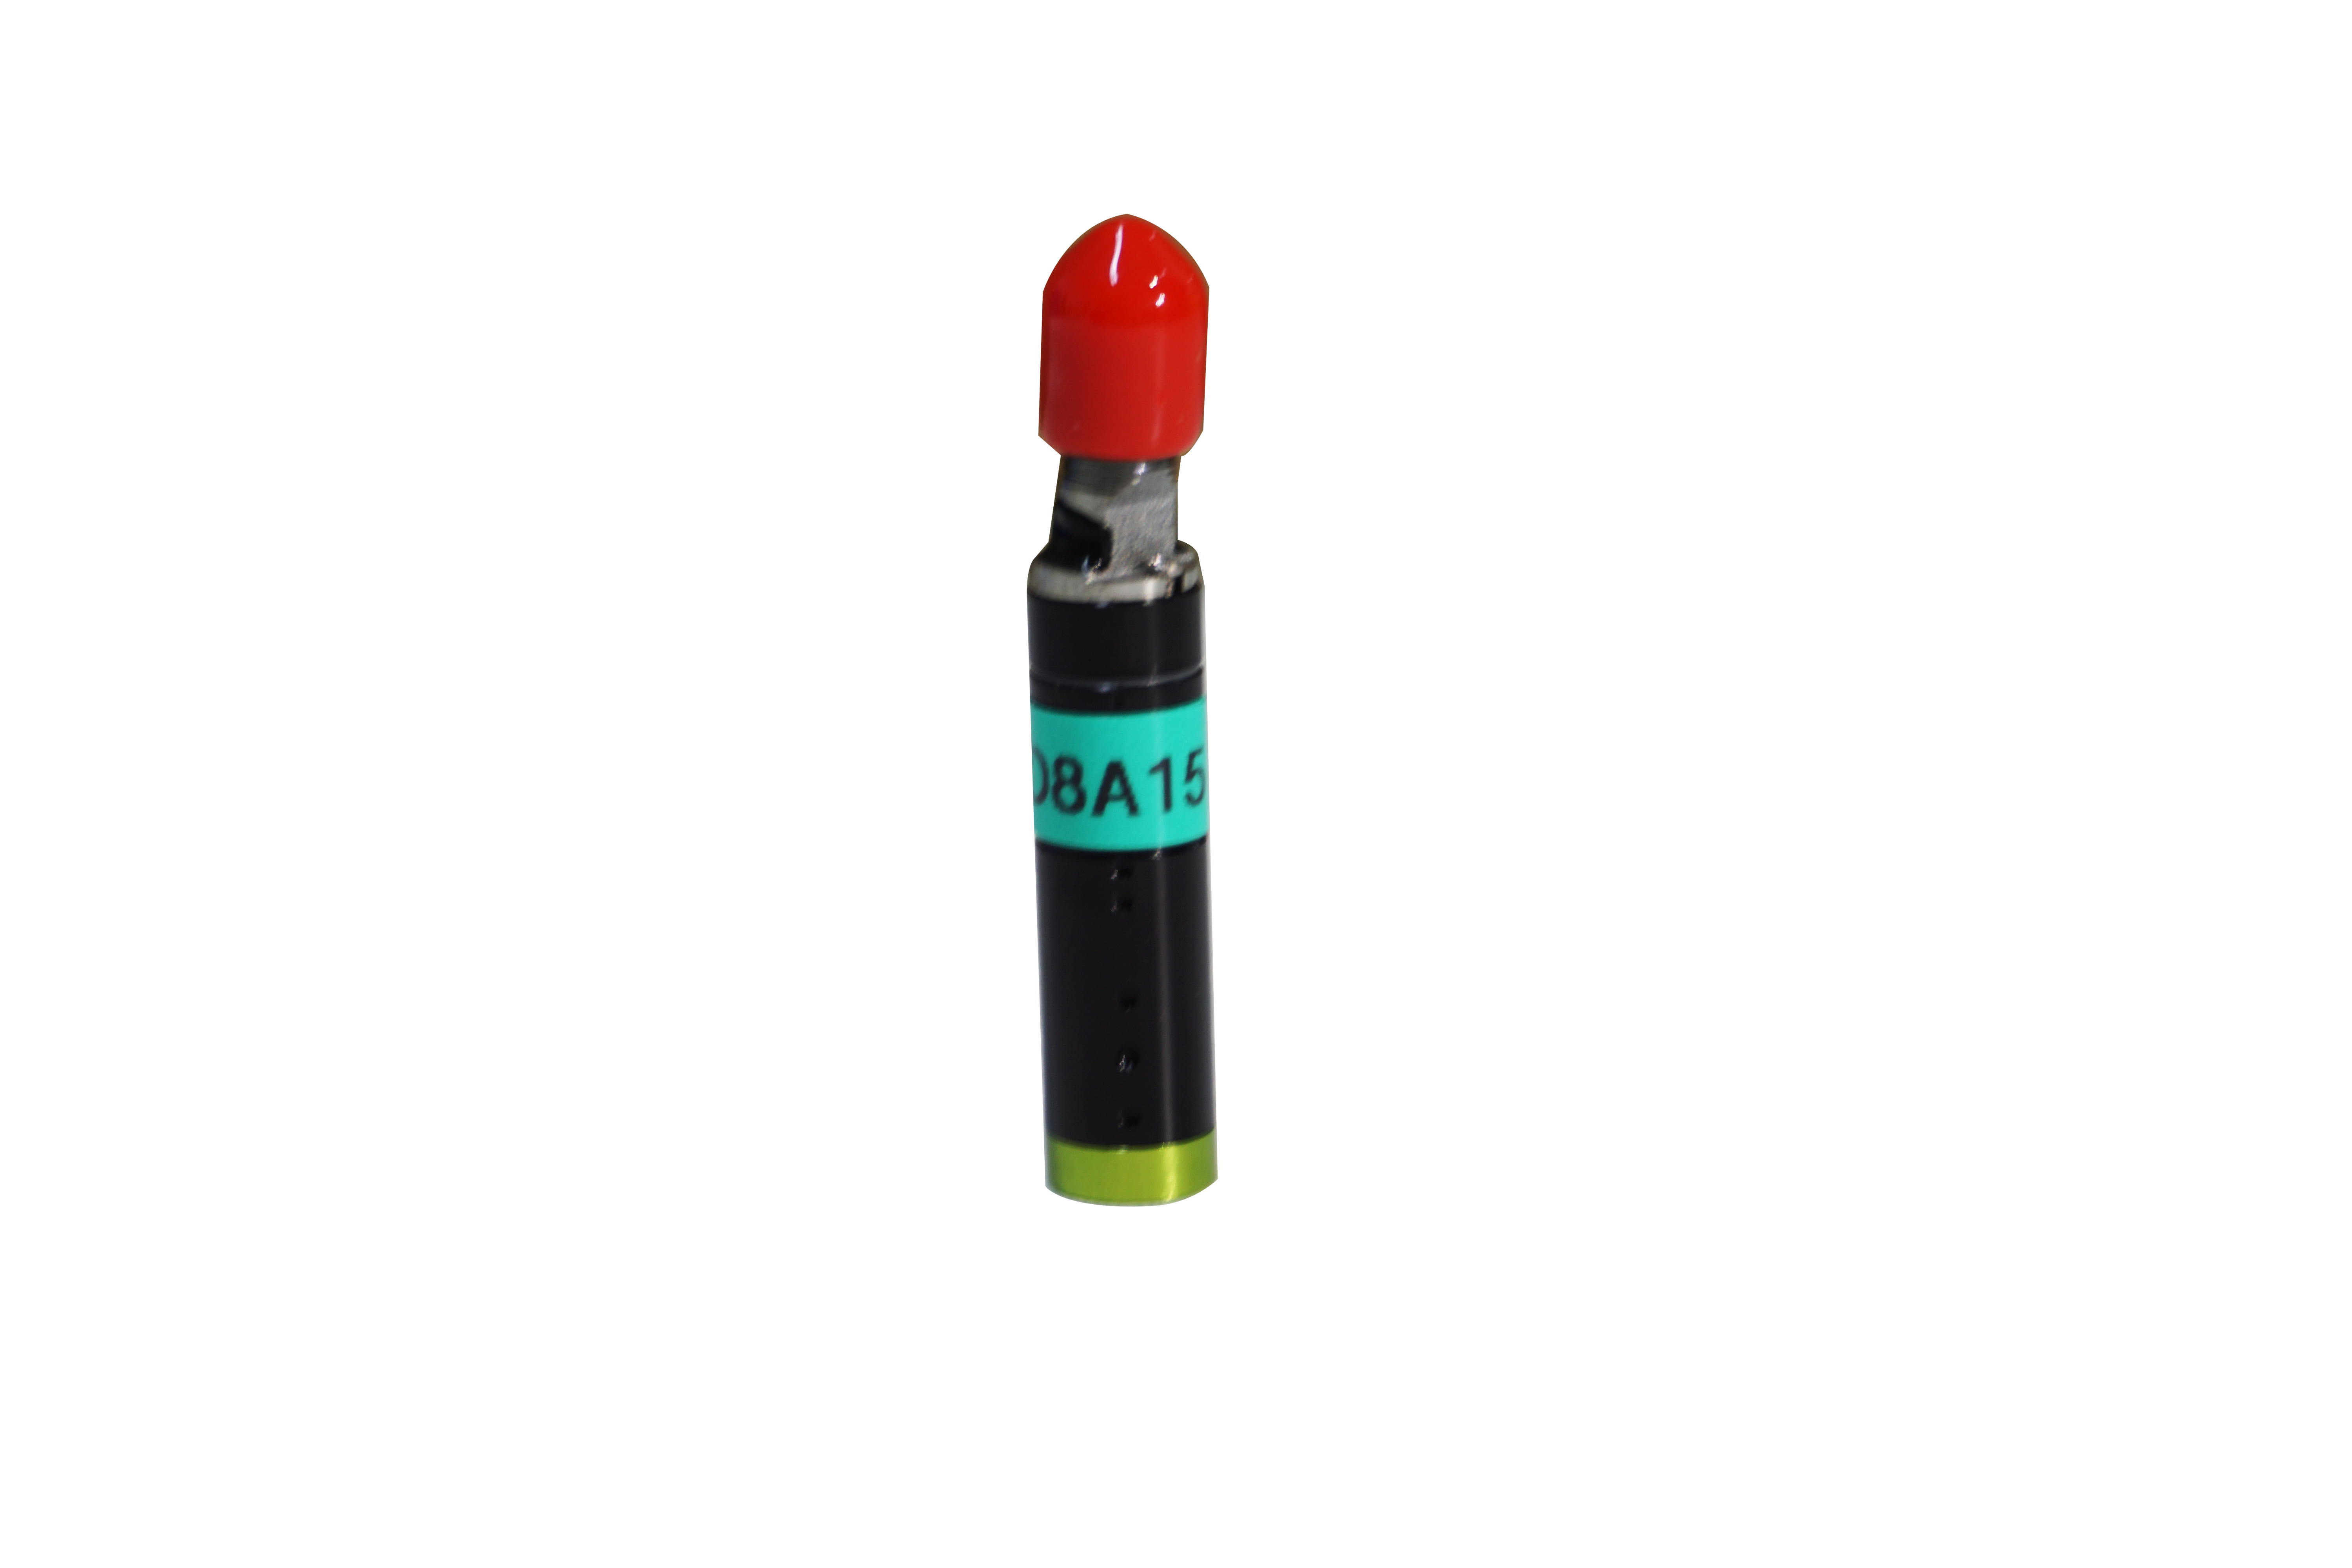
With the development of science and technology, enterprises are increasingly demanding and dependent on high-precision products, small to people everywhere available mobile phones, tablets, audio to aircraft, high-speed rail cars are inseparable from the chip. The level of chip manufacturing is also a reflection of a country's comprehensive strength. In order to prevent defective wafers from flowing into the back-end packaging process of the chip, high-precision optical inspection equipment and inspection means are very necessary. The 3D line confocal developed by Lihe Technology adopts the internationally leading white light confocal technology, with ultra-high measurement accuracy at sub-micron level, and can be compatible with a variety of different materials, from specular reflection to diffuse reflection, from transparent materials to opaque materials, perfectly realizing the 3D shape measurement of the workpiece in the semiconductor sealing stage, breaking the blockade of foreign measuring equipment, and realizing domestic substitution. It can scan the 3D shape of the object, and realize the detection and measurement of 3D contour, flatness, roughness, height difference, seam width, etc.
Measurement of Bump 3D morphology in advanced packaging wafers
Wafer-level advanced packaging technology is the trend of the industry development, and this type of wafer surface 3D precision measurement and detection is very important for product quality control. The high precision measuring head can detect whether the chip has design defects or physical anomalies caused by the manufacturing process. The high precision line spectrum optical probe can be used to measure the height and diameter of bump in wafers, the coplanarity of bump, and identify bump defects, such as missing, offset, short-circuited, etc., which can reach the precision measurement requirements of sub-micron level.
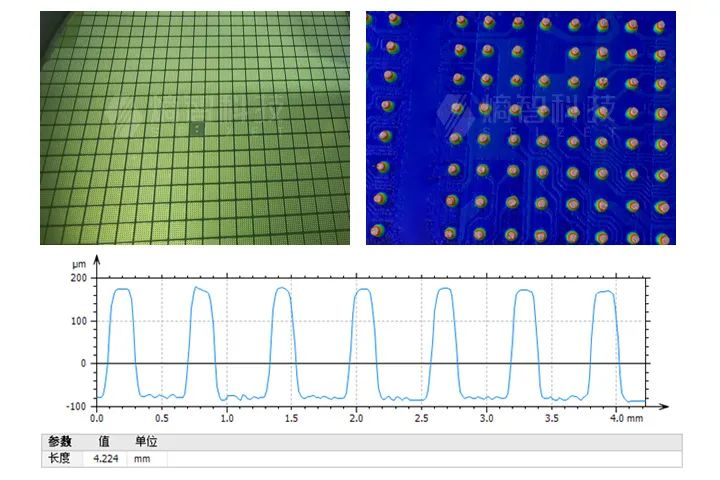
According to the actual collected point cloud data, the repeated measurement error of welding ball height was ±0.001mm
Measurement of three-dimensional shape of BGA welding ball of finished chip
The fine pitch BGA package chip surface tin ball has very high size and contour accuracy requirements to ensure the chip mounting accuracy and connection quality. The 3D line spectral confocal sensor developed by Lihe Technology can scan the whole field 3D shape of the BGA welding ball, realize the accurate measurement of the three-dimensional contour of the chip mounting surface, and analyze the geometric information of the BGA welding ball, such as coplanicity, segment height difference and volume.
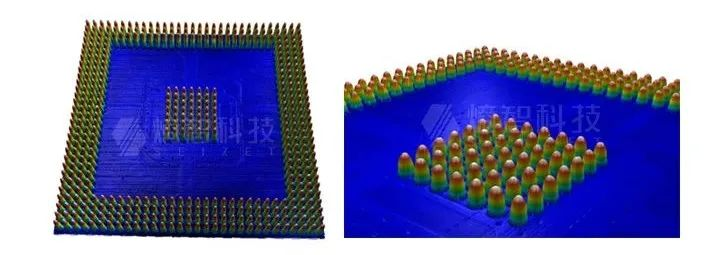
3D point cloud image of BGA chip acquired by 3D line spectral confocal sensor
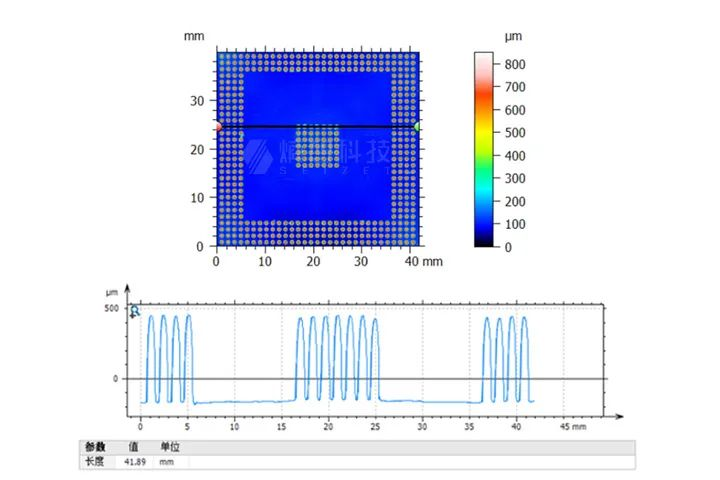
The section was intercepted, and the step points at both ends were the start point and the end point, and the repeated measurement error was ±0.005mm
PCB board hole depth aperture 3D shape measurement
Printed electronic products manufacturing high-precision PCB board hole deep aperture 3D topography measurement is a problem in the industry, vertical technology 3D line spectral confocal sensor can be compatible with different substrate materials printed circuit boards after measurement, to achieve product surface roughness measurement, printing structure step height and width measurement, deep hole topography measurement, etc. At the same time, the sensor can be adapted to glossy, smooth and transparent materials (such as glass or polyester films) to achieve fast and accurate 3D topography imaging.
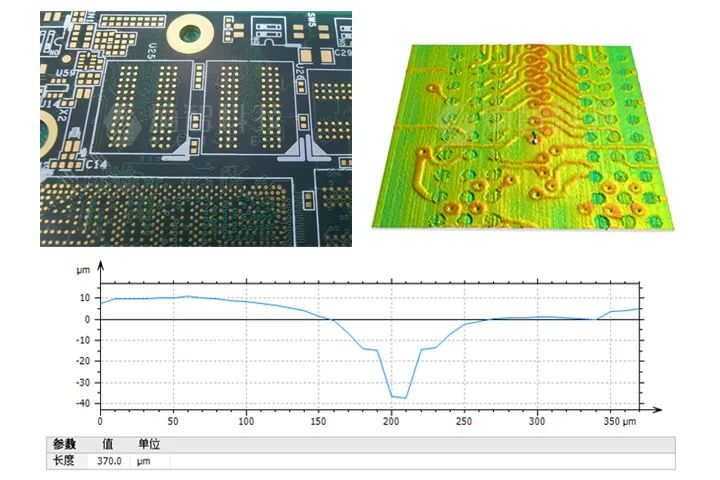
By comparison, the repeated measurement error of PCB board hole depth can reach ±0.002mm, which meets the actual measurement requirements
Shenzhen Liyi Technology Co., LTD., founded in 2014, is a private high-tech enterprise with precision optical detection as its main business, specializing in the production and sales of line spectral confocal displacement sensors, laser displacement sensors, white light interferometers, film thickness meters, which has been established for nearly 10 years and has solved measurement problems for hundreds of enterprises.
