2021-11-03
Spectral confocal measurement technology analyzes the focusing position of different wavelengths of light on a specific surface to carry out high-precision dimensional measurement and micro-morphology analysis. Surface roughness is a concept used to express the micro-geometric error of the surface of a part. The error size of the micro-geometric shape is expressed in microns.
Use an easy-to-understand metaphor to explain the concept of surface roughness, the definition of the current photography equipment is easy to reflect this subtle bumpy, in order to cover up the unsatisfactory skin characteristics, beautiful women especially like Meitu software, one of its important functions is to grind the rough skin in the image into a smooth and uniform skin, so that the skin roughness can be ground very small, The microscopic geometry is averaged into a smooth ideal surface.
When measuring and evaluating surface roughness, it is necessary to determine the sampling length, evaluation length, reference line and evaluation parameters. This set of standards stipulates that the sampled data is found by small square method, and then the height feature parameters Ra,Rz,Ry, etc., the spacing feature parameters S and Sm, and the shape feature parameter that is the contour support length rate tp can be calculated by statistical methods. Due to the manufacturing cost involved, it is necessary to choose the parameter type and parameter value reasonably in practical applications, and the parameter setting of surface roughness needs to be treated carefully, otherwise it will bring unnecessary cost increase.
Precision machinery in the pursuit of precision, rigidity, sealing or life, if the dimensional tolerance and shape and position tolerance, can not effectively control the quality of the product, then it will be necessary to further control the micro-geometry error of the part, that is, to control the dimensional tolerance and shape and position tolerance and to control the surface roughness.
The rougher the surface, the smaller the effective contact area between the mating surfaces, the greater the pressure, the faster the wear. There are large troughs on the surface of rough parts, which are sensitive to stress concentration like sharp notch and crack, thus affecting the fatigue strength of parts.
At present, the instruments for measuring the size and shape and position tolerance of parts in the manufacturing industry are traditional measuring tools, such as calipers, micrometers, micrometers, coordinate measuring instruments, etc., the sampling point of these instruments is a macroscopic contact point, in the micro, is an average point of many high point contact, is unable to reflect the microscopic geometric error. However, the instruments used to measure roughness cannot measure macroscopic form and position tolerances.
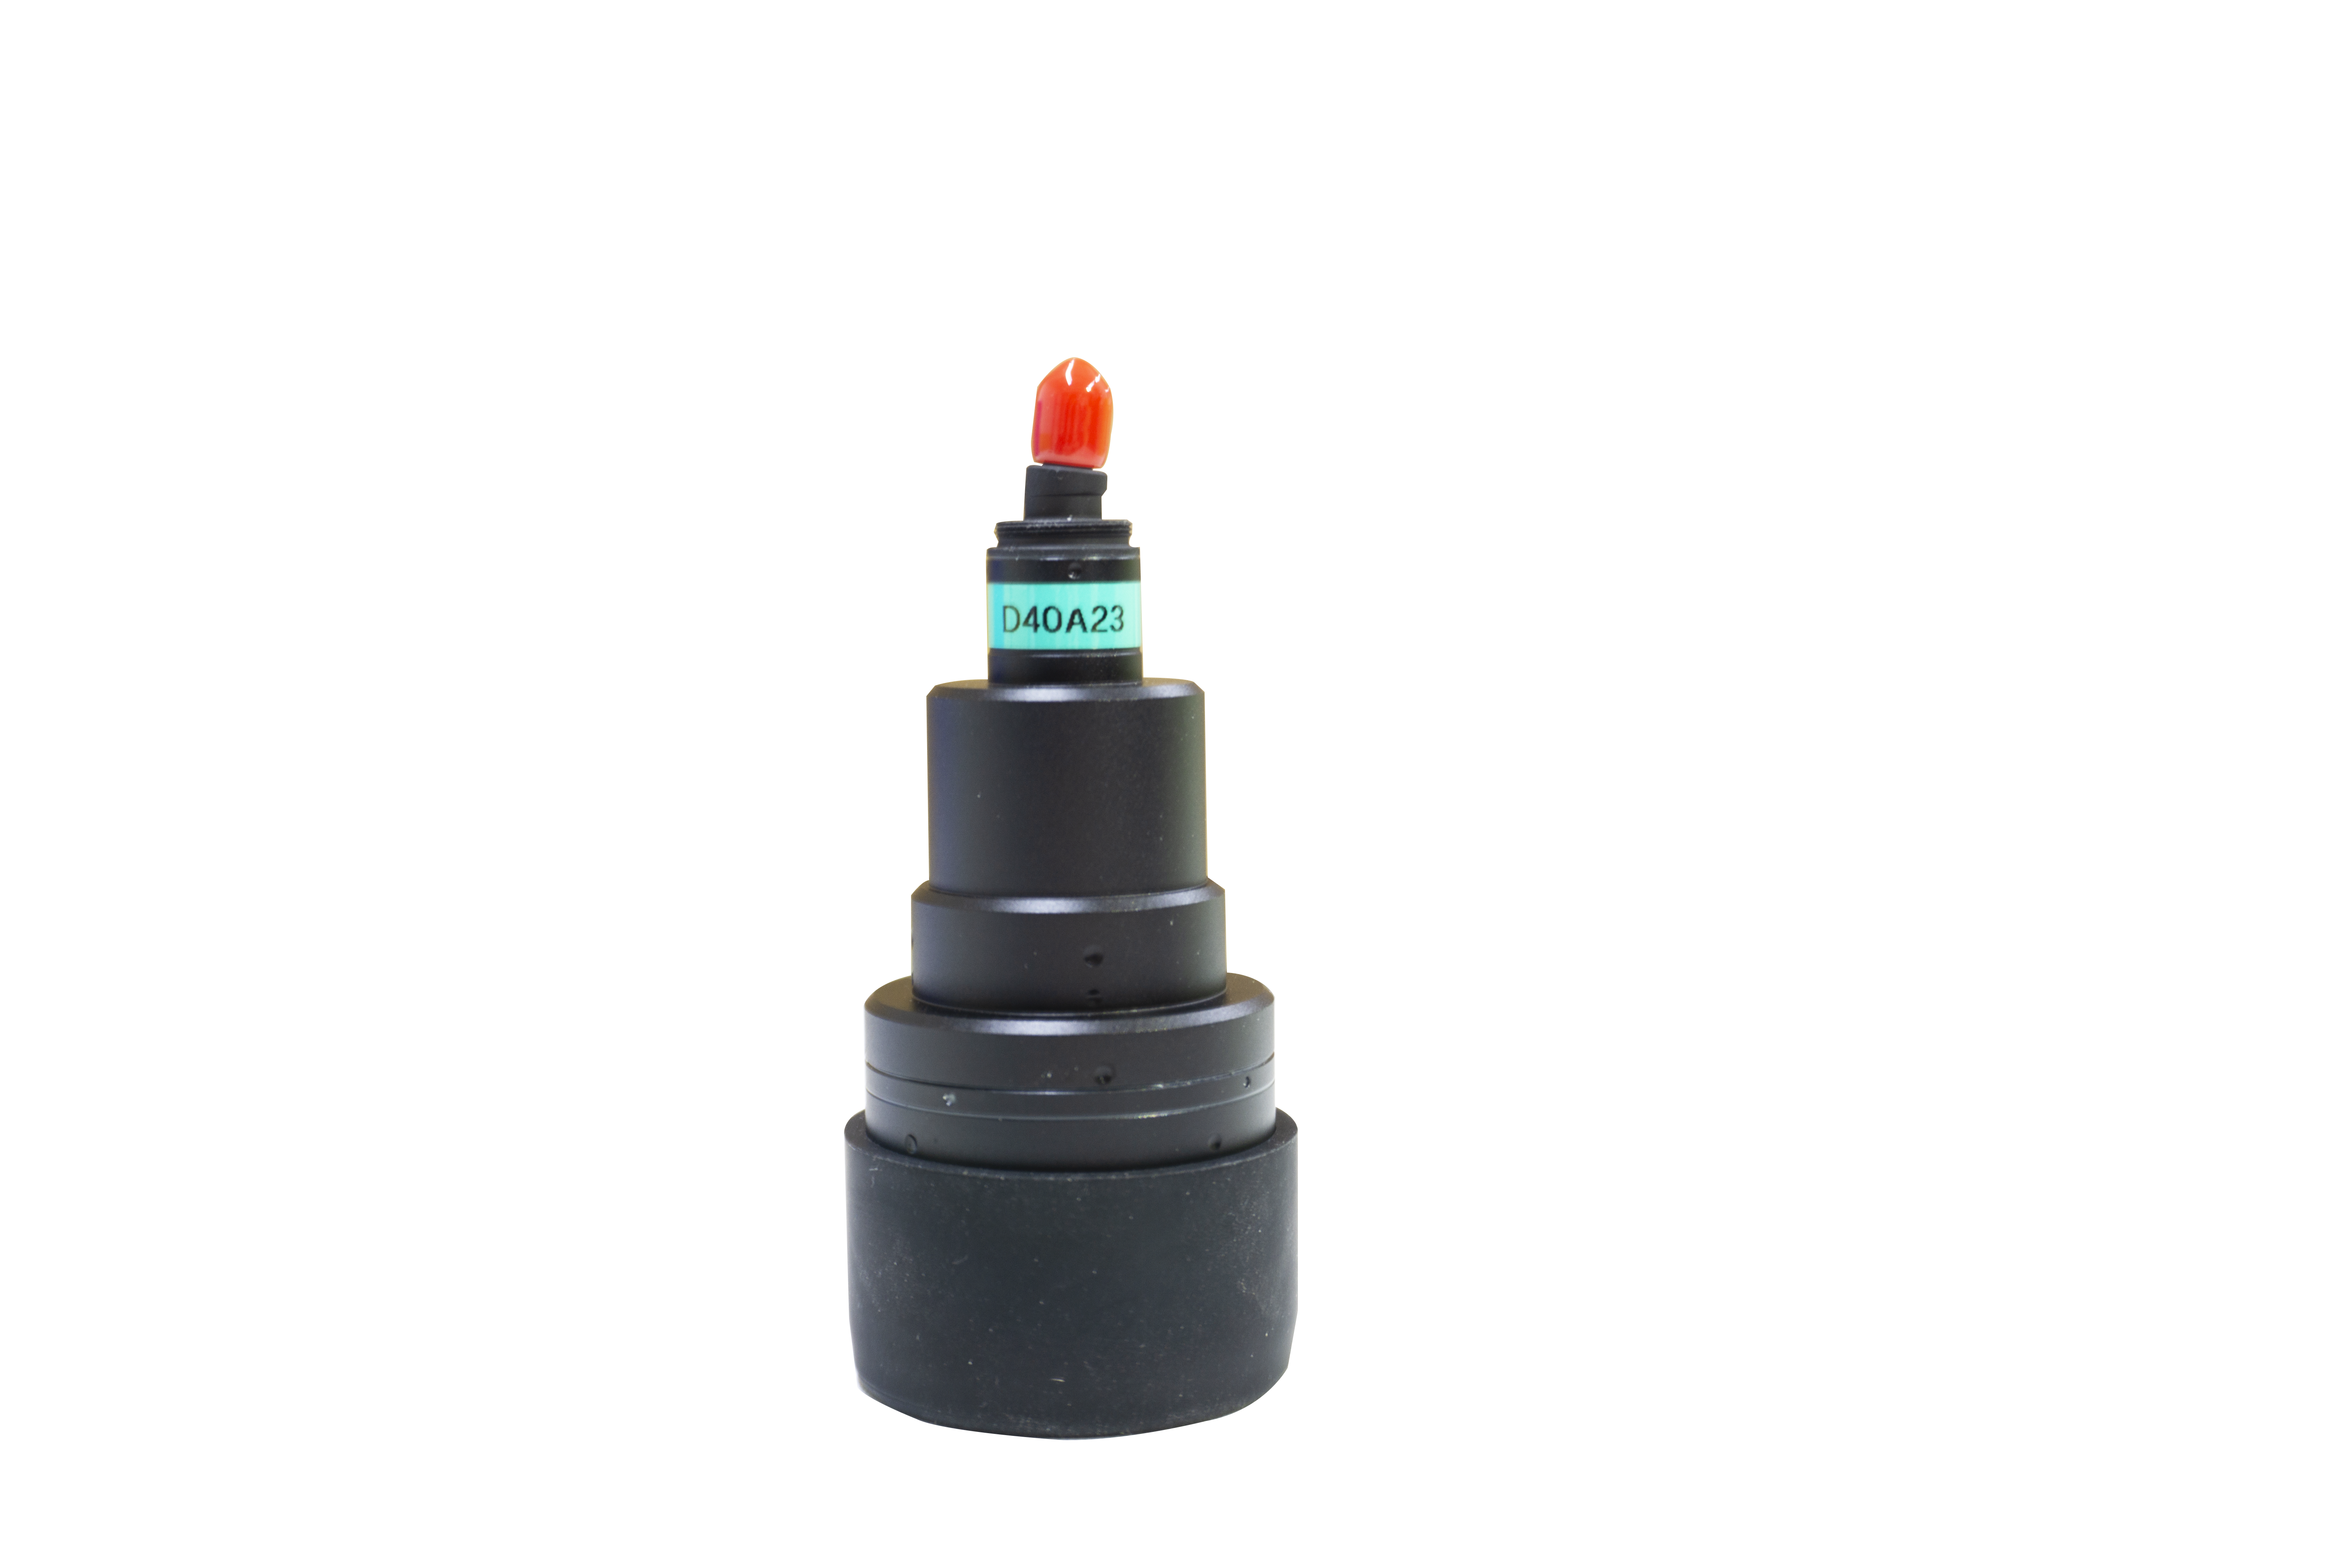
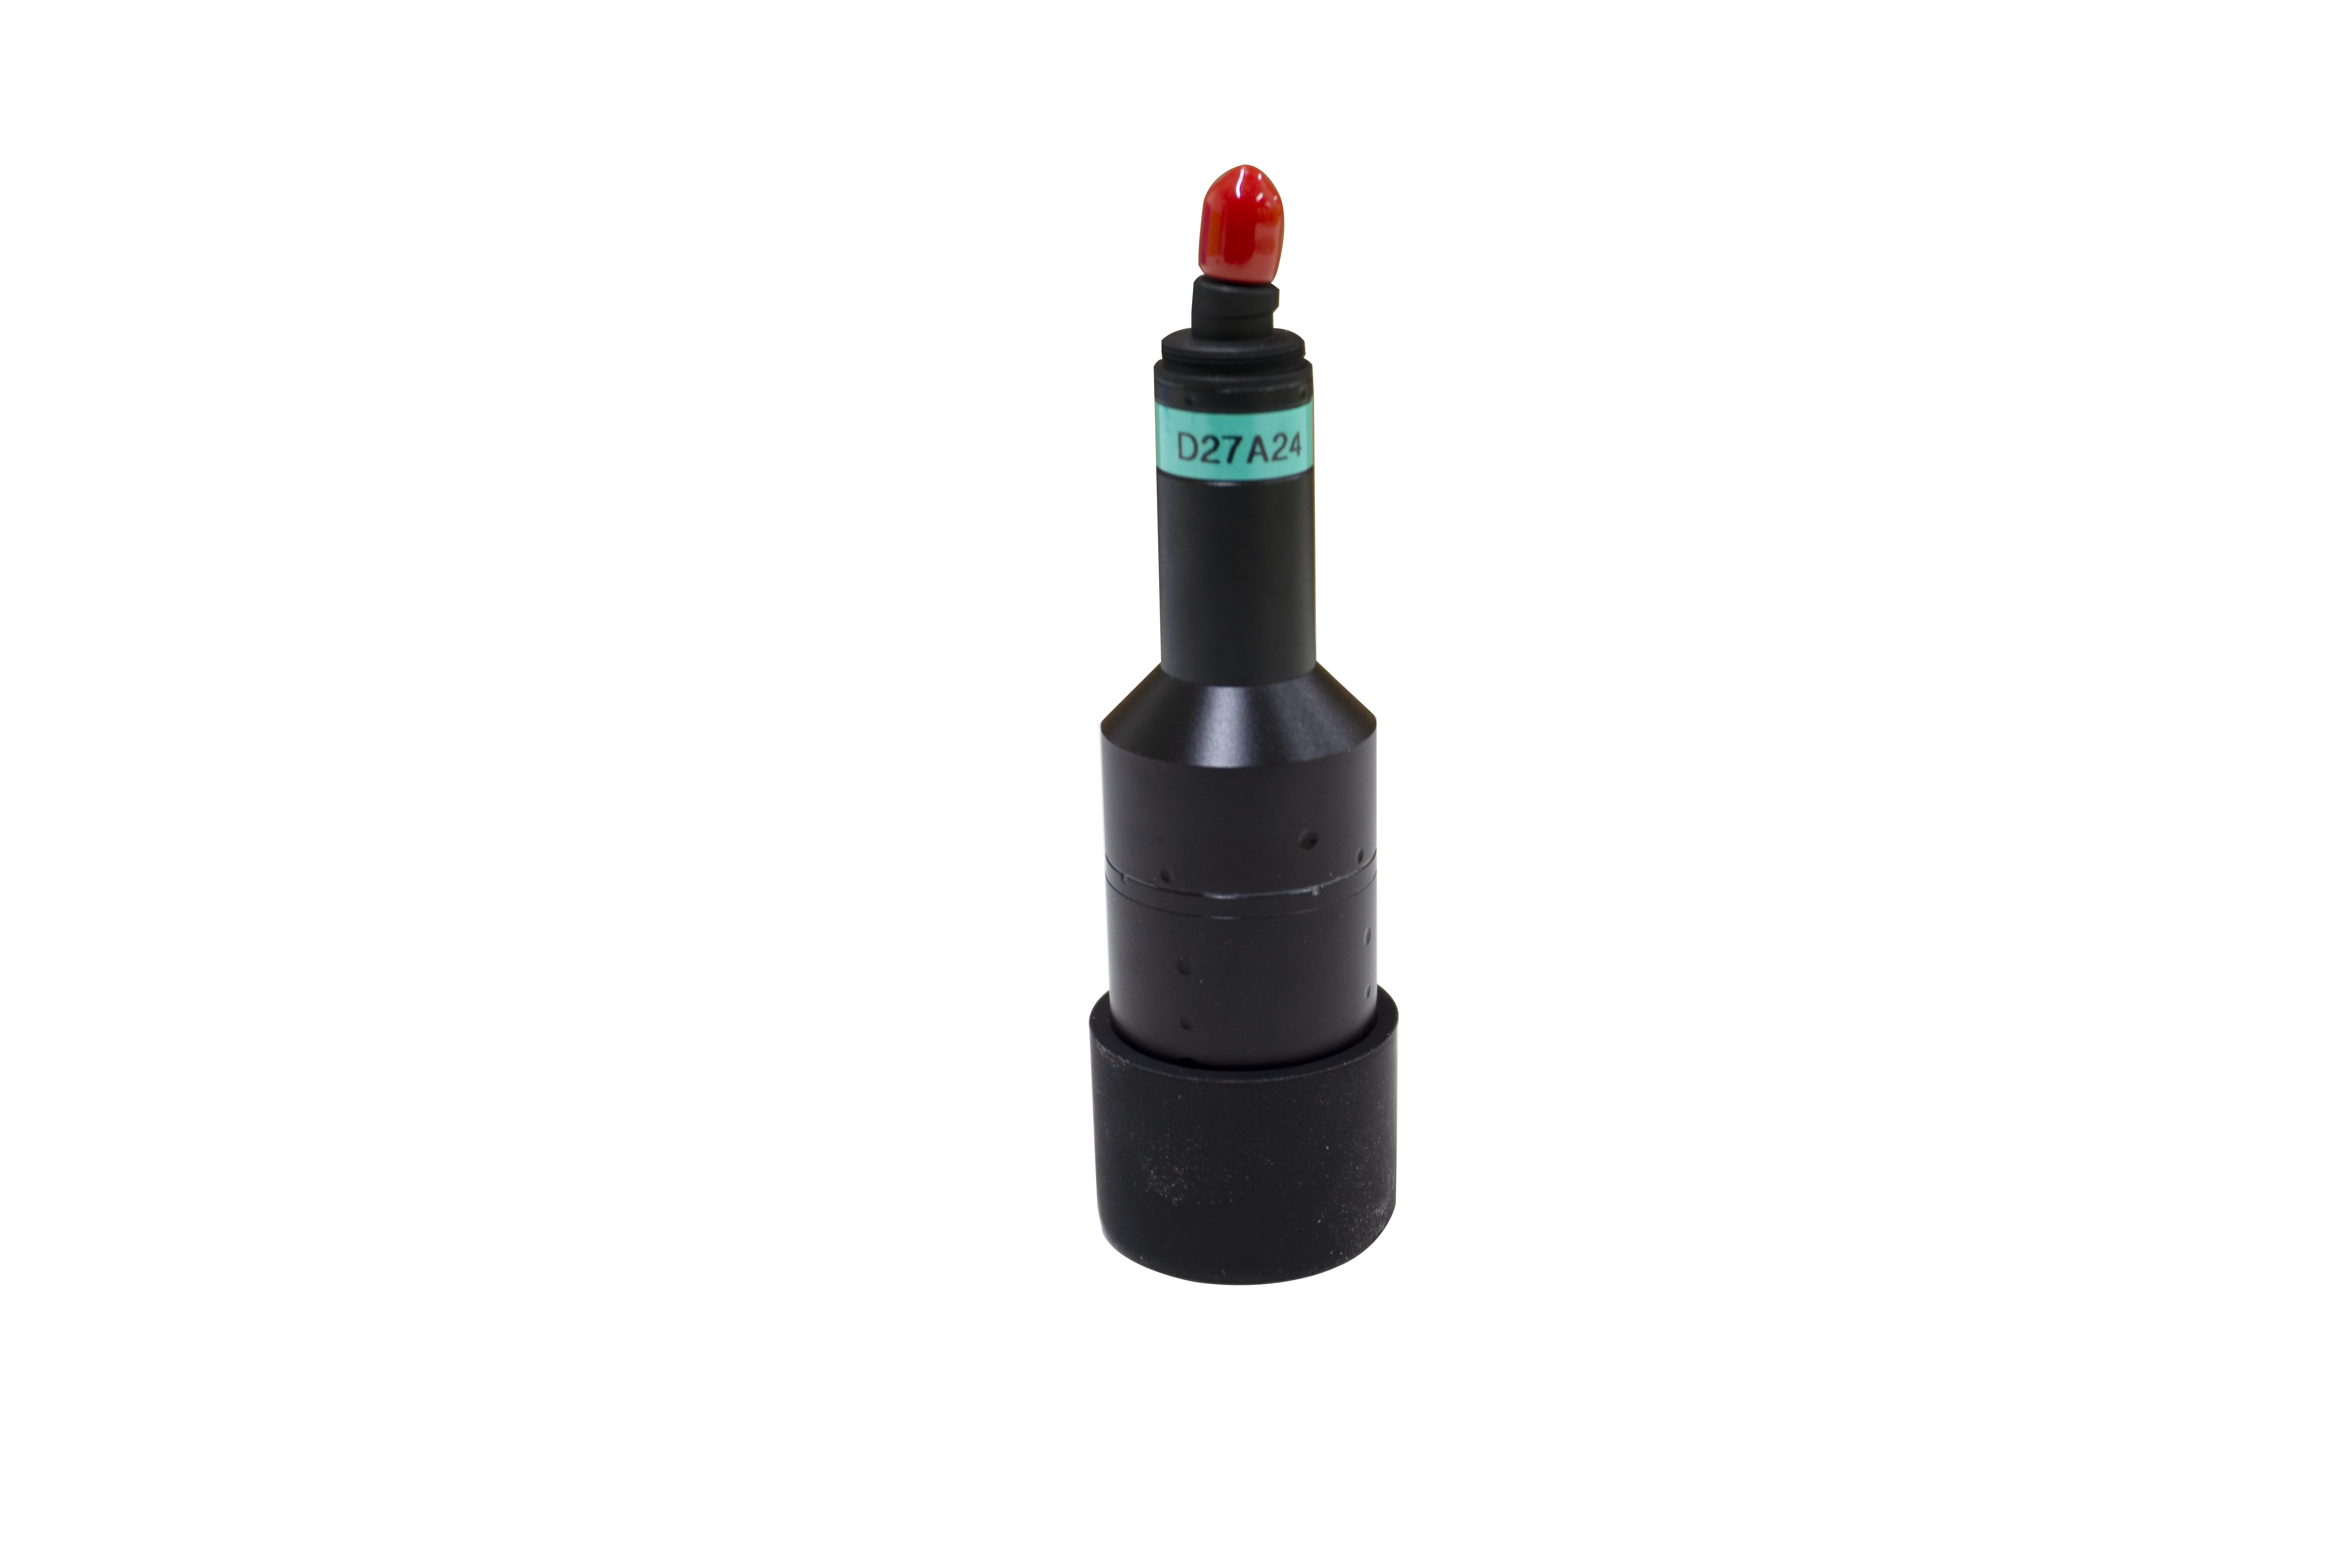
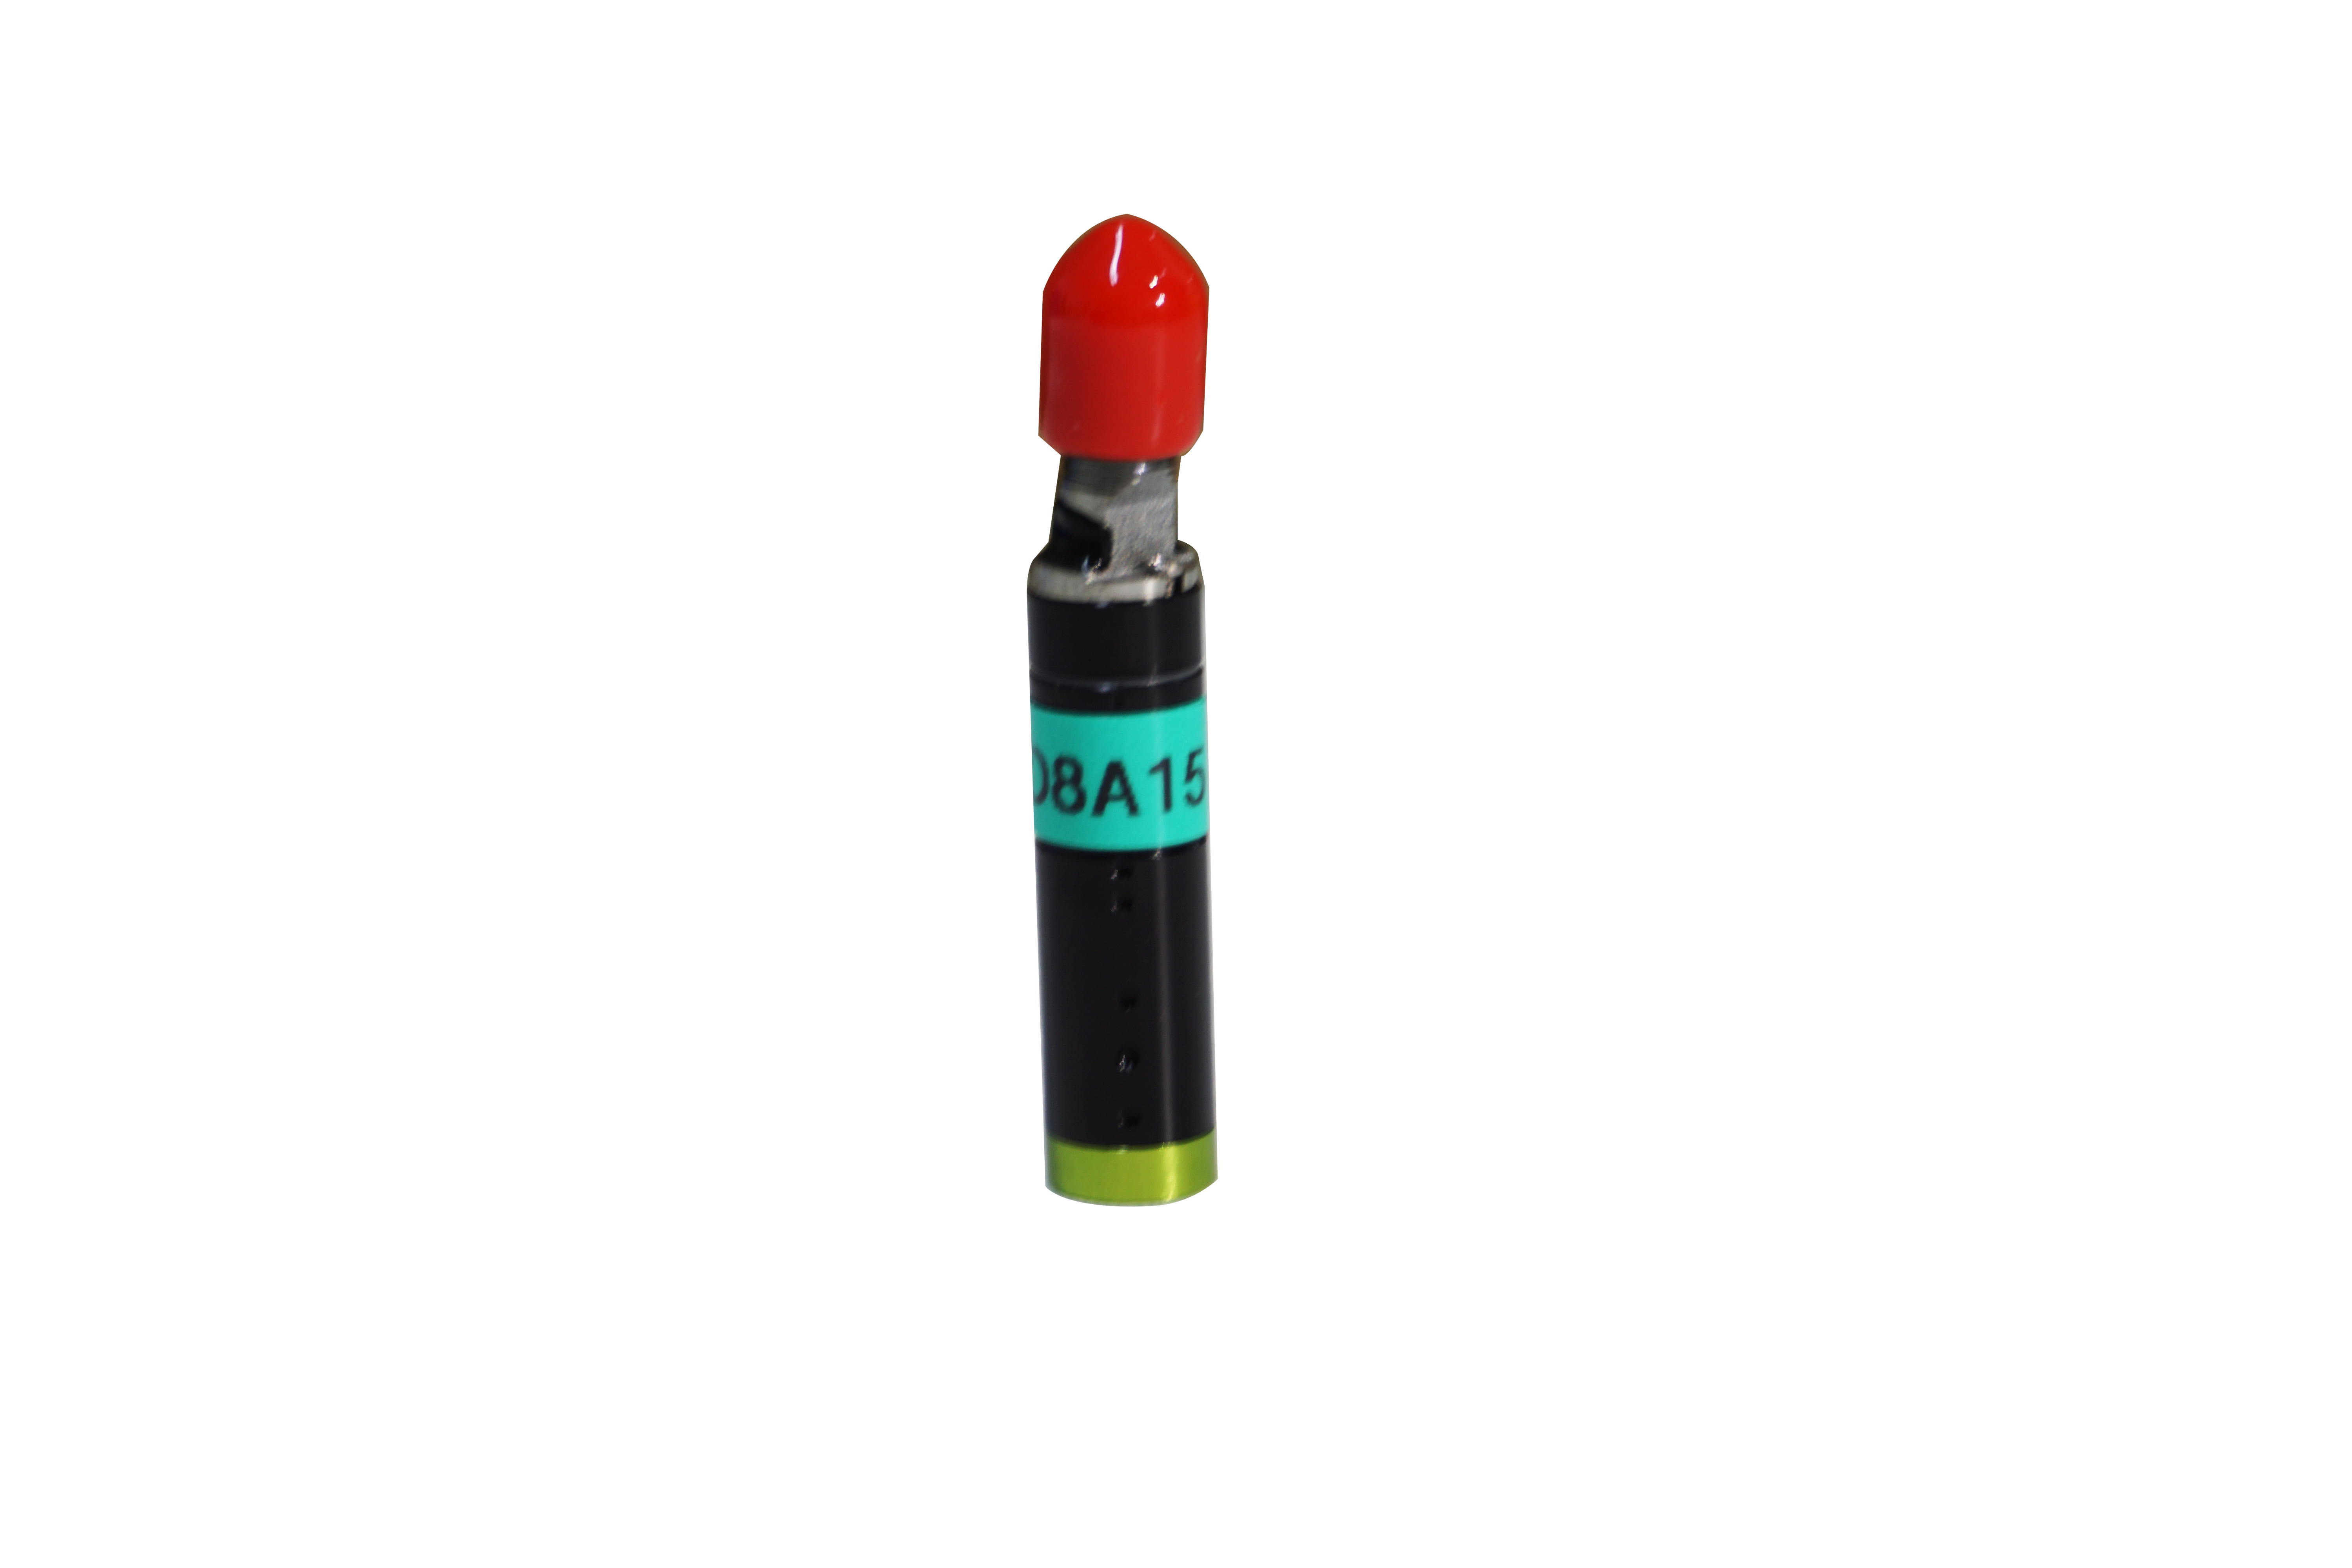
With spectral confocal technology, machine vision technology, laser CCD and other advanced sensors, with automation technology and system software, appreciate CNC has developed a high definition, non-contact precision measurement equipment, the equipment can measure the macro straightness, profile and other shape and position tolerances, can also give the surface roughness value. It can also give a comprehensive conclusion of macro and micro characteristics. This kind of measurement equipment is the late advantage of the current research and development of precision machinery, which is more conducive to the control of the processing quality of parts and is more conducive to the technical iteration of precision machinery.
