2023-01-03
After the workpiece is processed, it is necessary to measure the accuracy of the workpiece or instrument to determine whether it is qualified, but some workpiece is affected by its shape, the contour is composed of many different geometric elements, such as straight line, arc, quadratic curve, etc., may not be able to measure it or the measurement efficiency is low, can not meet the needs of the work; The measurement of the inner cavity size of the workpiece is always difficult for the production enterprise, so the measurement method of the inner cavity size of the workpiece has many limitations.
Real case demonstration
Problem description
1. Due to the shape of the object, the installation of the detection equipment is limited, so the detection equipment is required to be small in size;
2, high precision requirements;
3, the measurement Angle is required.
solution
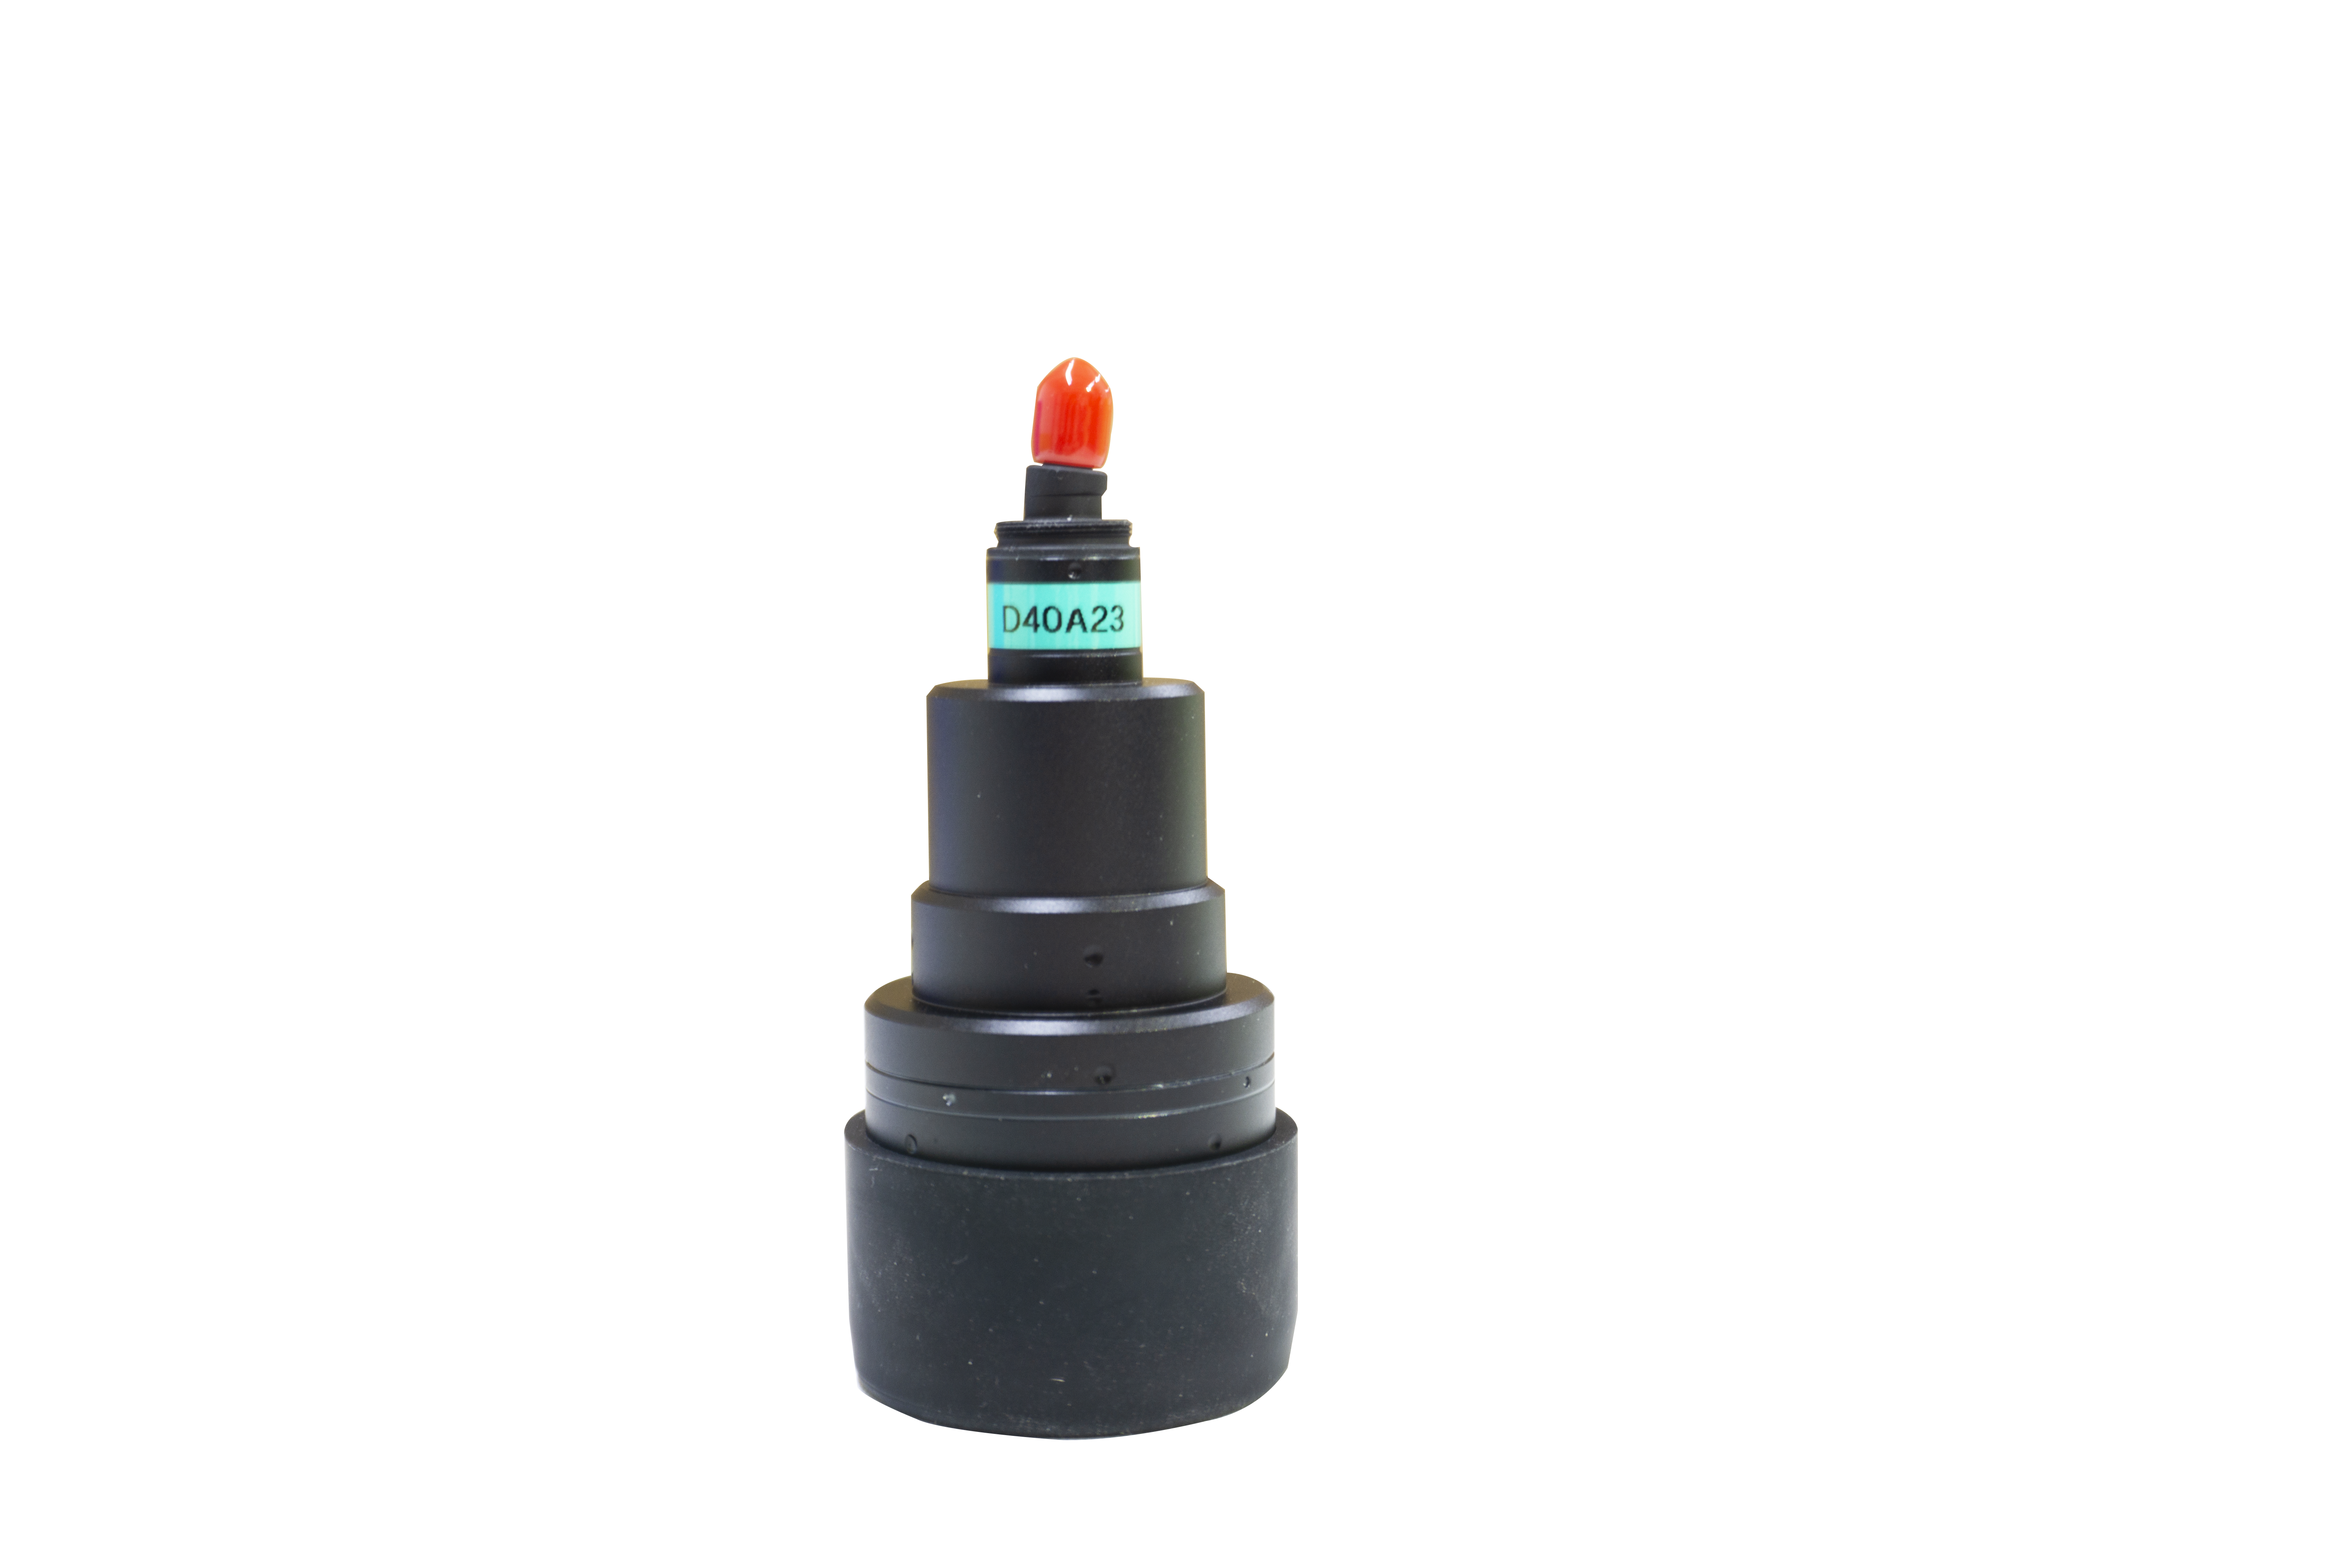
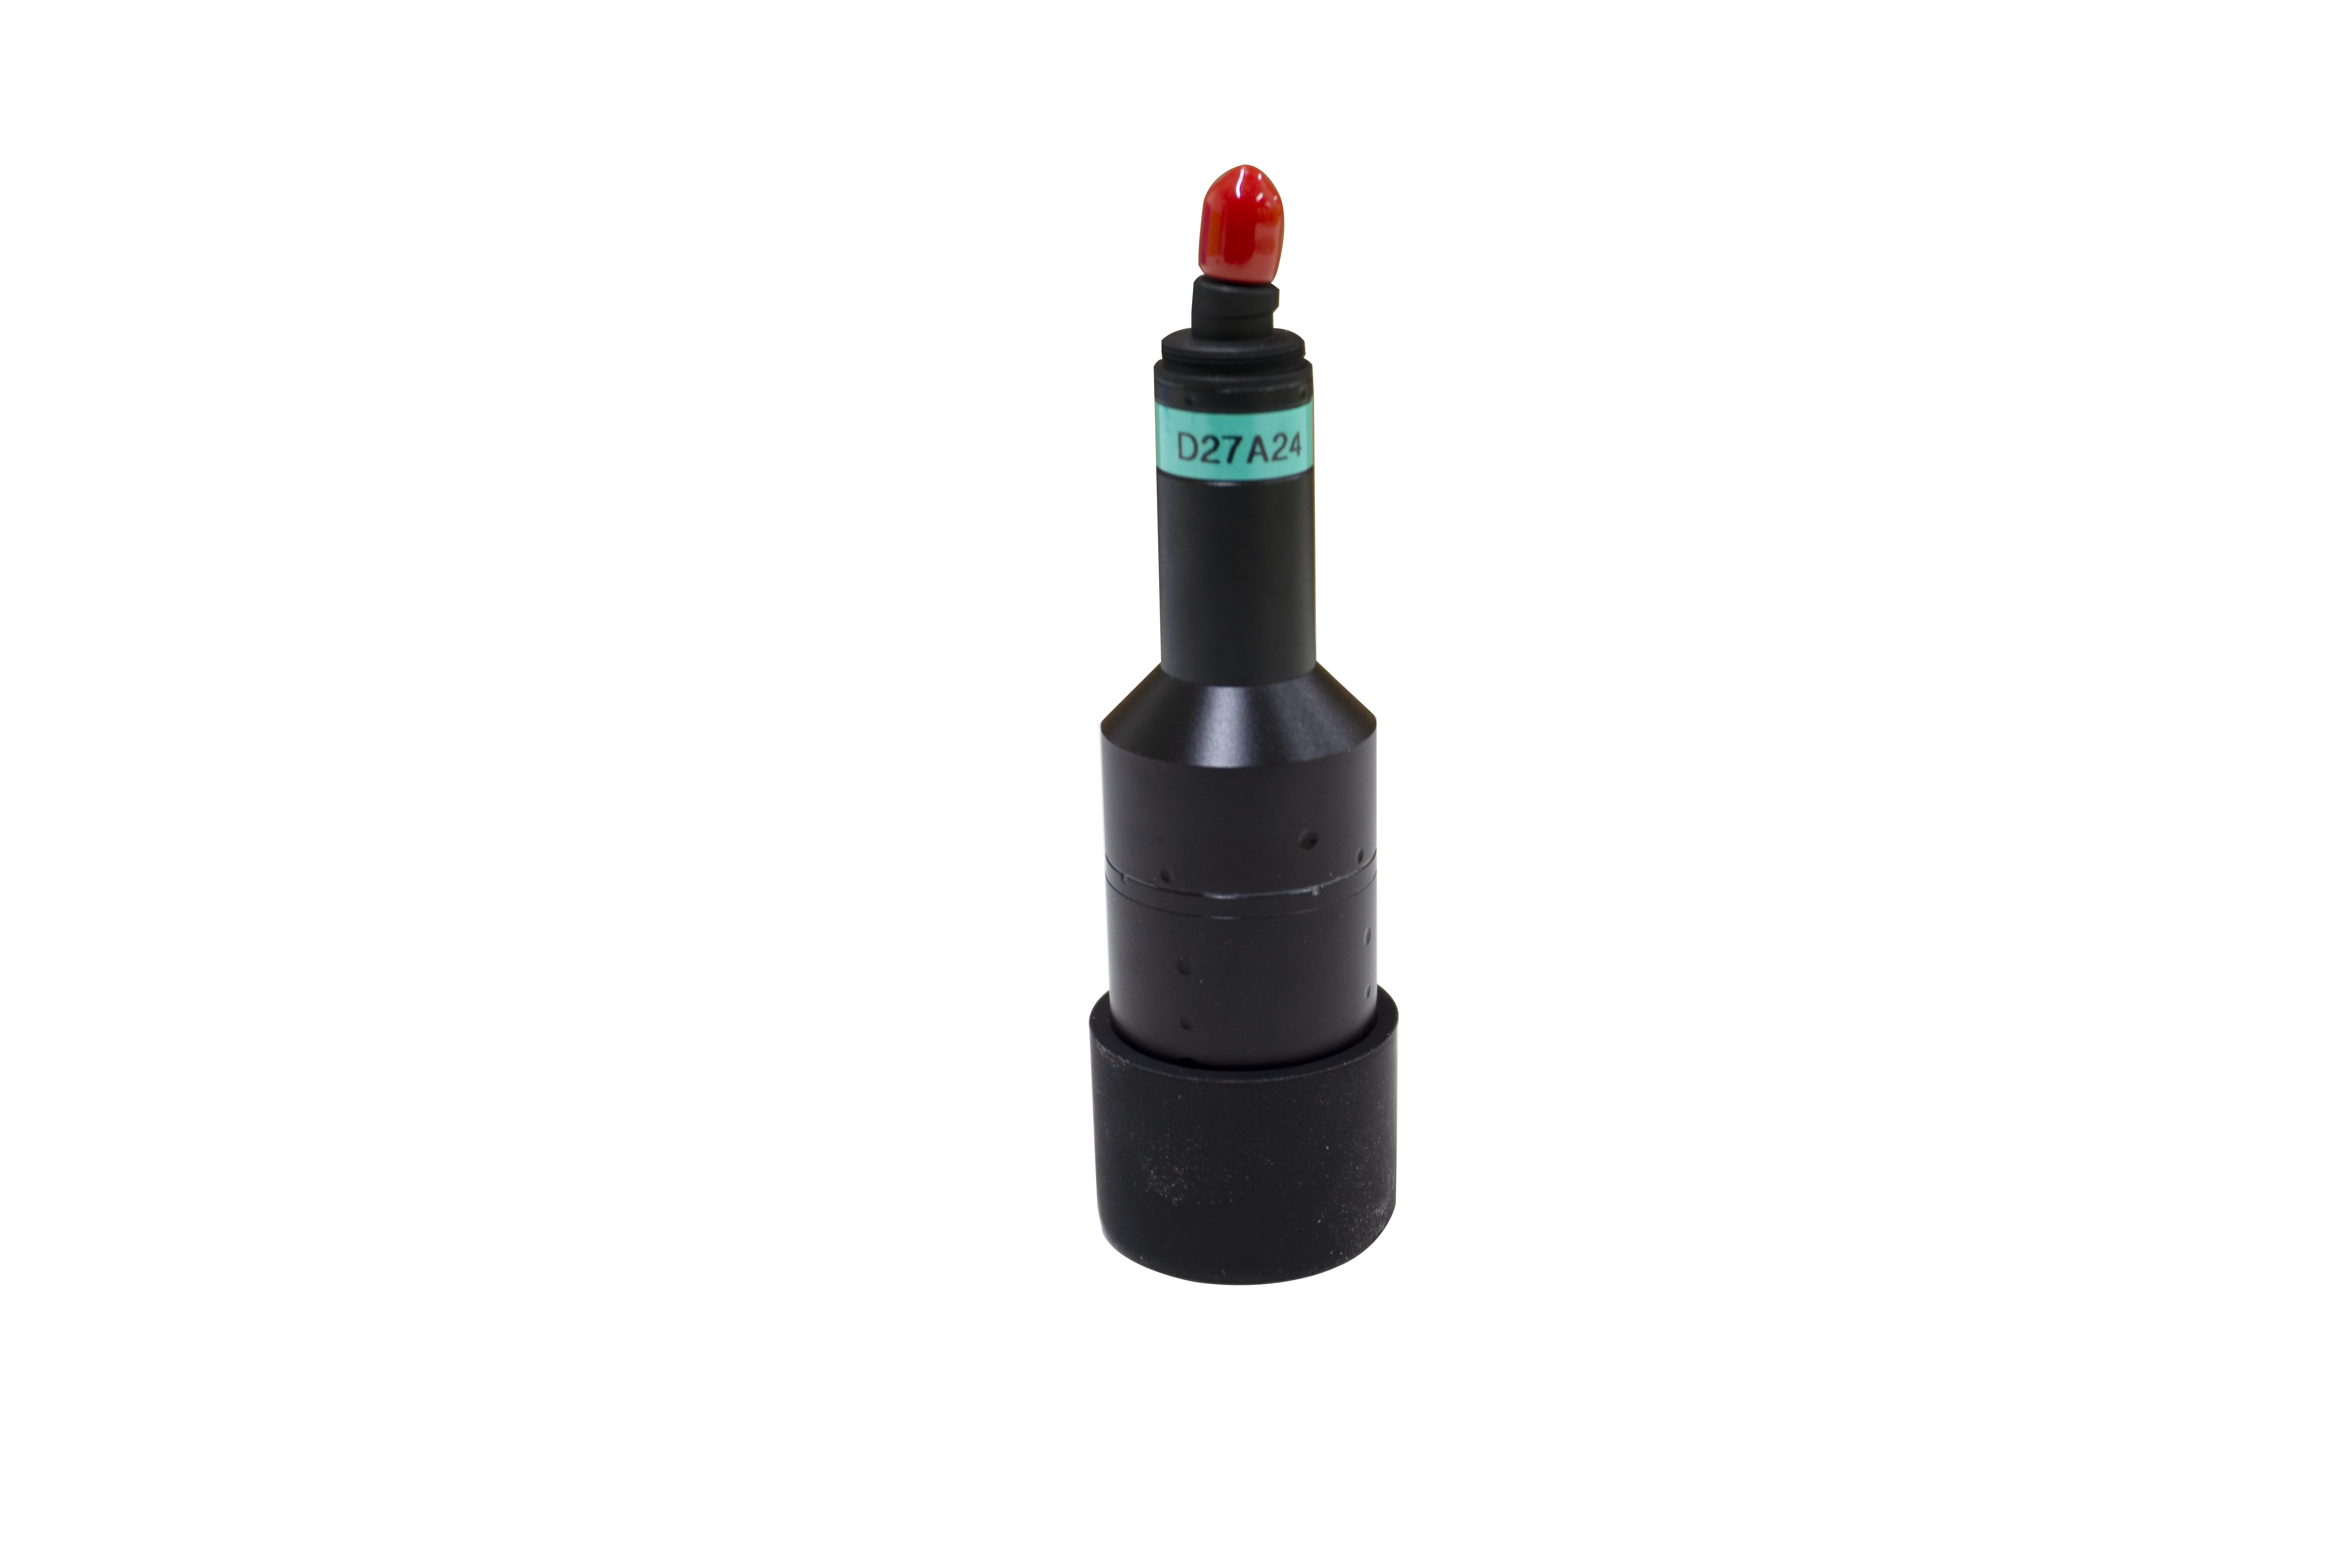
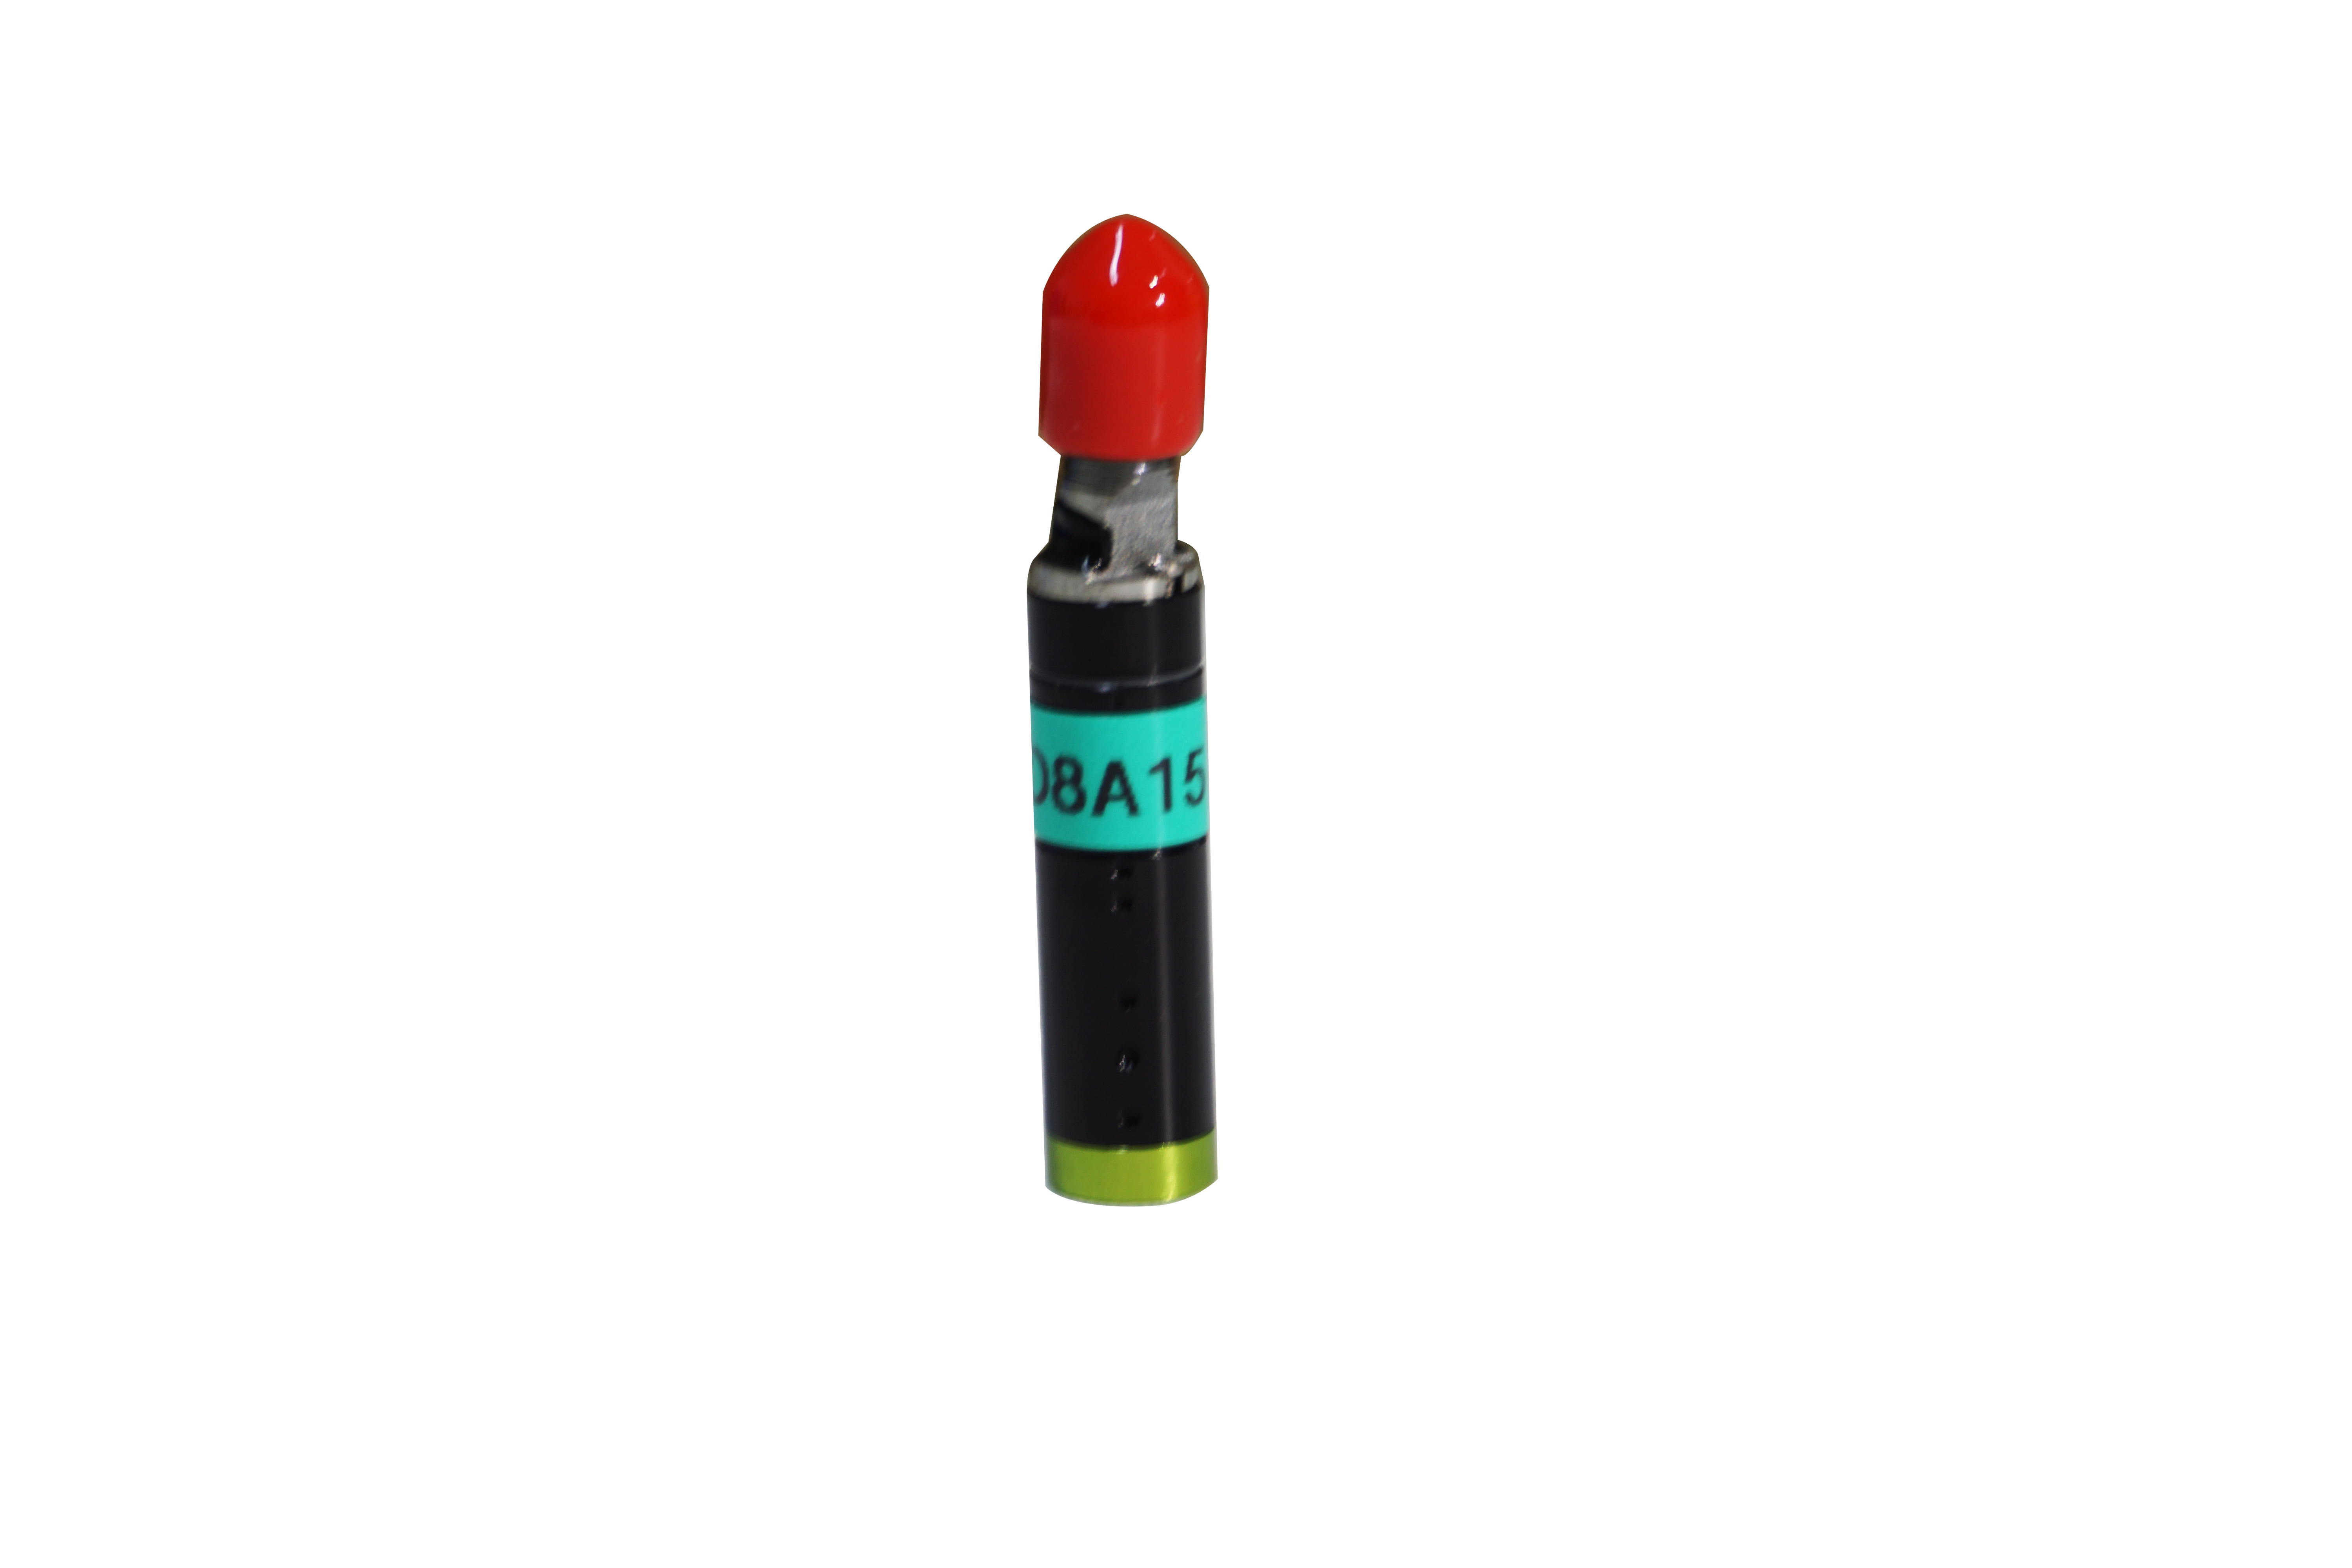
Use spectroscopic confocal lens - D8A18 for non-contact measurement!
This measurement adopts the vertical instrument D8A18 lens 90-degree light plate, with the motion control system to quickly scan the contour data of the inner cavity of the workpiece, which can better help customers improve production efficiency.
Detection data


