2022-12-15
As a standard part, the nut plays an important role in the linkage and transmission of mechanical parts, and is a component that must be used in all production and manufacturing machinery. Among them, the precision of the inner hole of the precision nut is relatively high, if the internal thread processing is not in place, it will not be able to correctly connect with the screw, so the internal thread of the nut needs to be tested.
At present, the usual way is to tighten the screw into the nut to see whether the screw can enter correctly and whether the amount of screw entering is within a reasonable error range when tightening. This way is inefficient and has high working intensity during detection. However, the use of ordinary industrial lenses can not directly shoot the vertical inner wall characteristics of the nut, and can not complete the inner wall detection at one time.

Real case demonstration
Problem description
The customer needs to scan the surface outline of the inner thread of the nut to accurately obtain the thread outline data on the inner wall of the nut, so as to calculate the exact length of each thread to ensure the accuracy of the internal thread parameters during nut processing.

solution
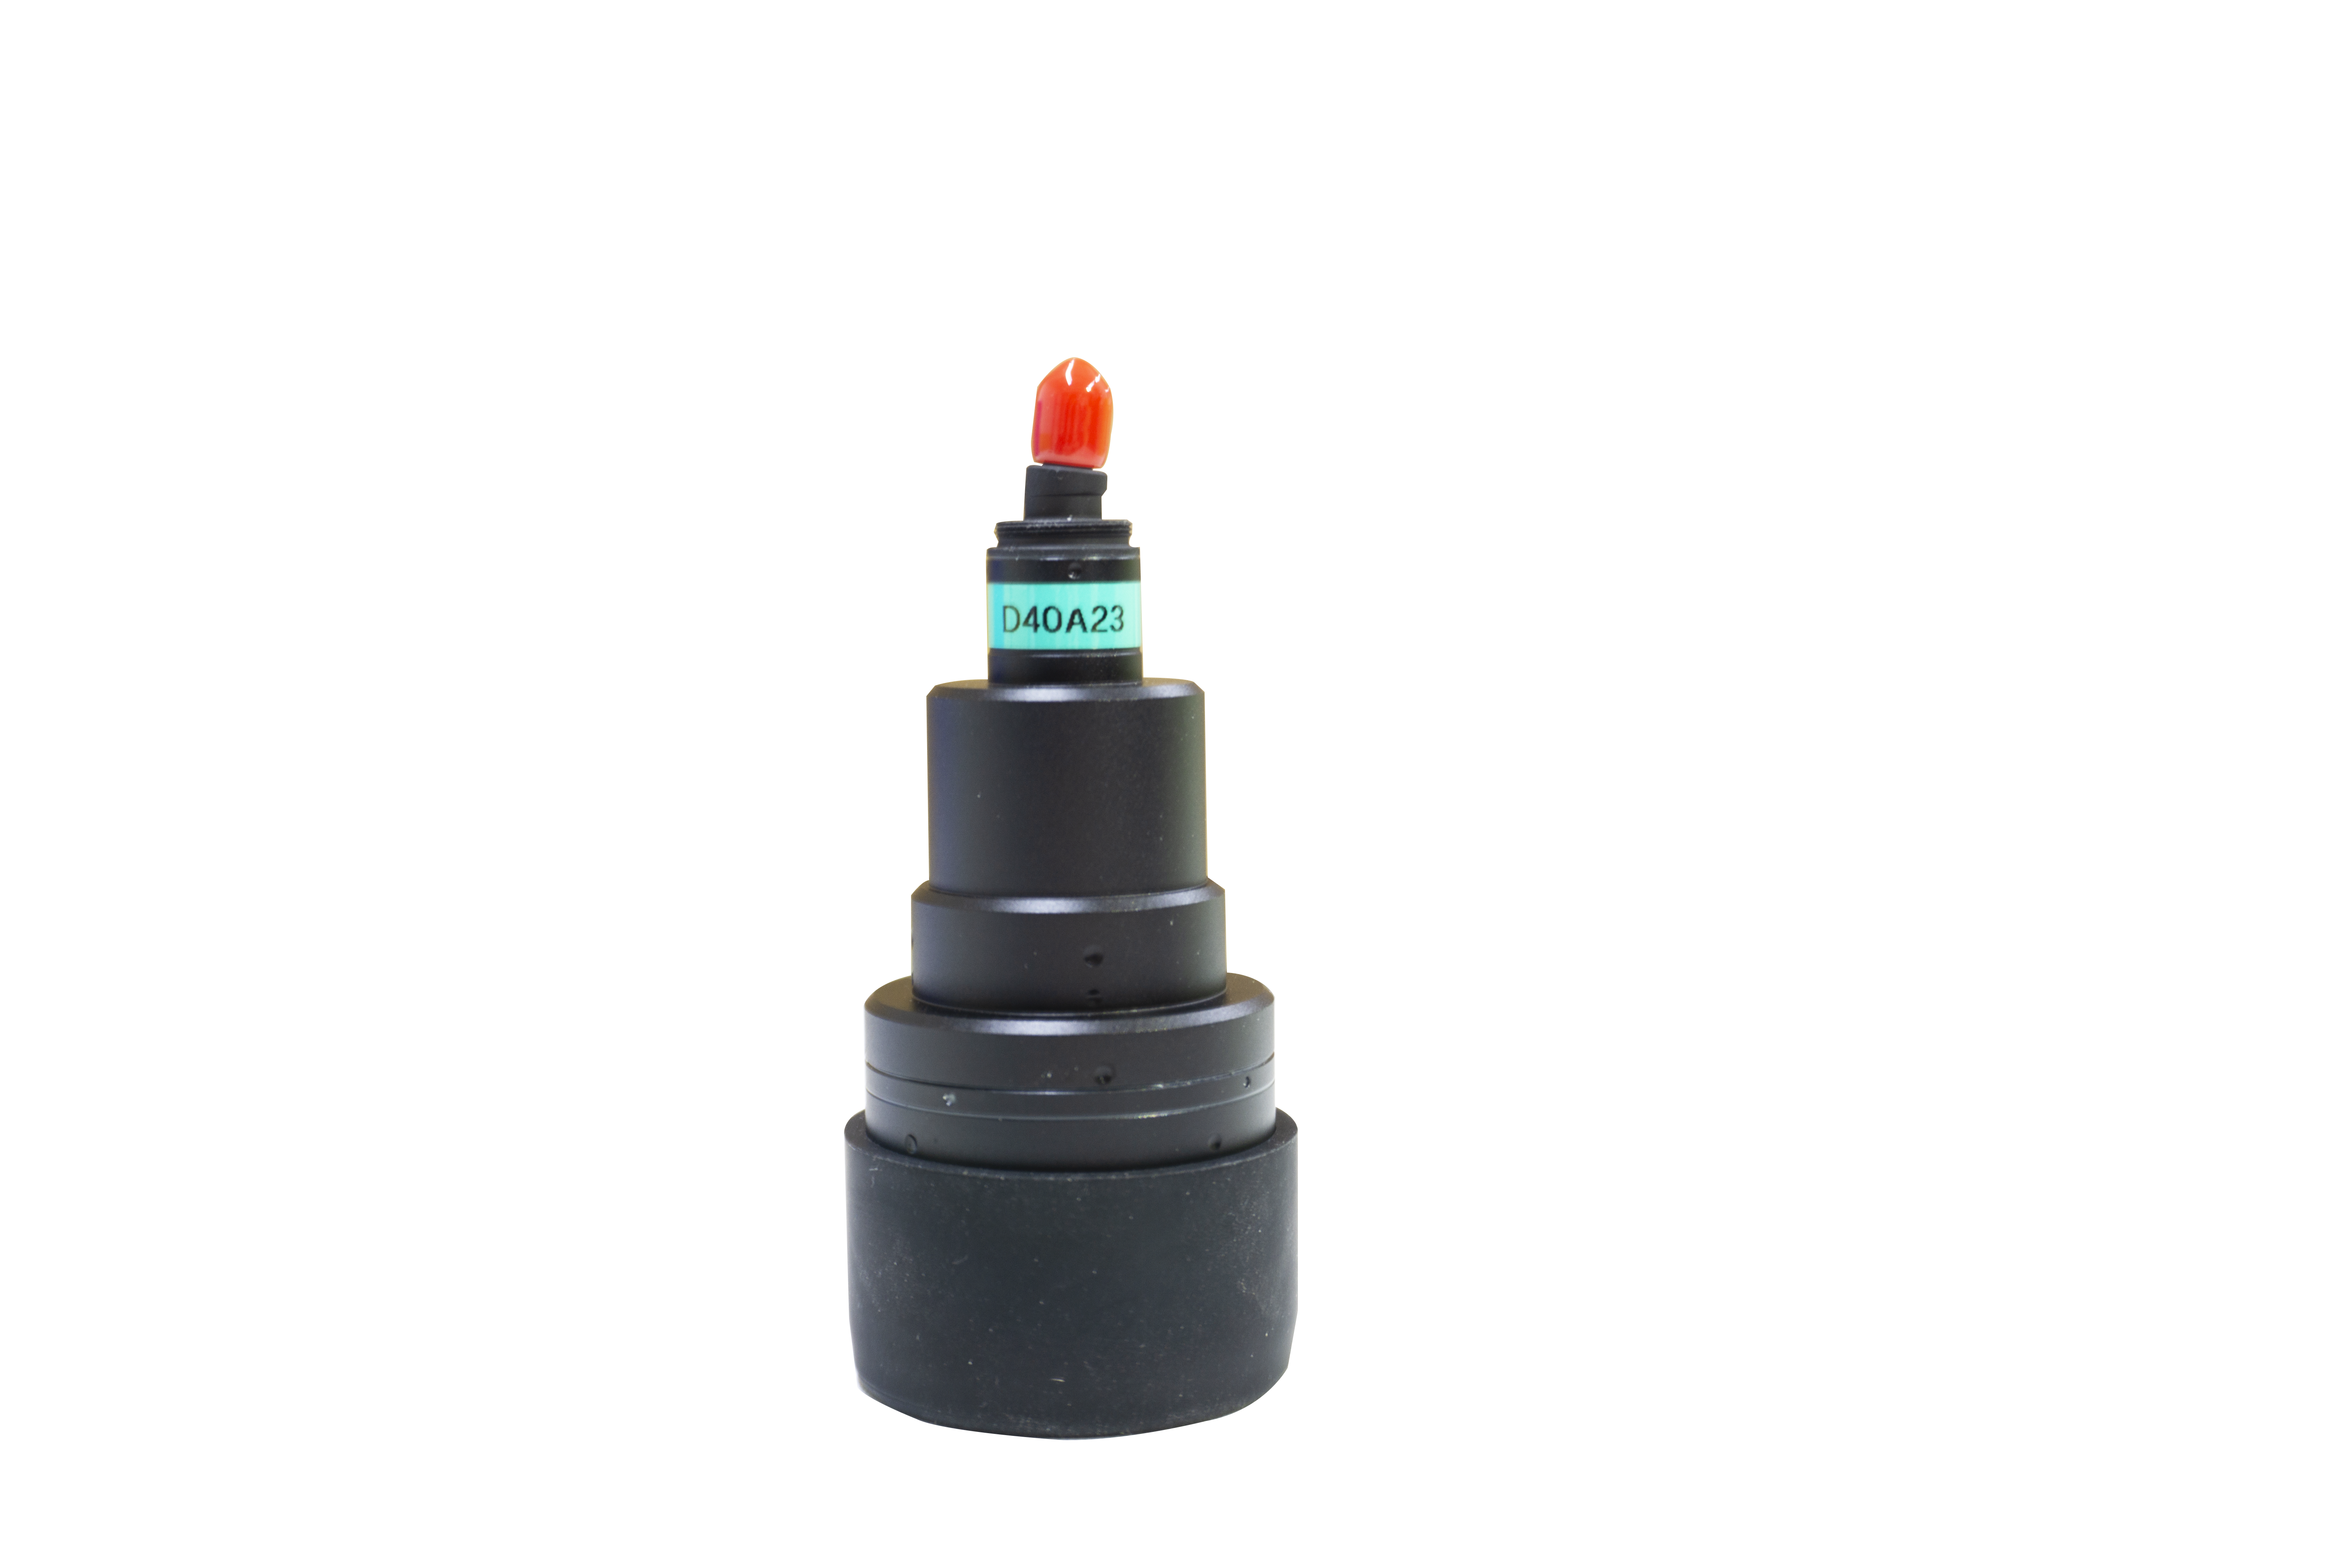
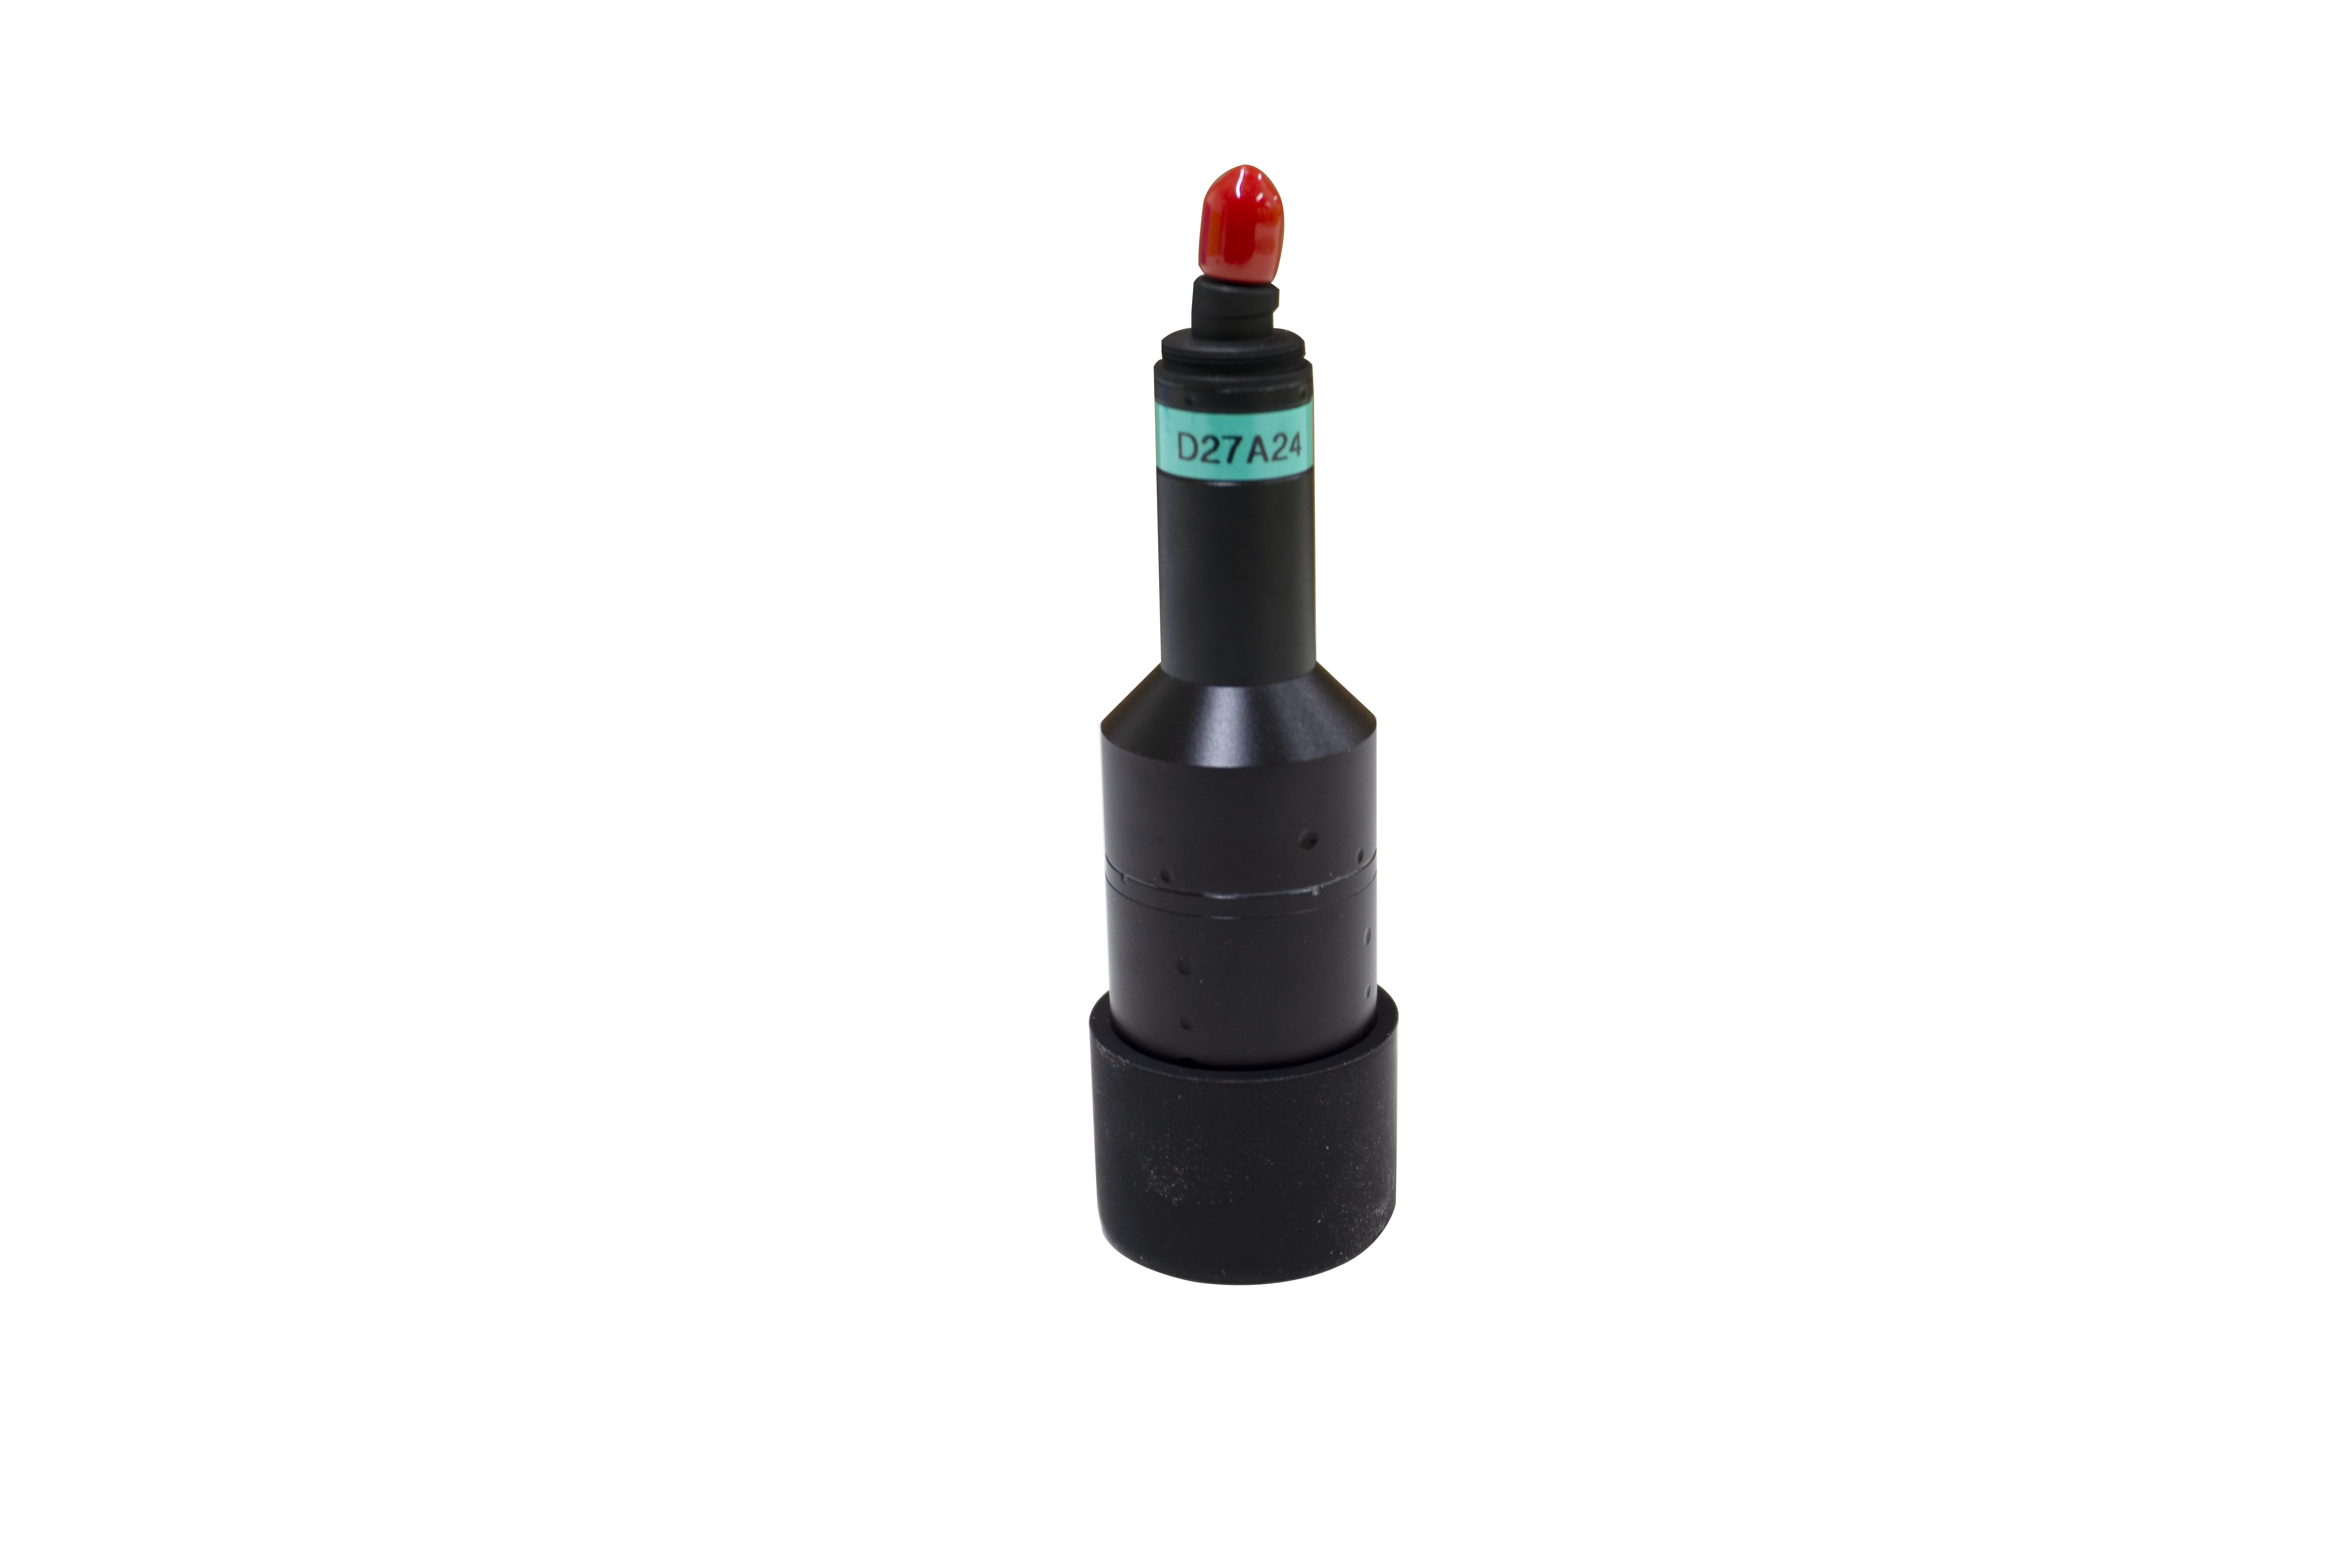
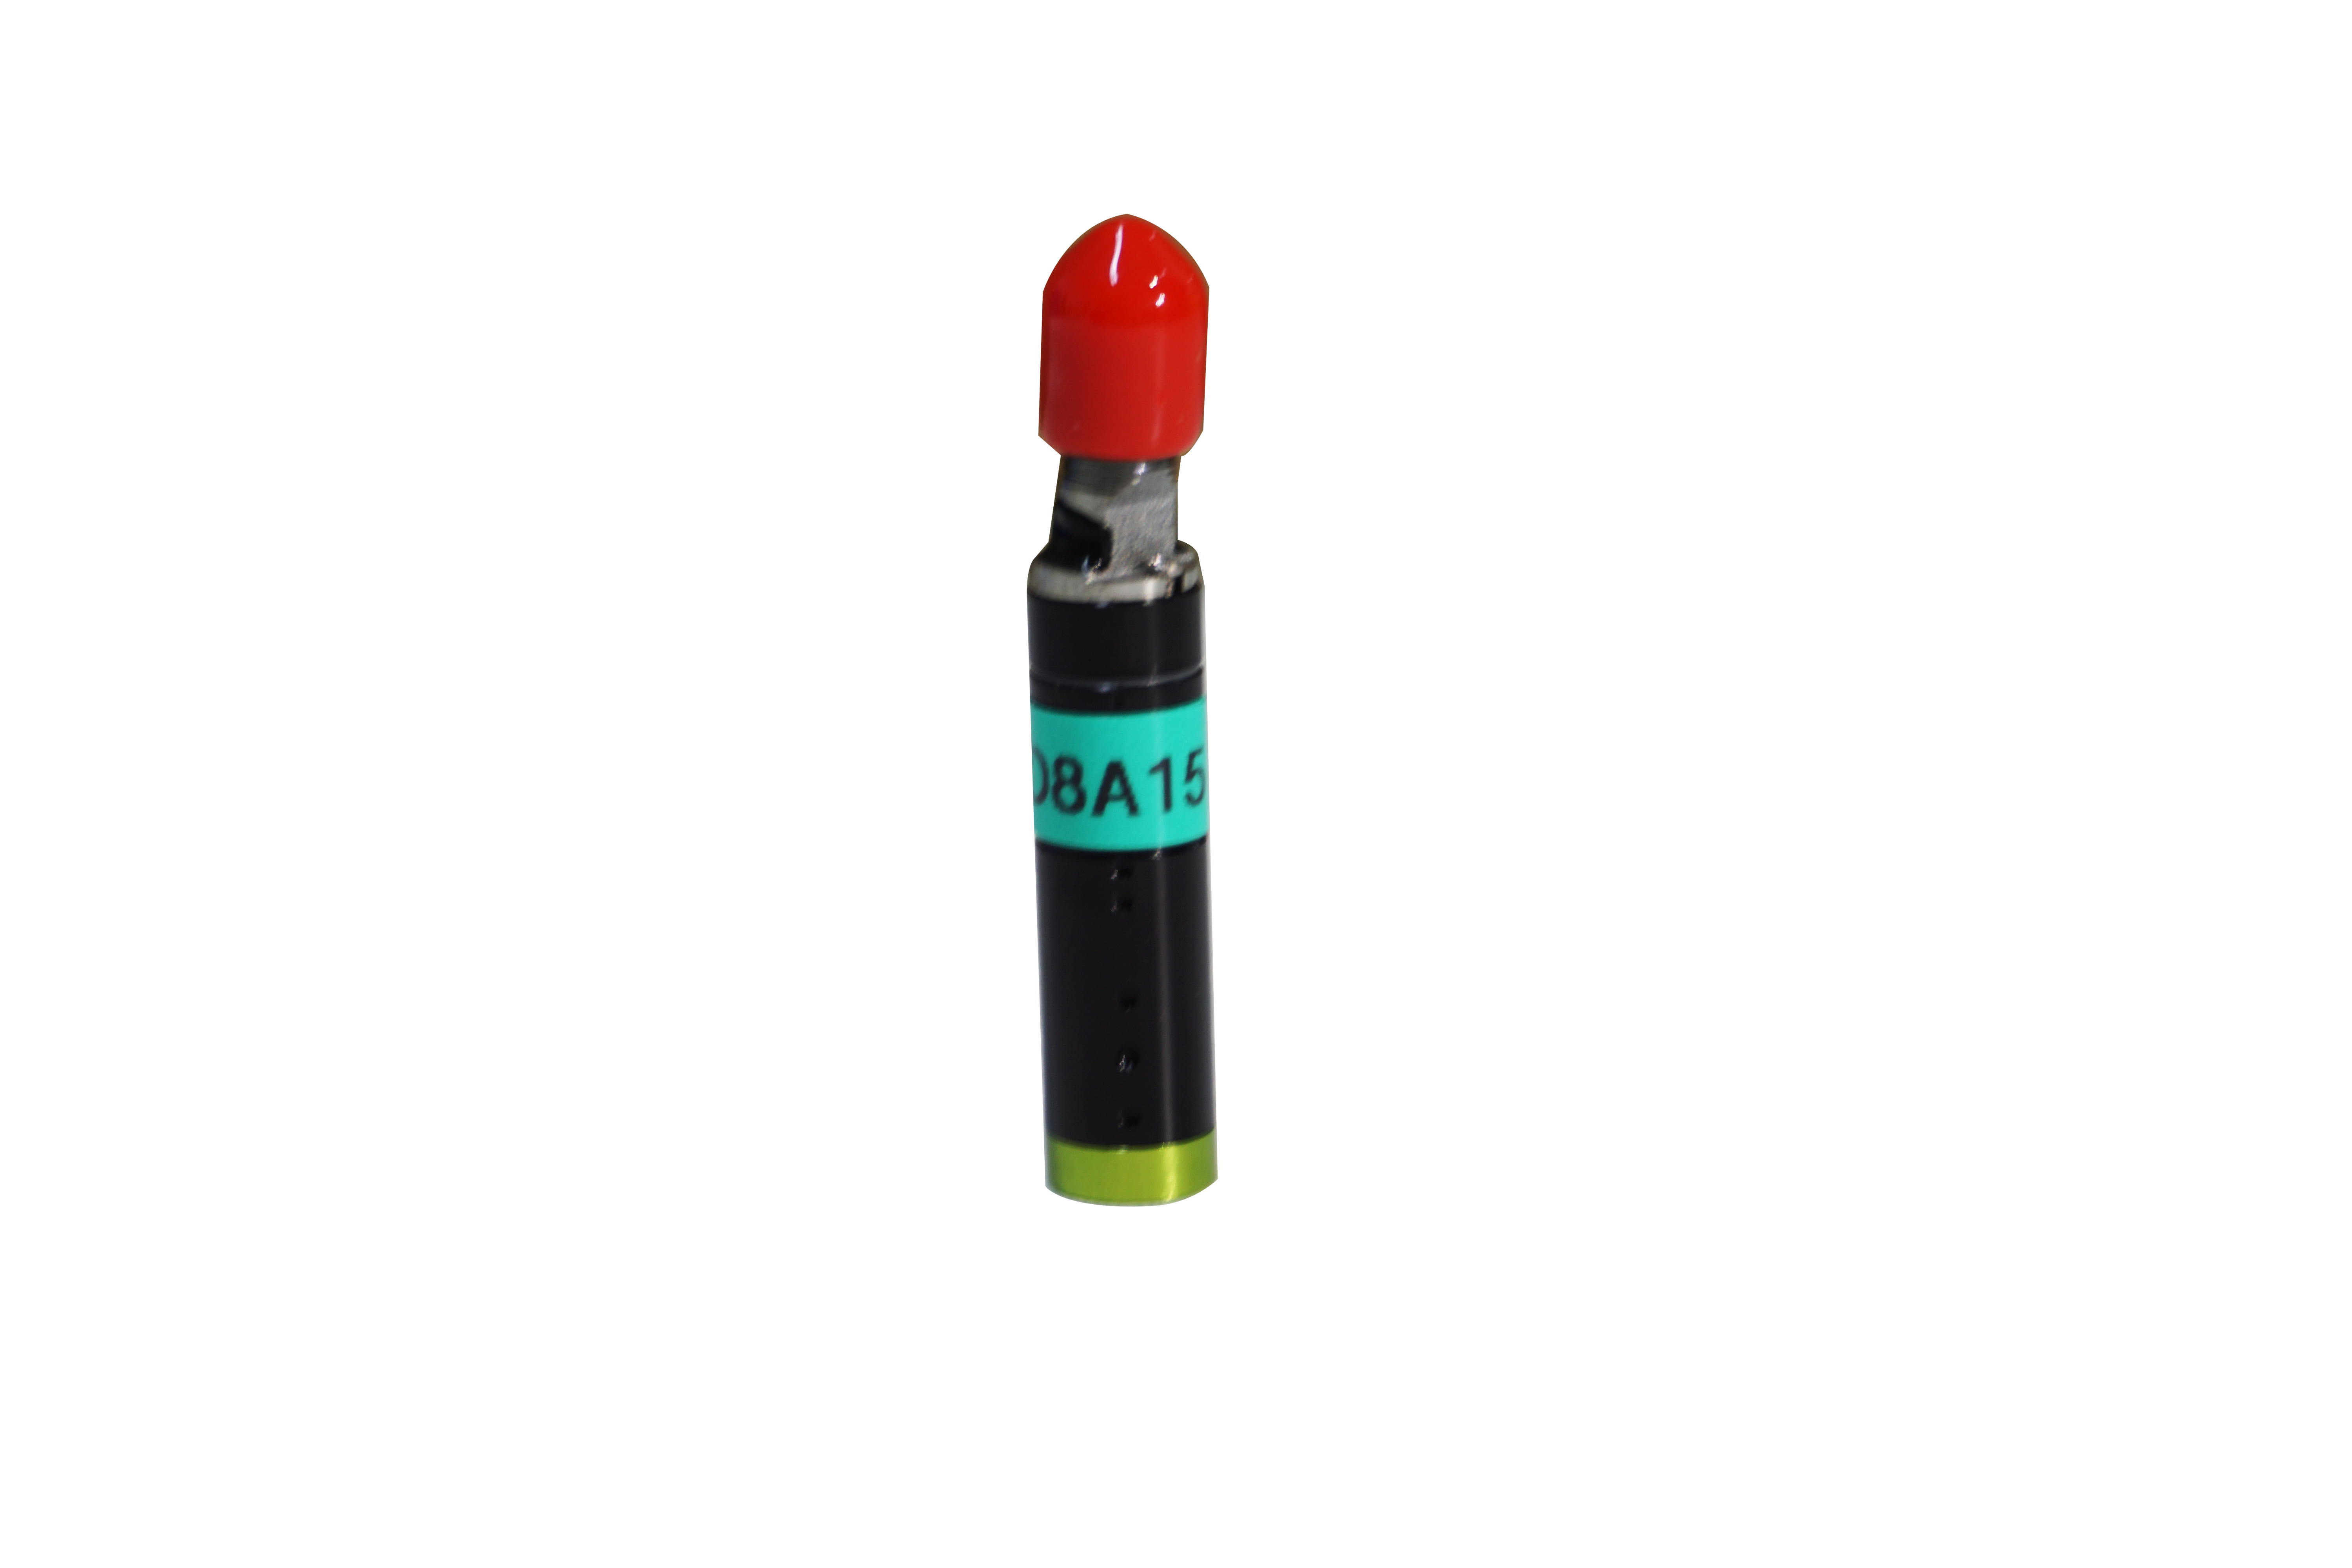
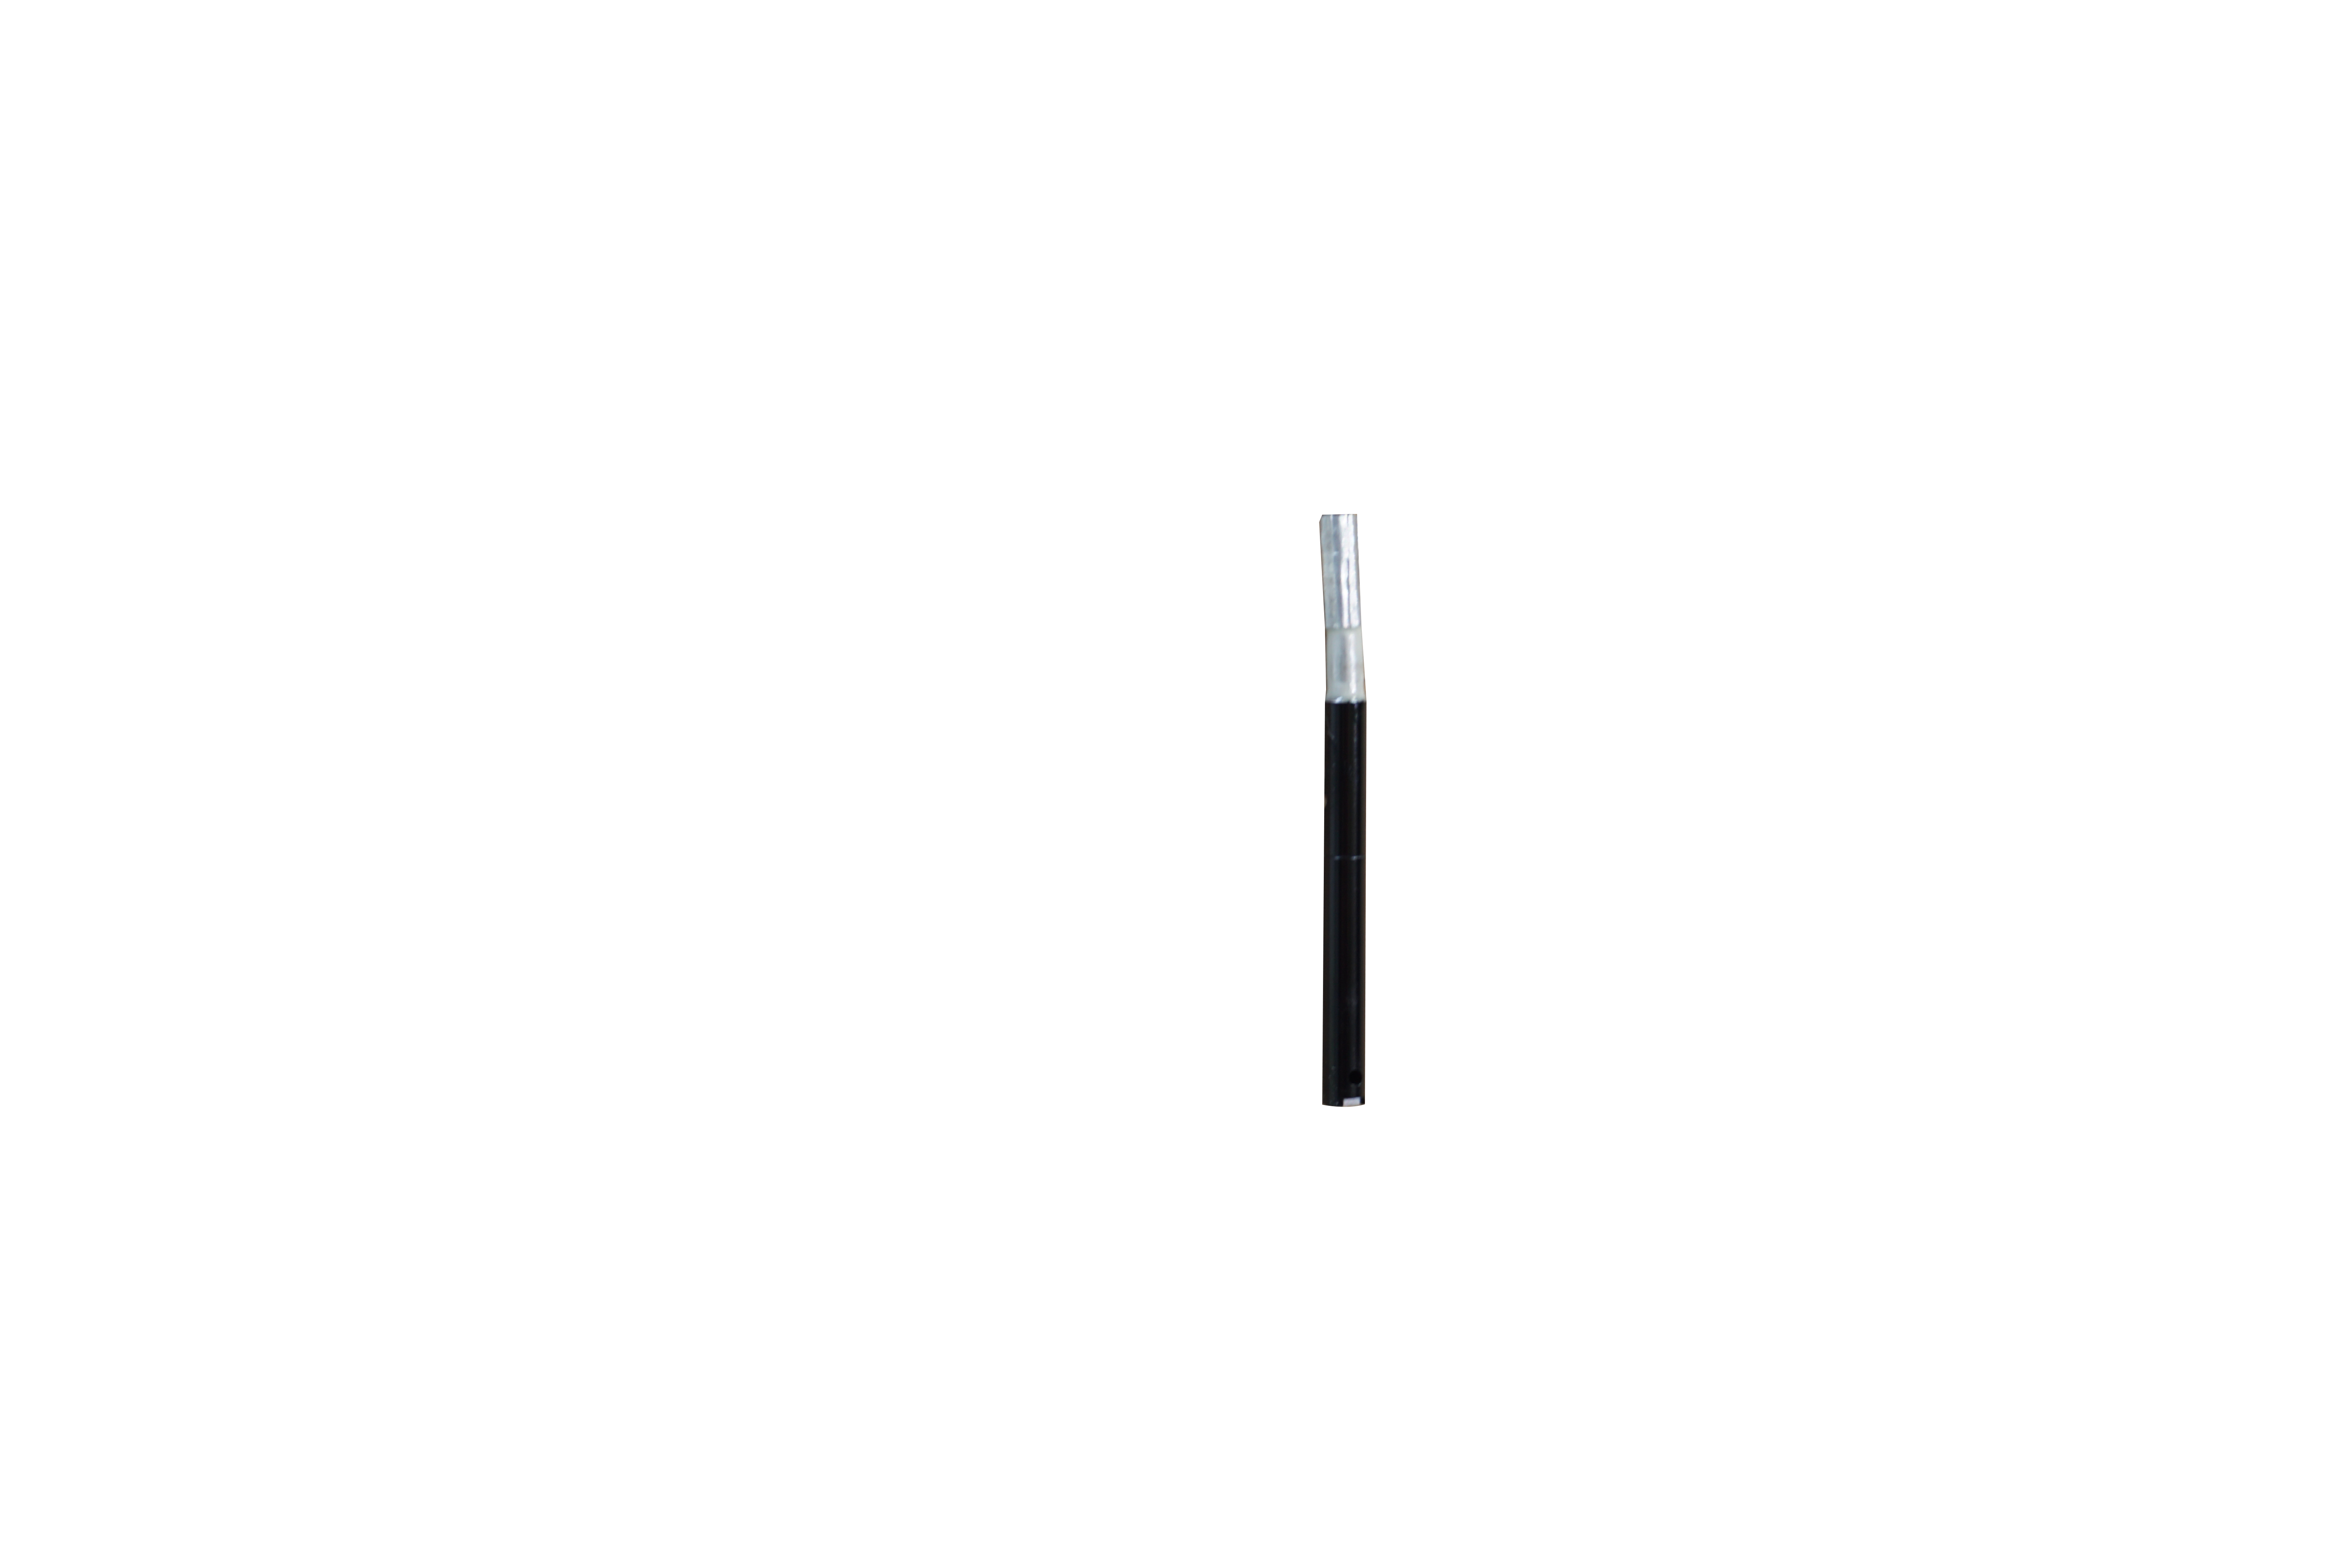
The non-contact inspection of the inner thread of the nut has strict requirements on the performance and size of the measuring instrument. At the customer's site, we use the D8A18 lens of Lihe Technology;
The sampling frequency of this lens is 3000Hz/s, the linear accuracy is up to ±0.08µm, and the Angle of the assembled 90-degree light-out lens is plus or minus 18°. It can be used with the machine to carry out non-contact dynamic scanning into the inner wall of the nut, cover the depth and width of the thread, and obtain contour data to calculate the precise length of each thread, ensuring the accuracy of the nut processing process. Improve production efficiency.


